


Apprenez à monter votre canne à pêche
Nos packs d'outils pour débuter


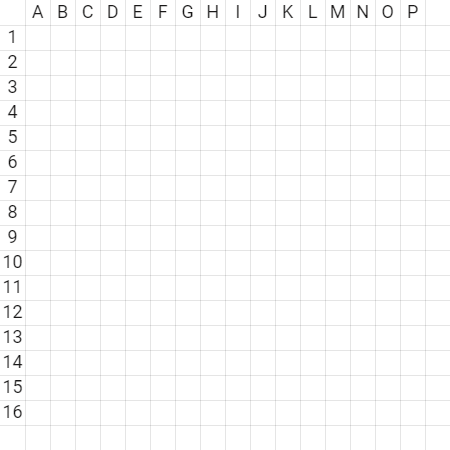
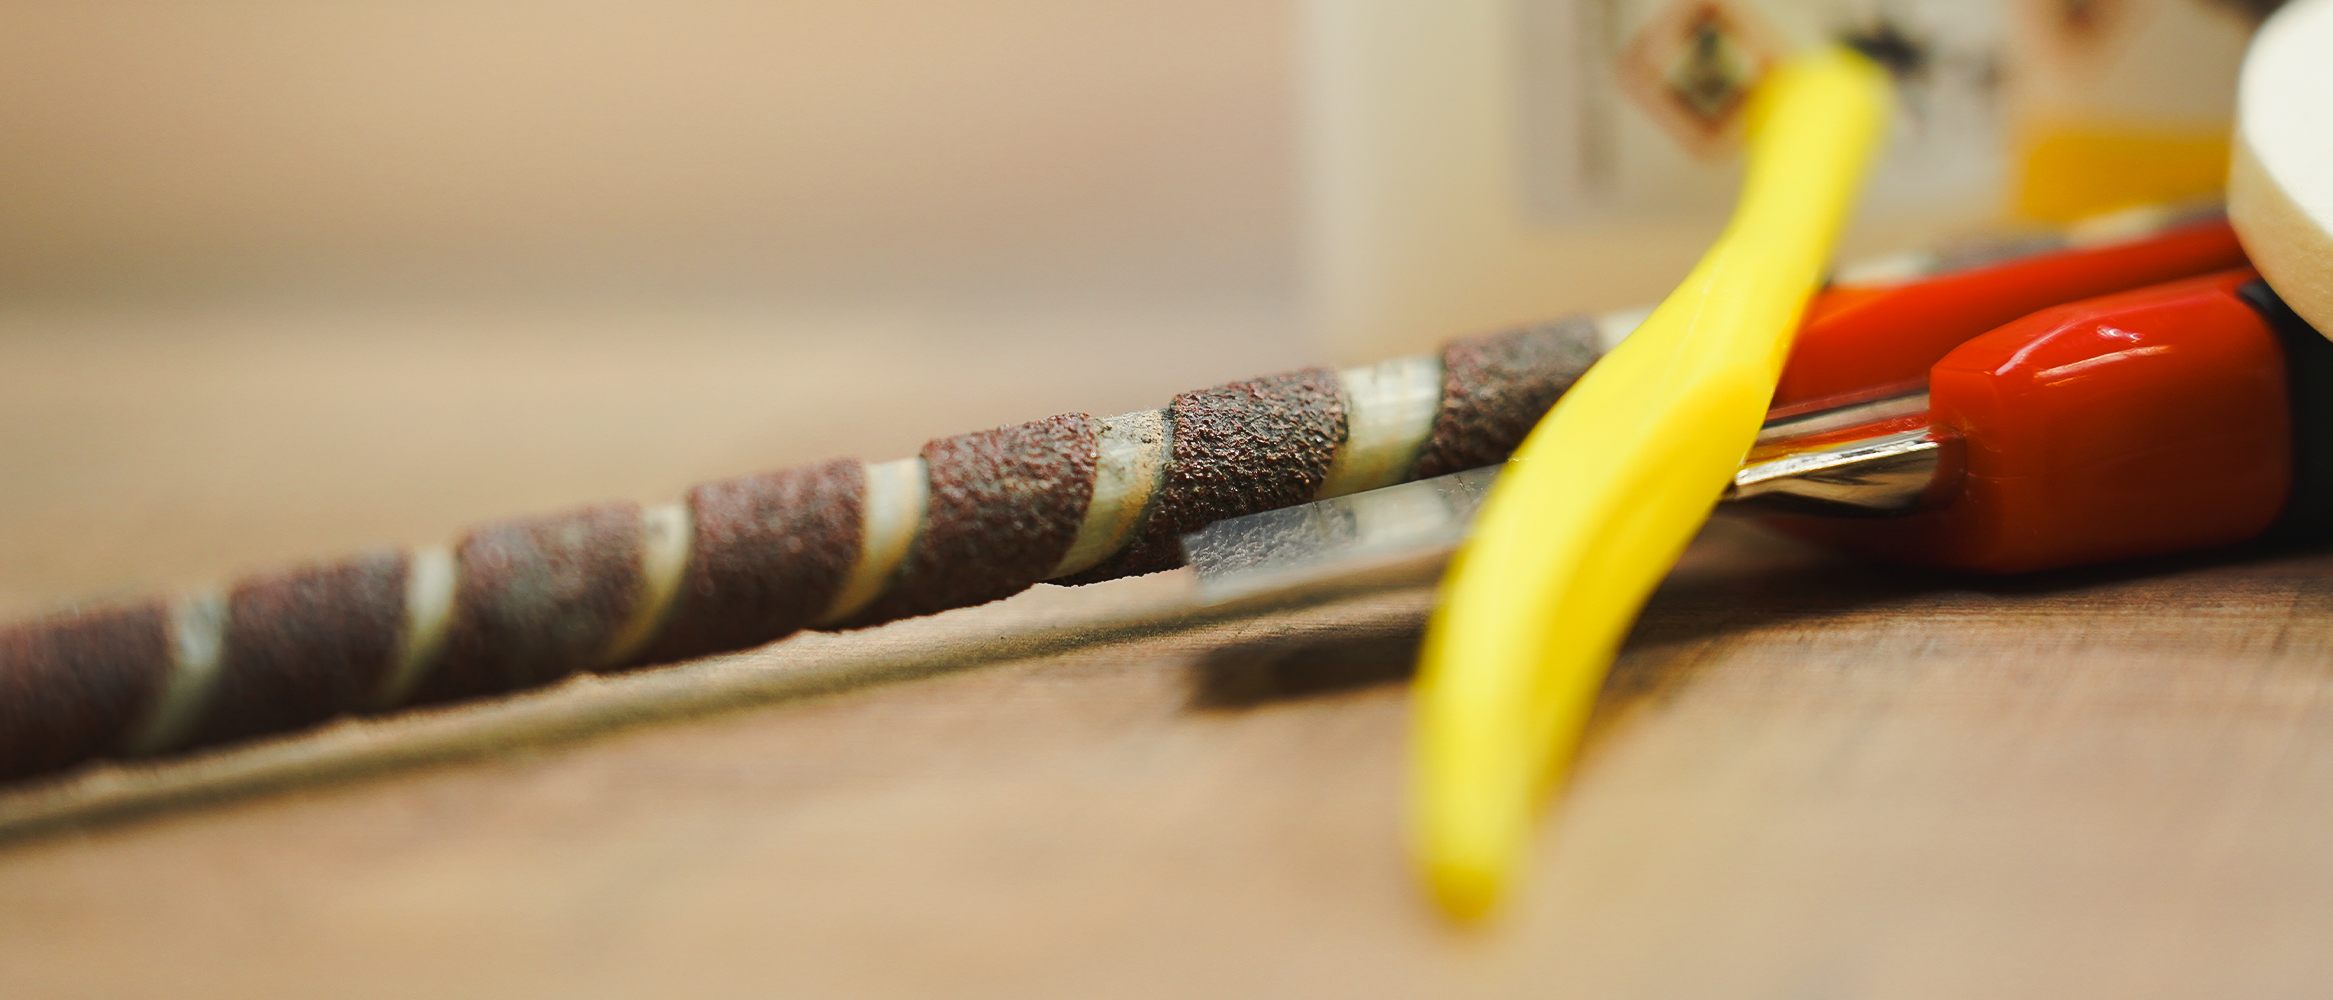
Trouver l'épine du blank
Dans cette partie du tutoriel vidéo intitulée, on explique l'importance d'identifier le nerf ou l'épine d'un blank, qui détermine son sens de travail naturel. Le blank, qui peut avoir des épaisseurs variables en raison de sa forme, aura tendance à travailler d'une manière spécifique lorsqu'il est soumis à la flexion. Pour trouver l'épine, on doit manipuler le blank avec les mains pour identifier le côté qui se verrouille et résiste au mouvement. On souligne que chaque blank a deux épines, et celle qui prend le dessus est celle à rechercher. Une fois que l'épine est identifiée, on peut installer les anneaux en conséquence pour garantir des performances optimales. Ce tutoriel s'applique également aux cannes à plusieurs brins, en se concentrant sur le brin de travail avec la plus grande flexibilité.
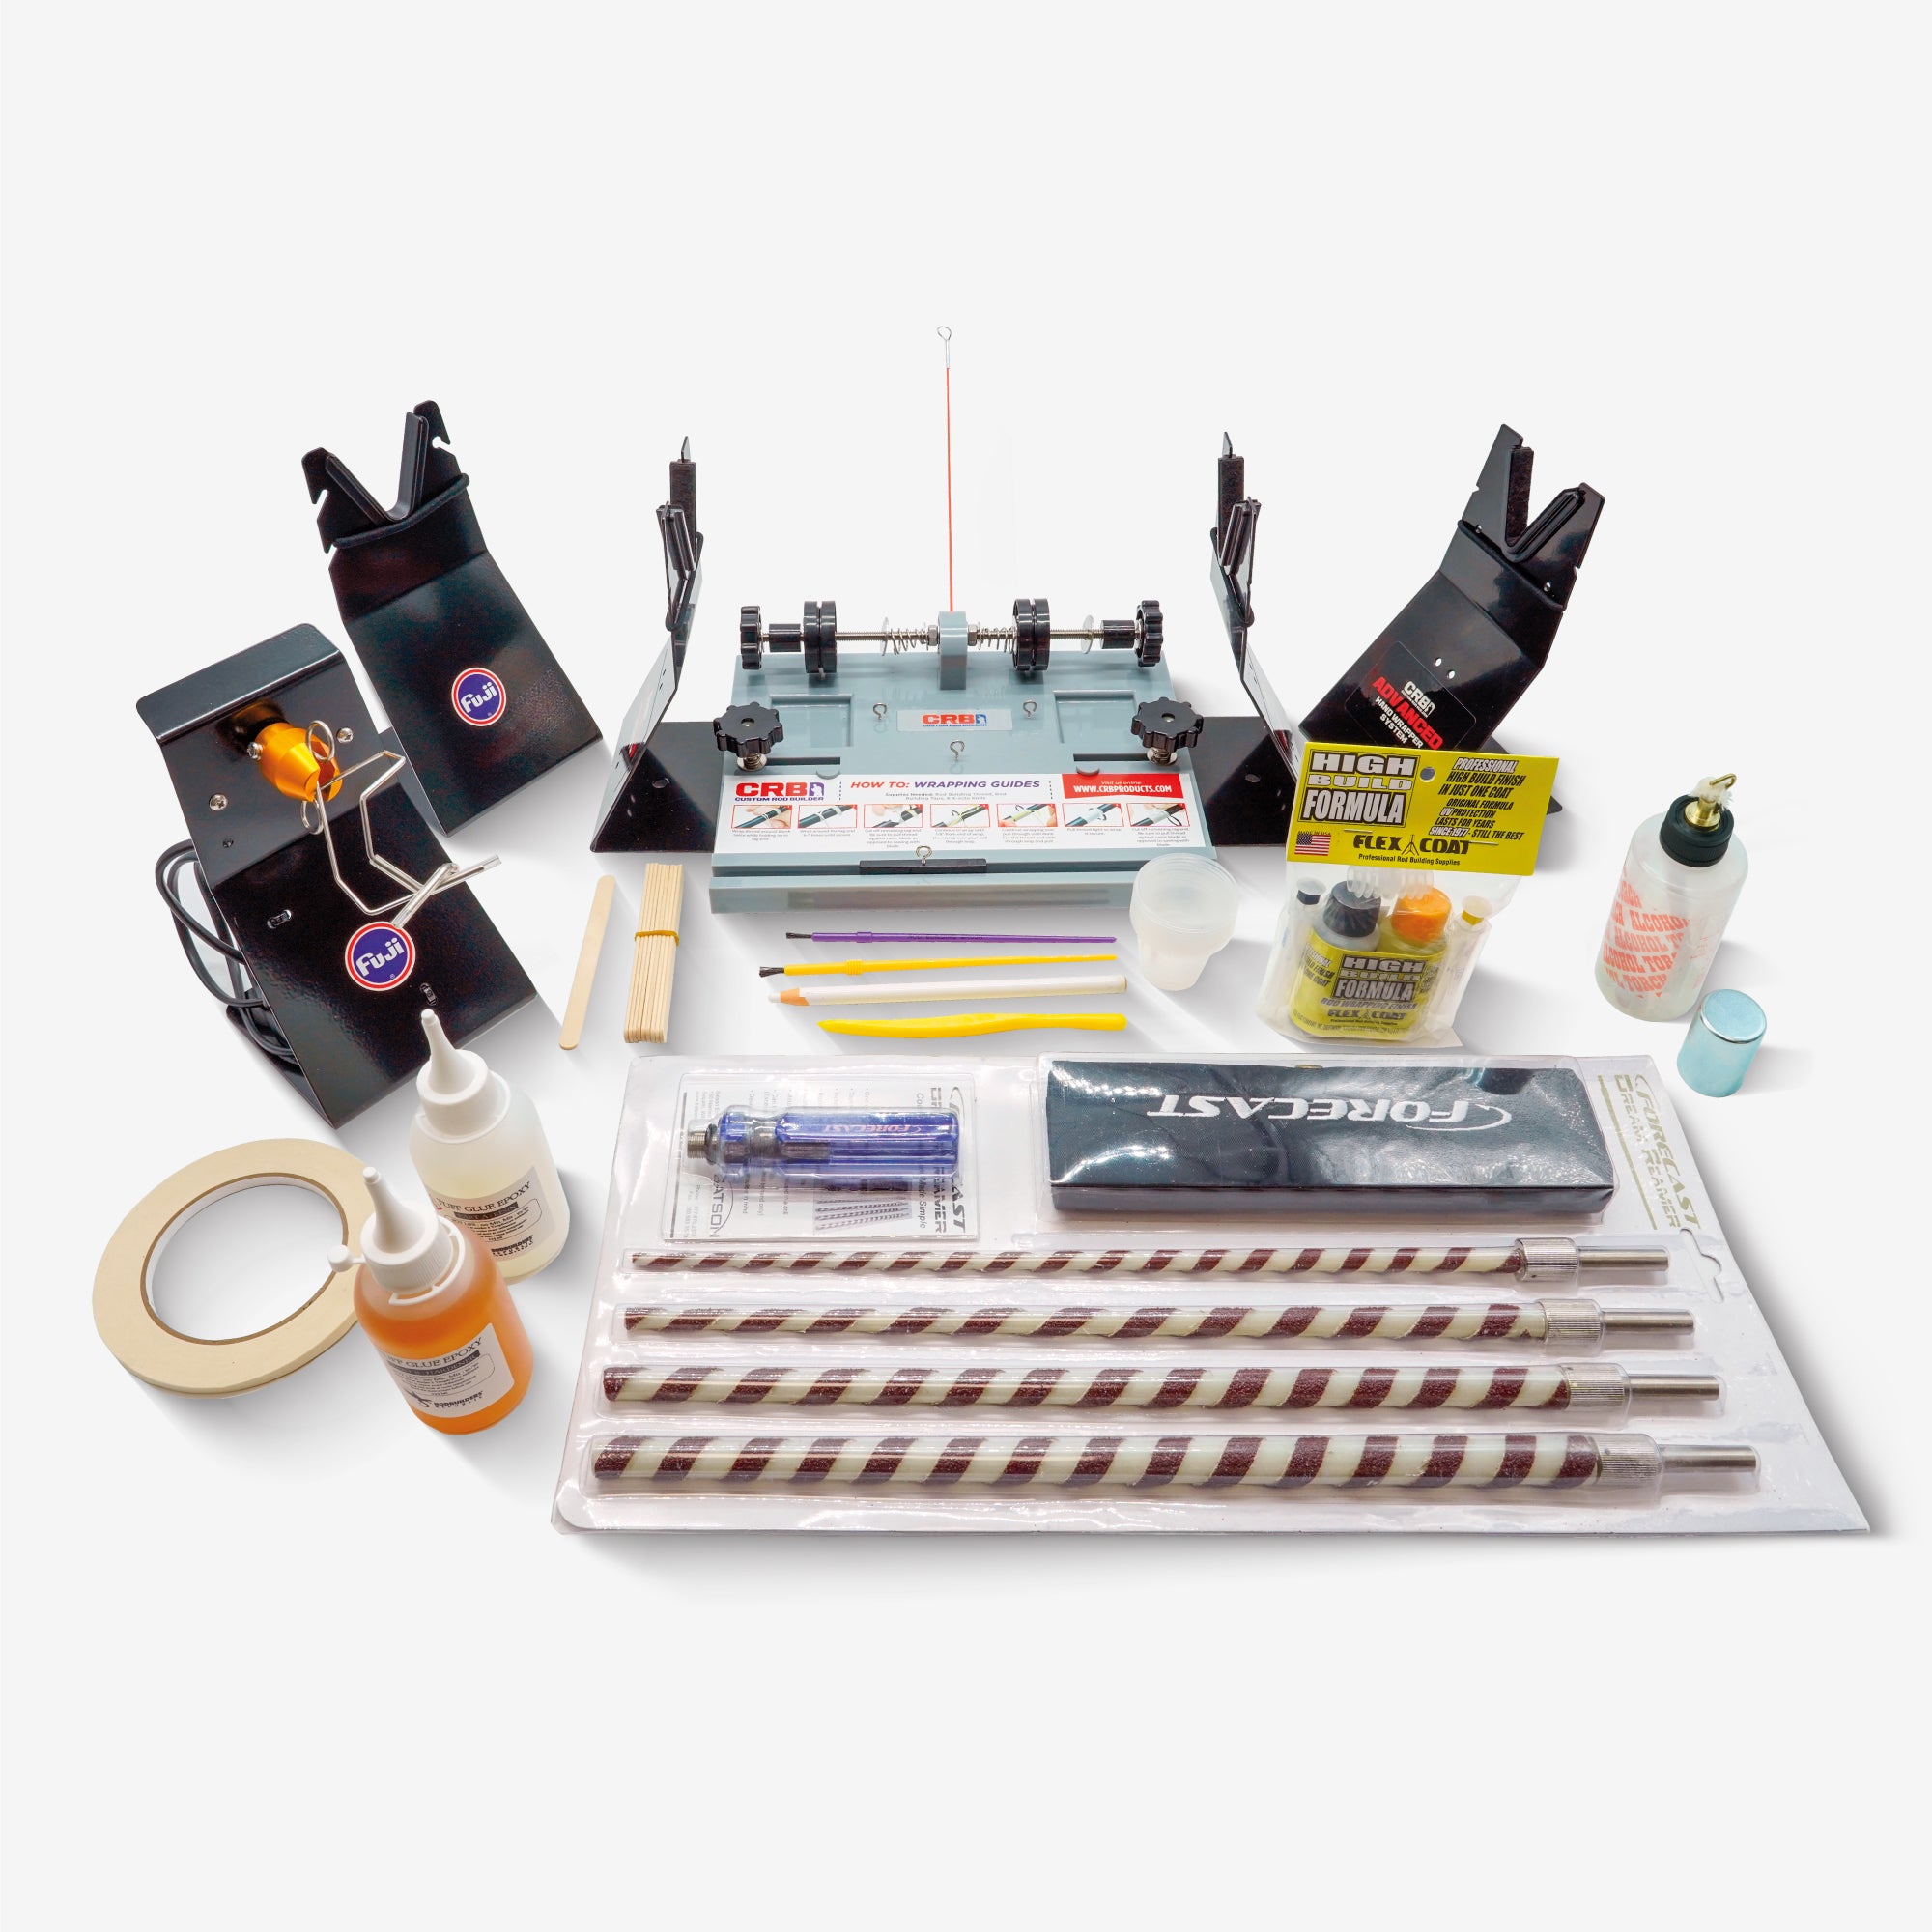
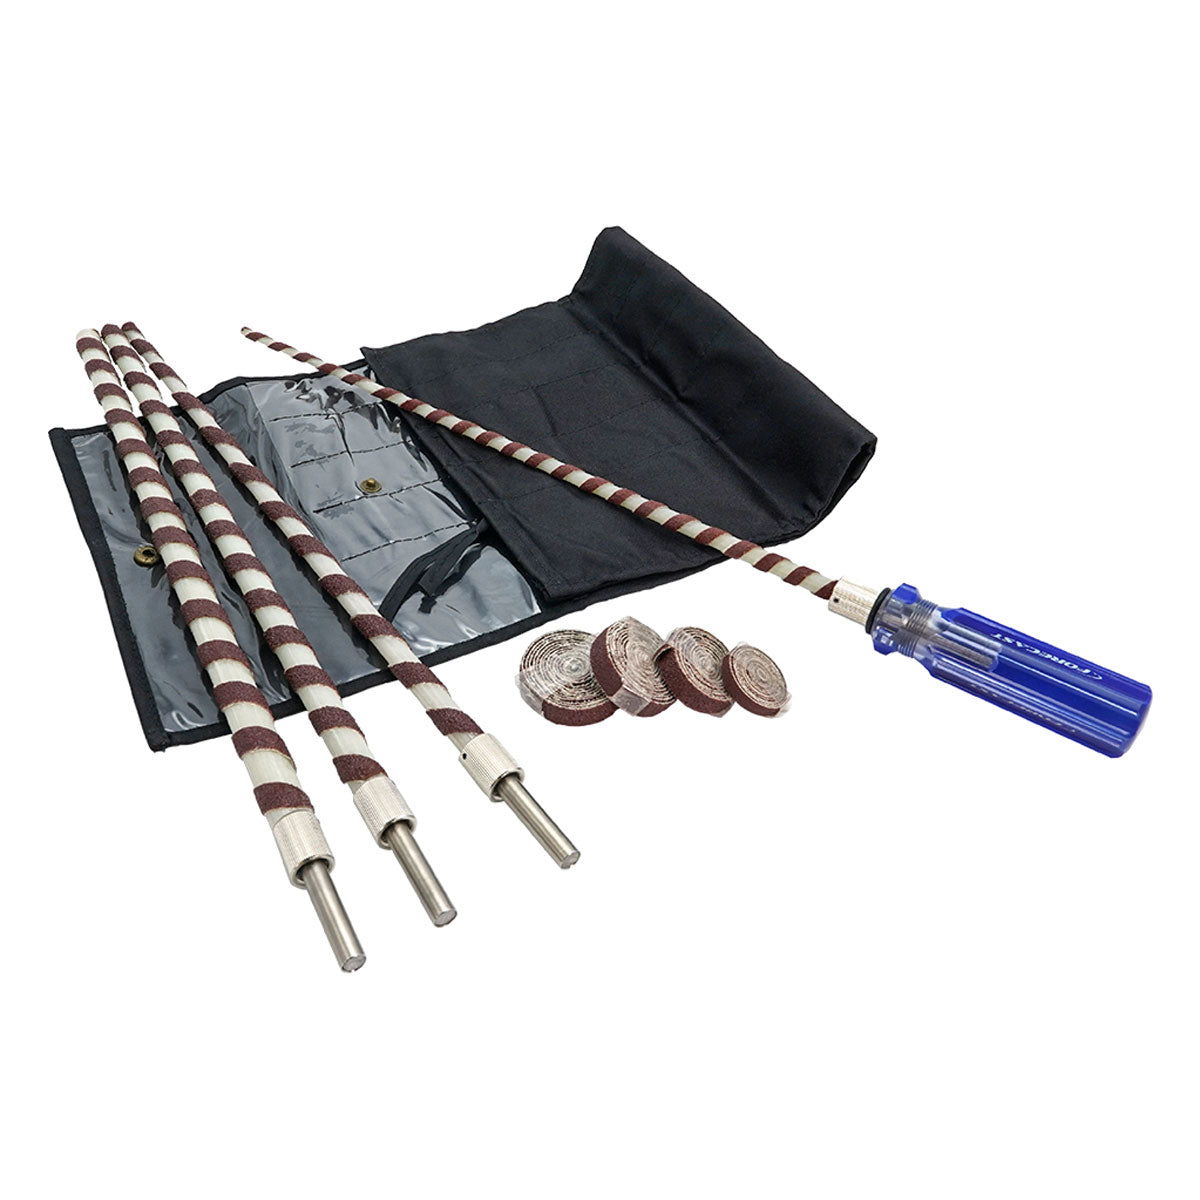
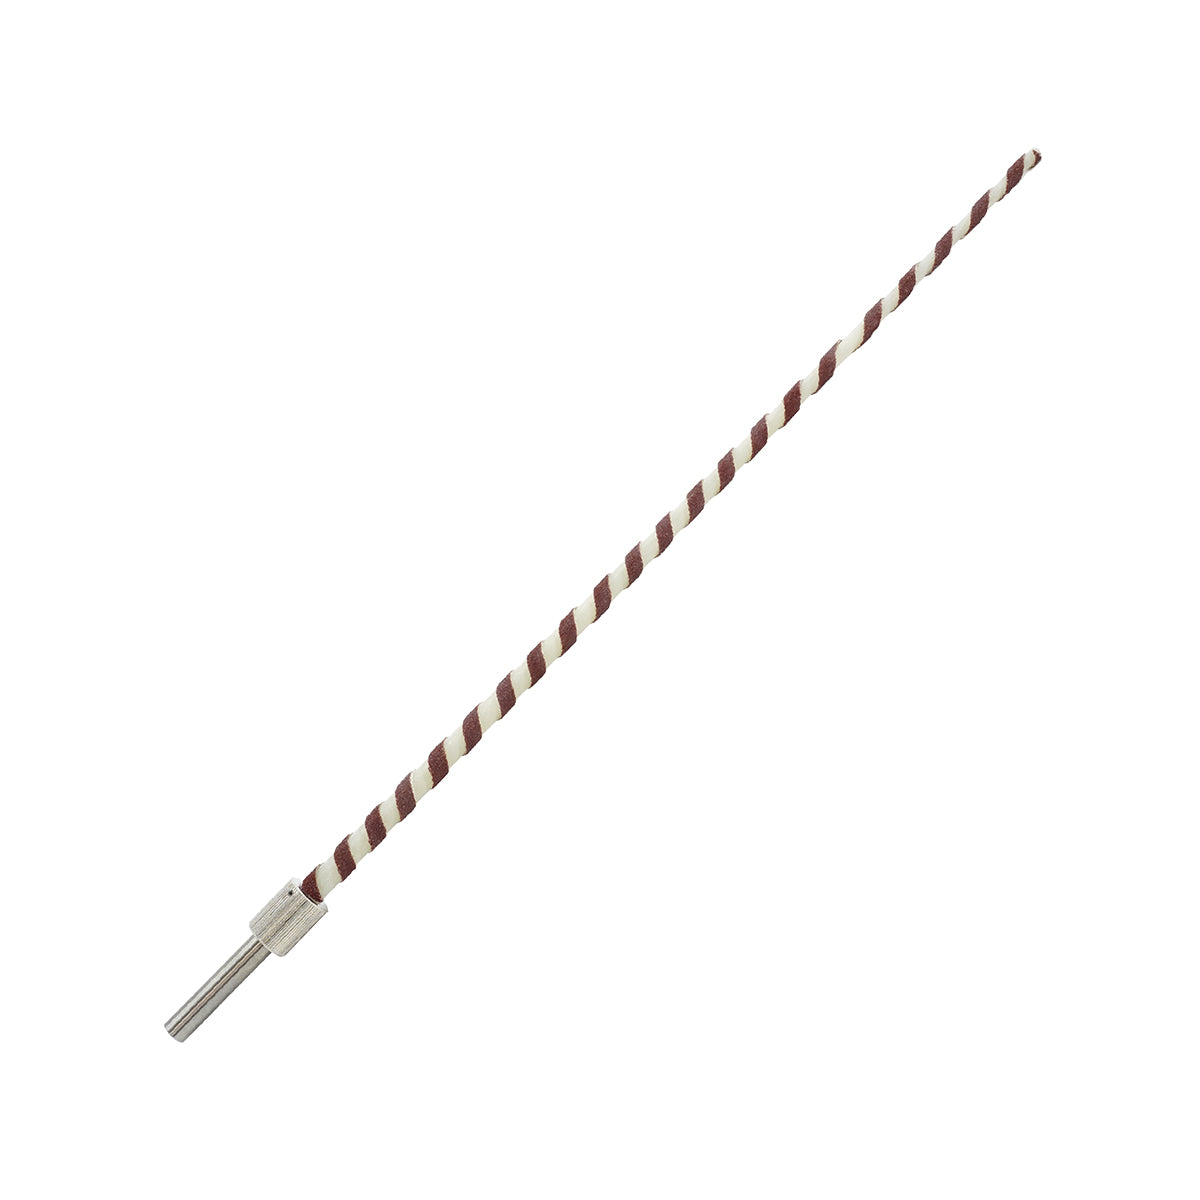
Outils utilisés
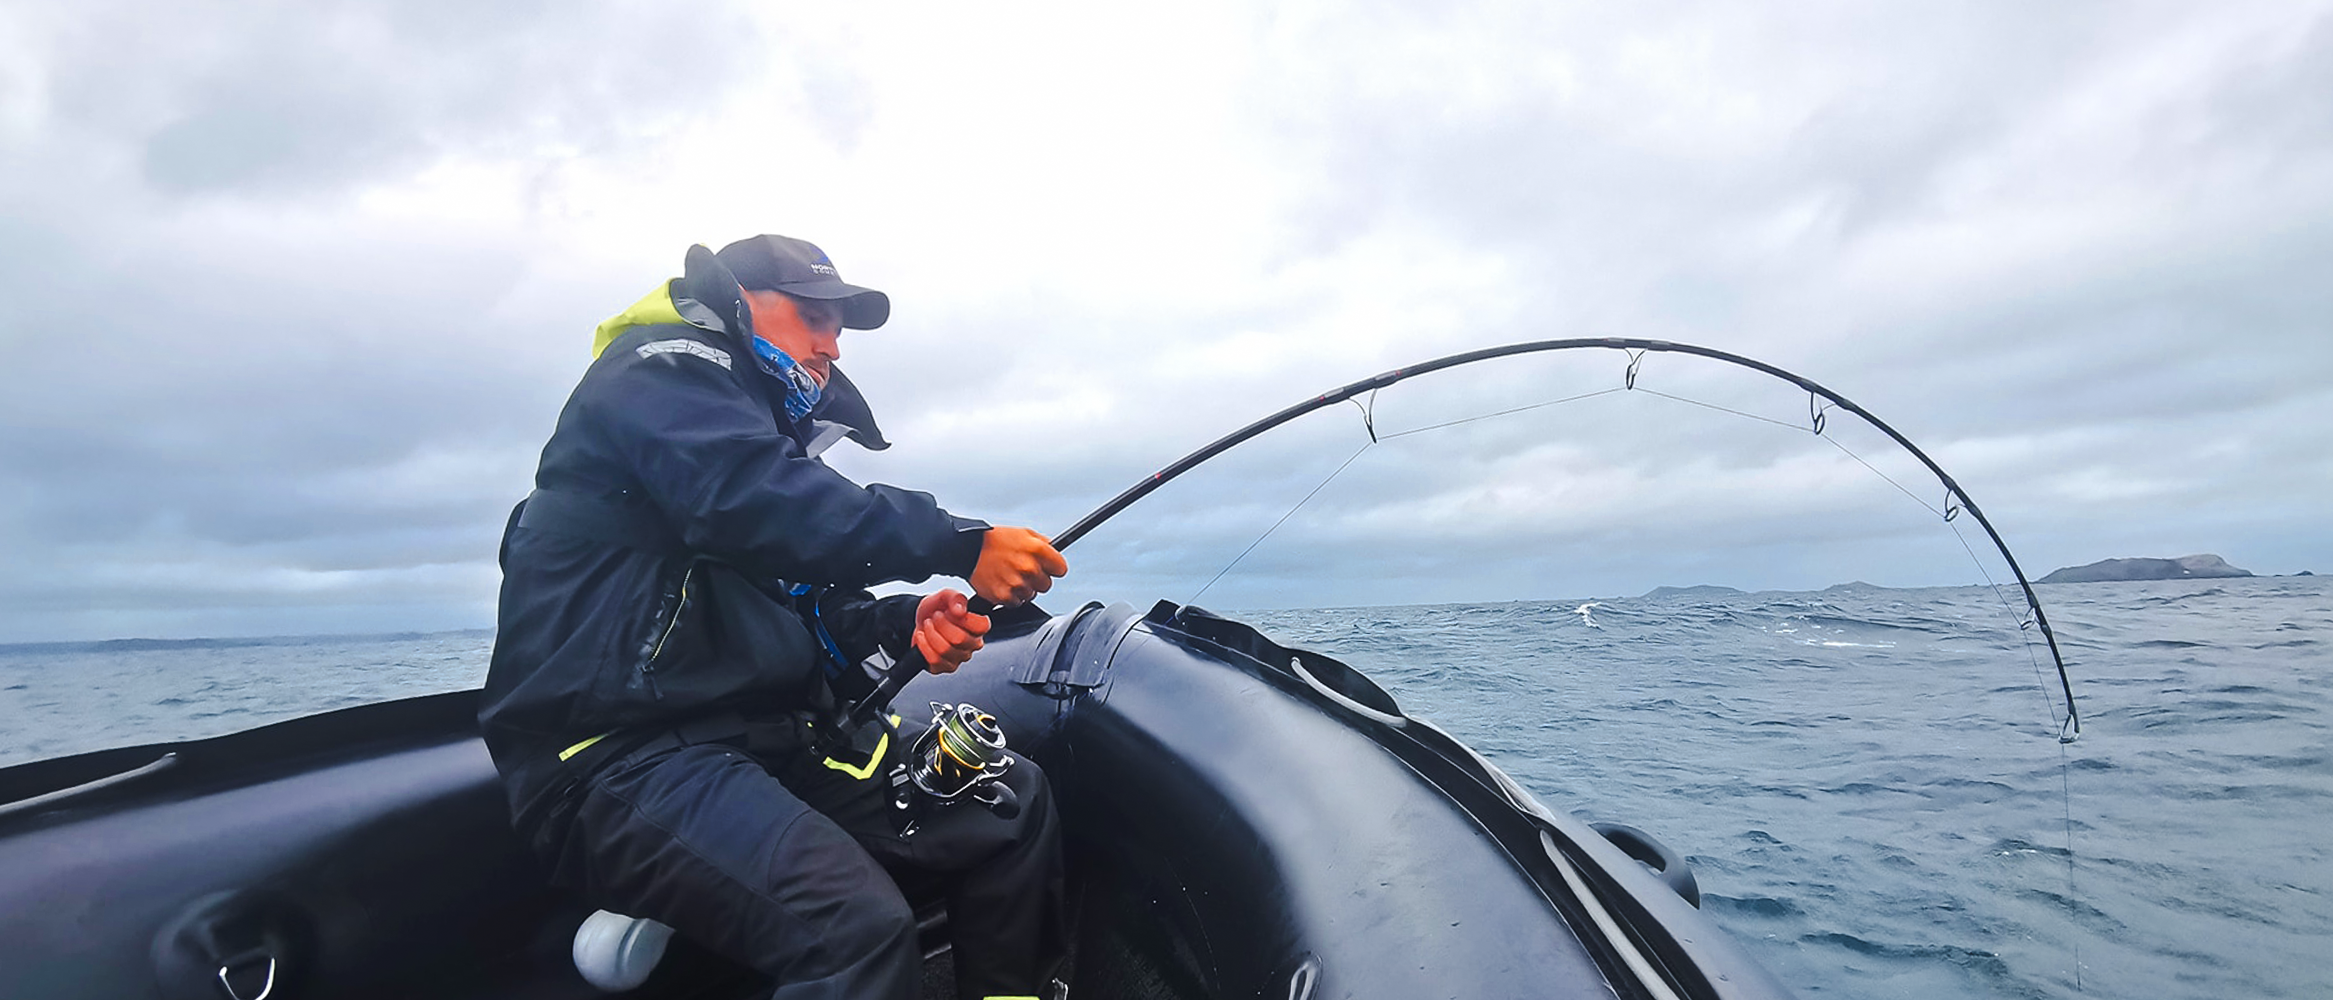
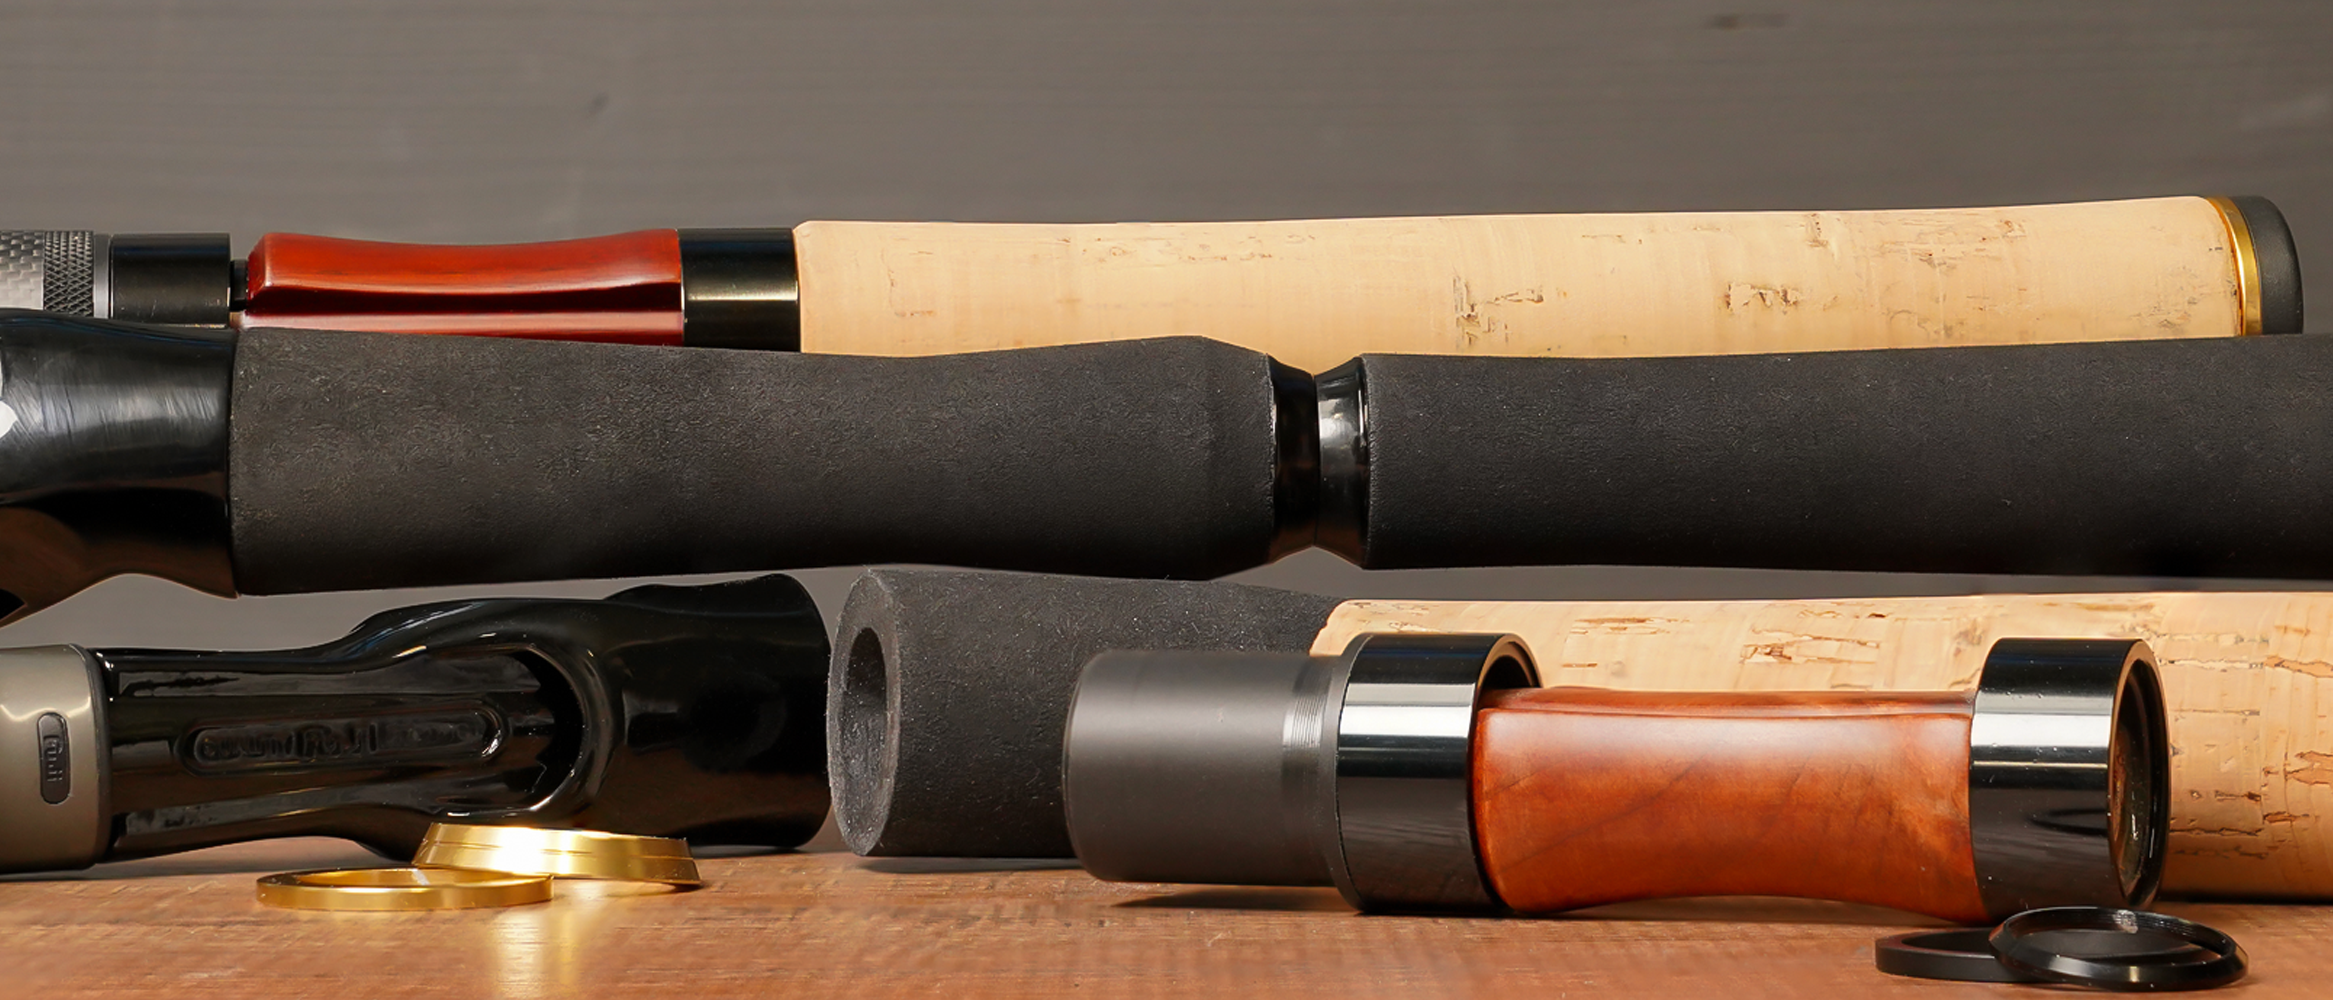
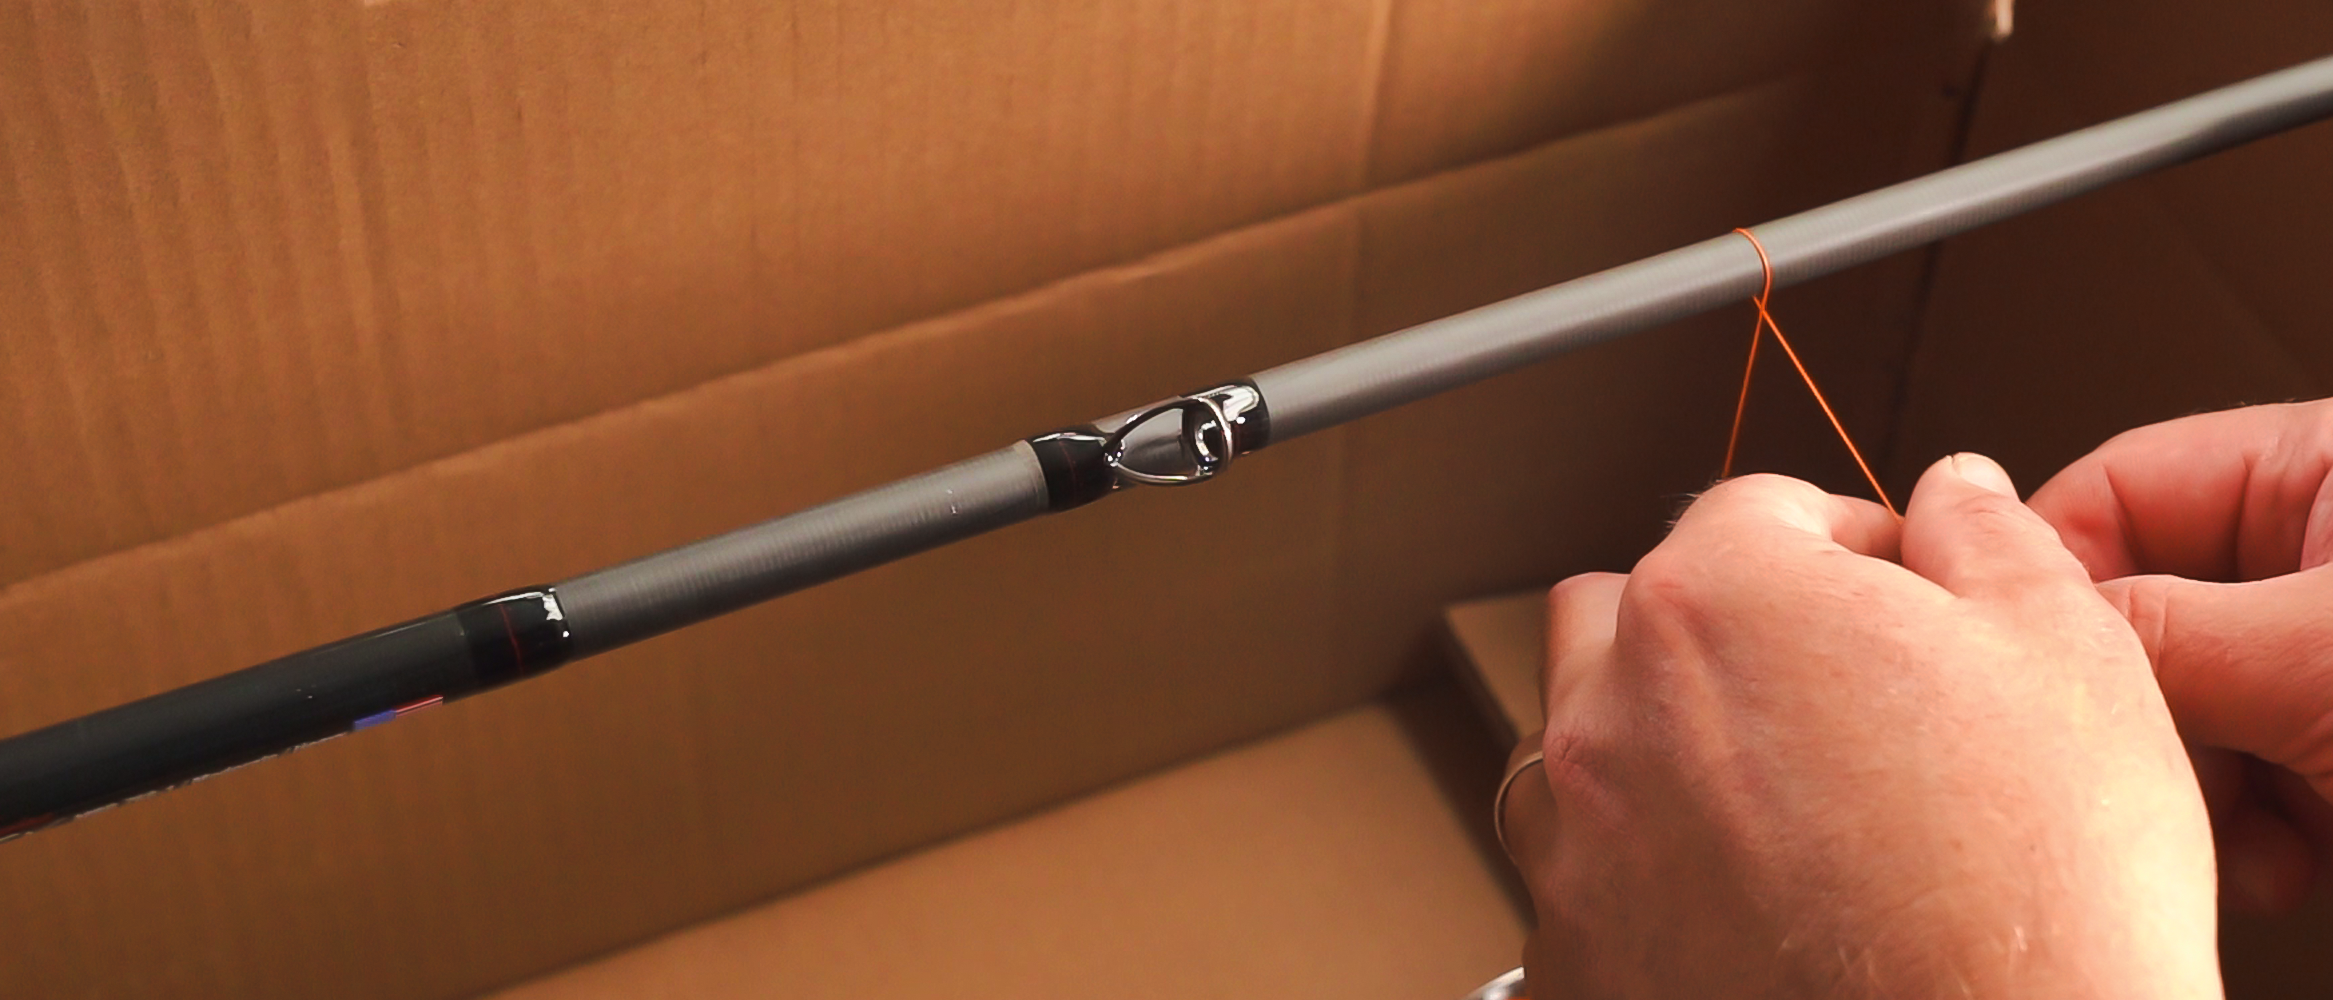
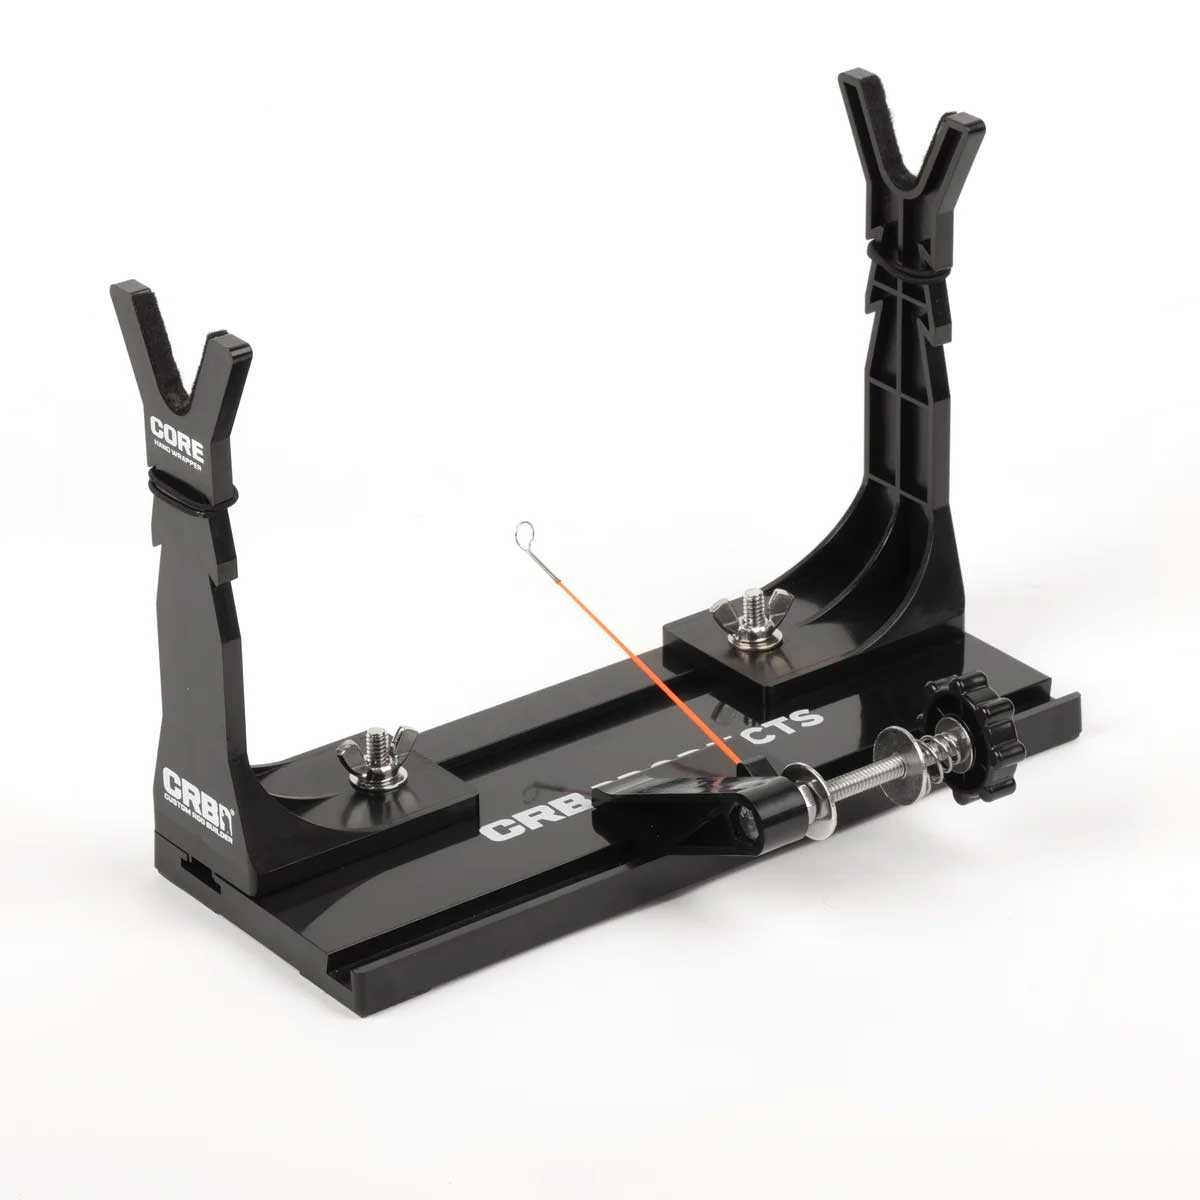
Monter la poignée
Dans cette vidéo tutoriel, "Monter la poignée", nous allons vous guider à travers le processus d'assemblage des éléments de poignée et vous expliquer l'importance d'avoir une poignée bien ajustée à votre programme de pêche. Ce tutoriel est valable pour différents types de cannes à pêche, notamment les cannes spinning, casting, mouche ou cannes destinées à la pêche de la carpe. Les outils utilisés dans ce tutoriel sont présents ci-dessous.
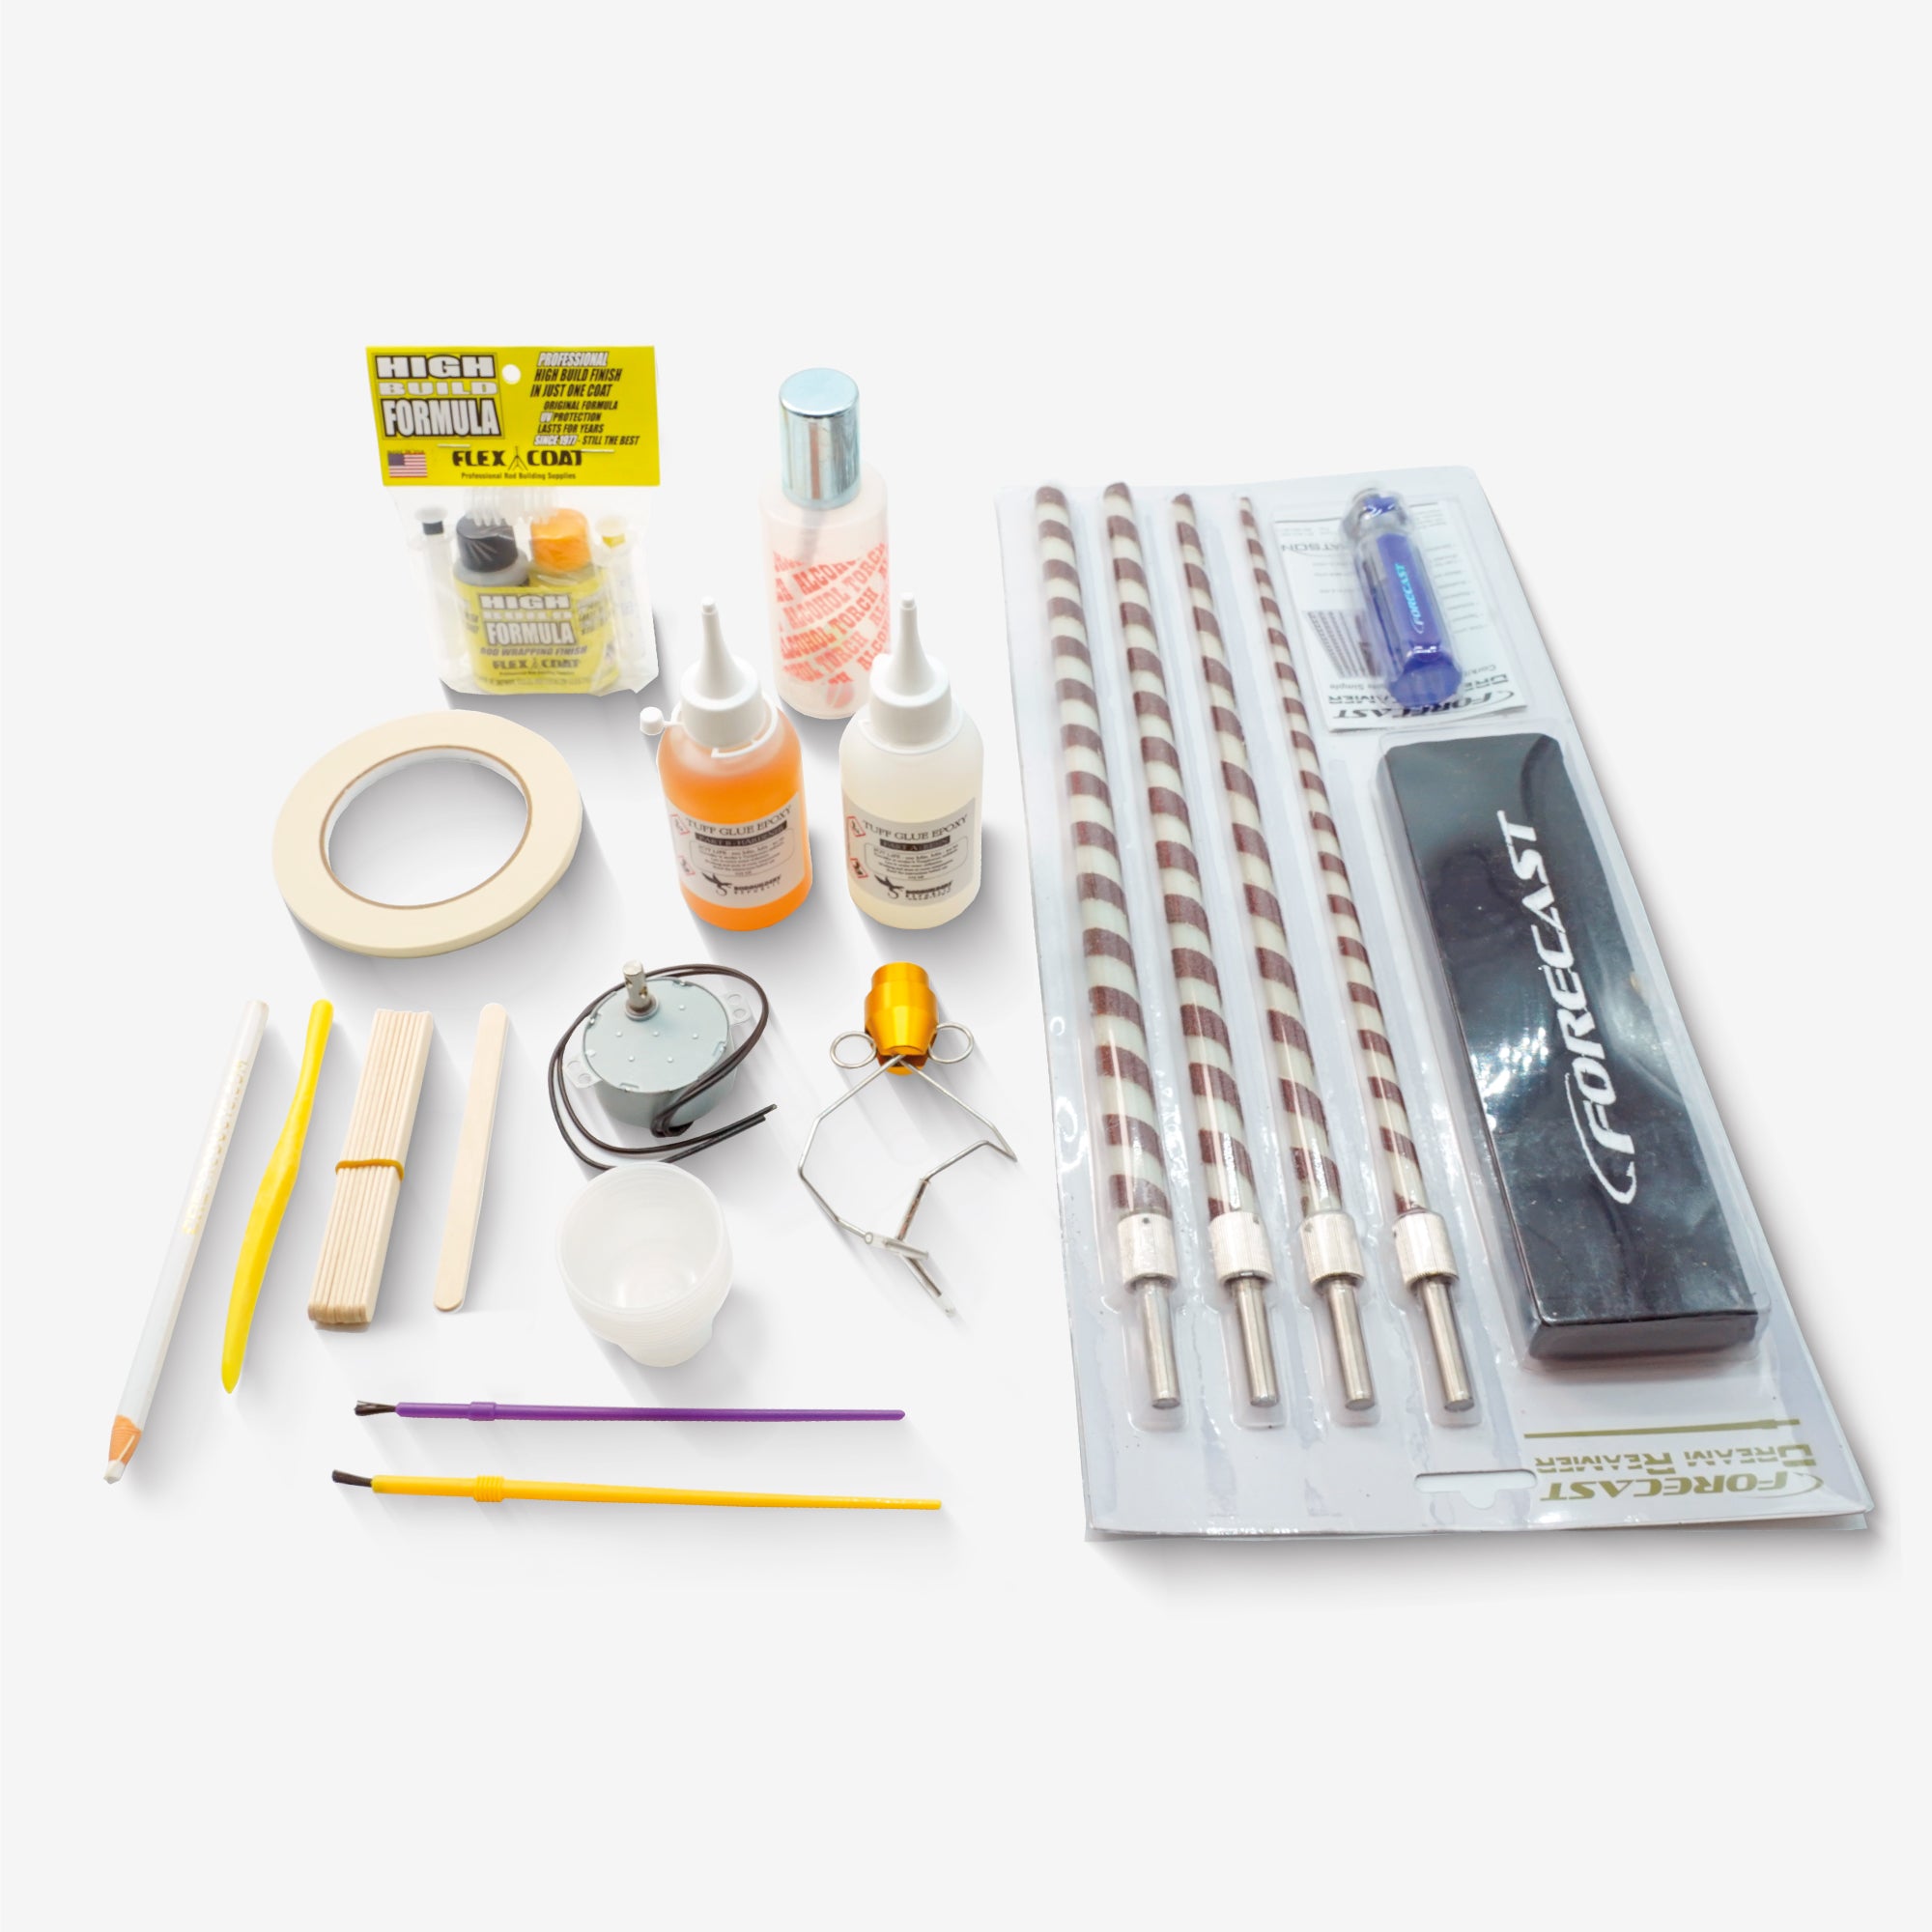
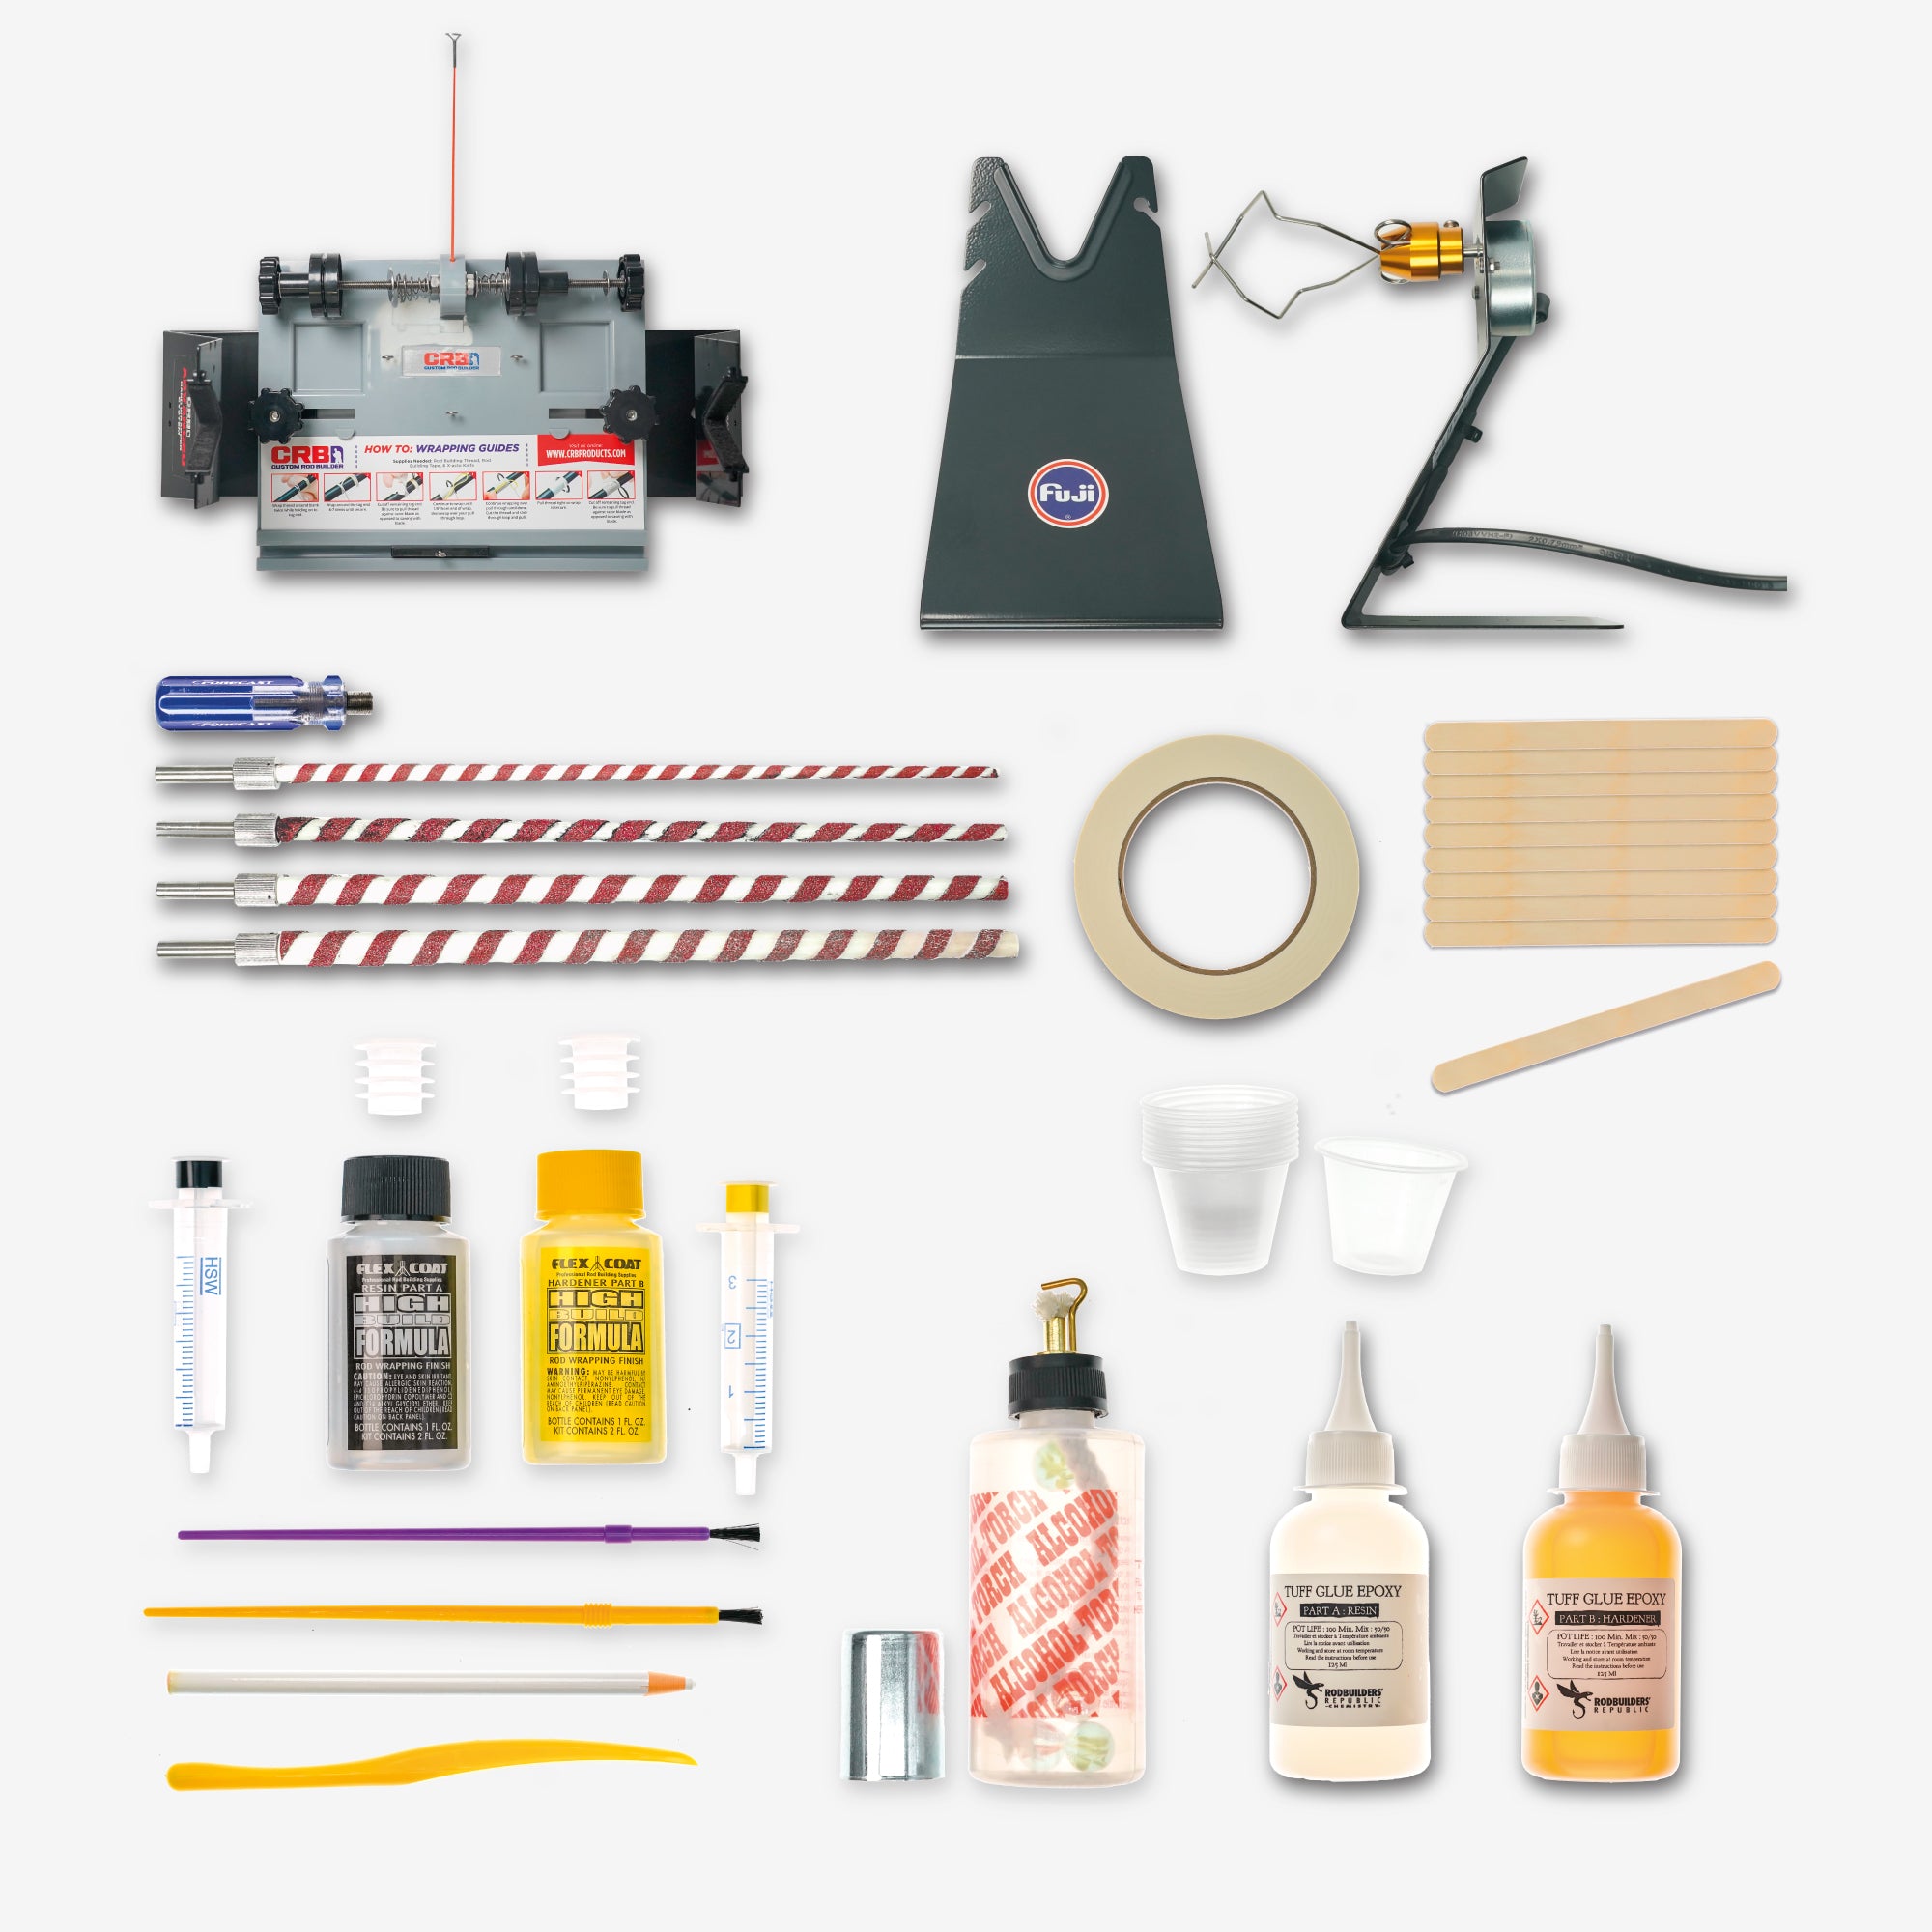
Outils utilisés

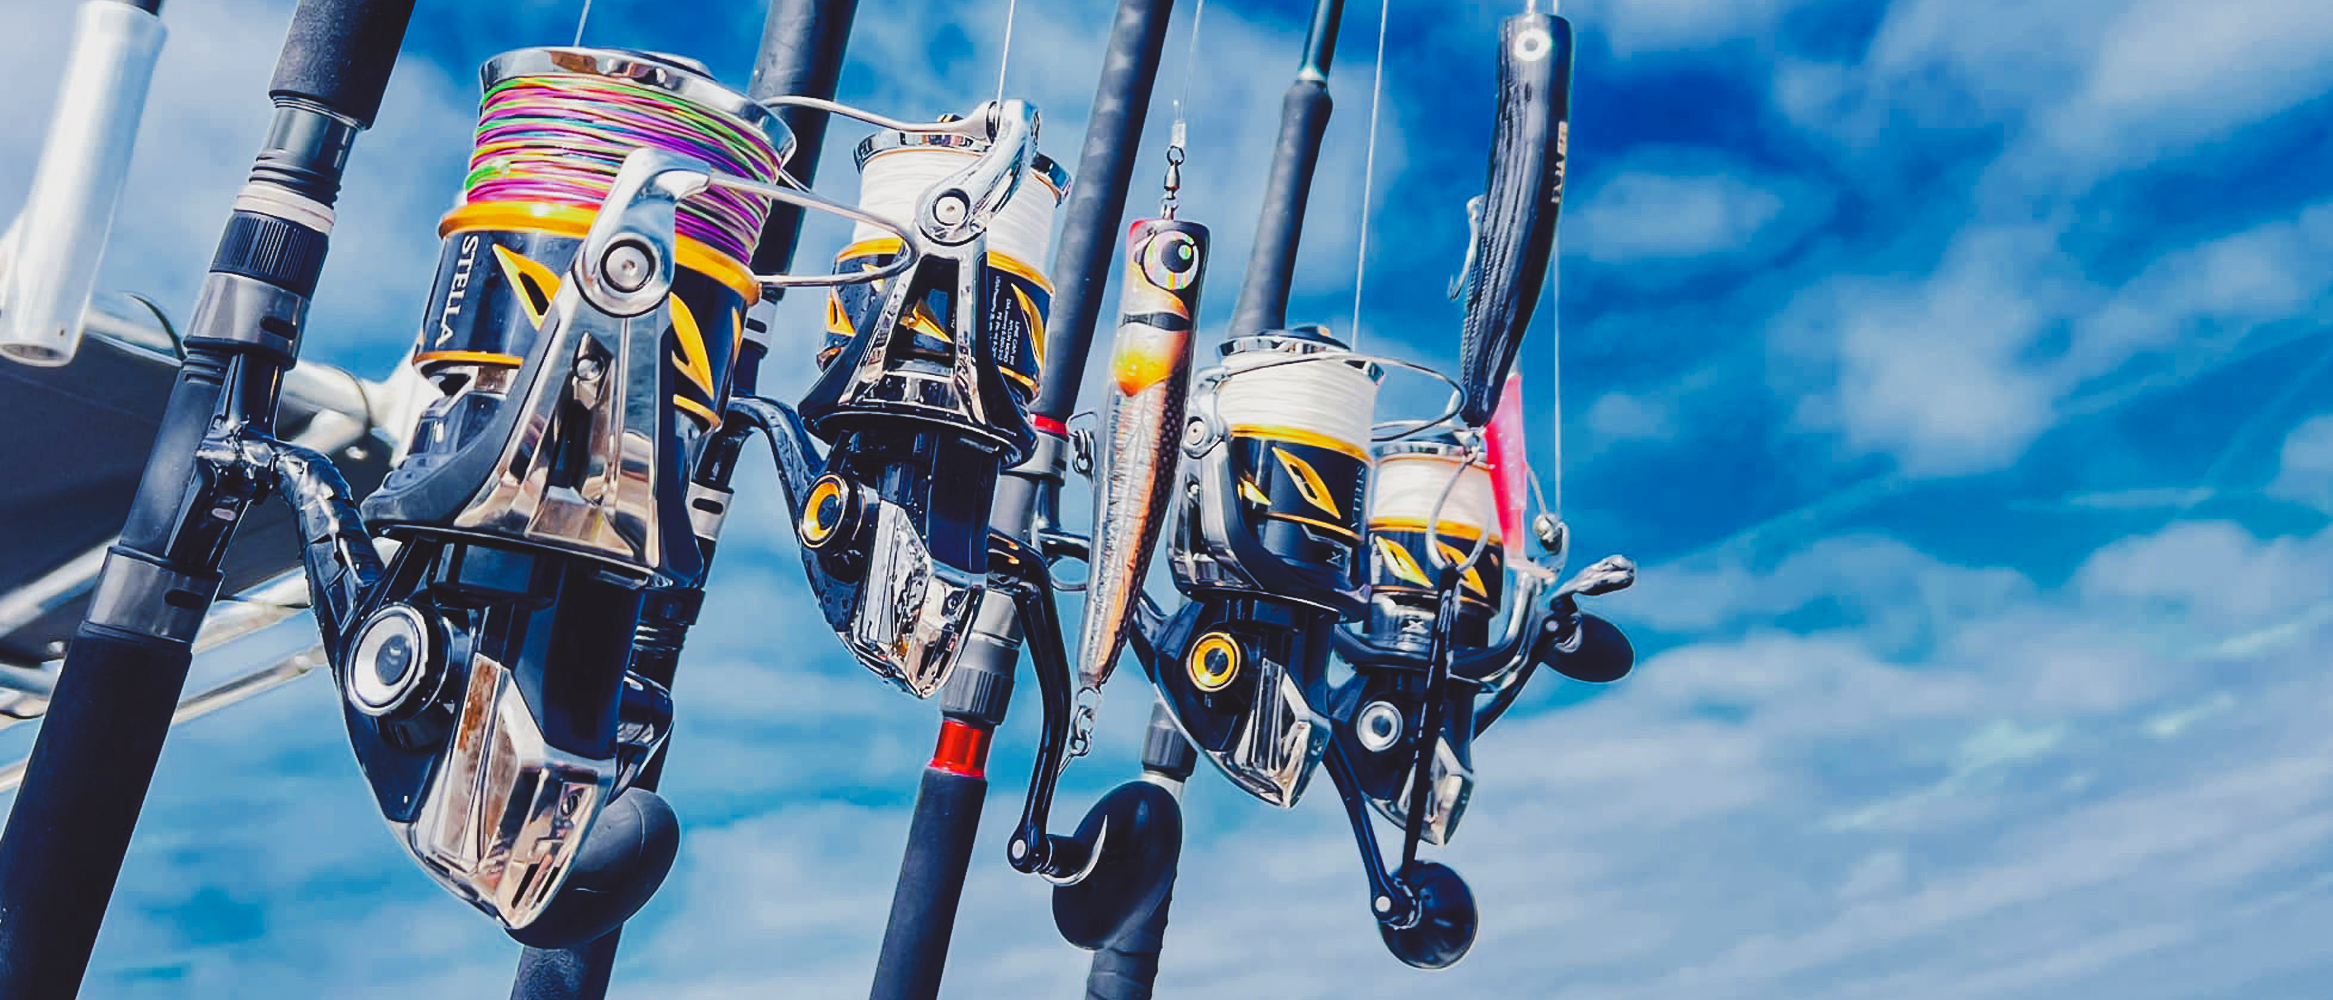
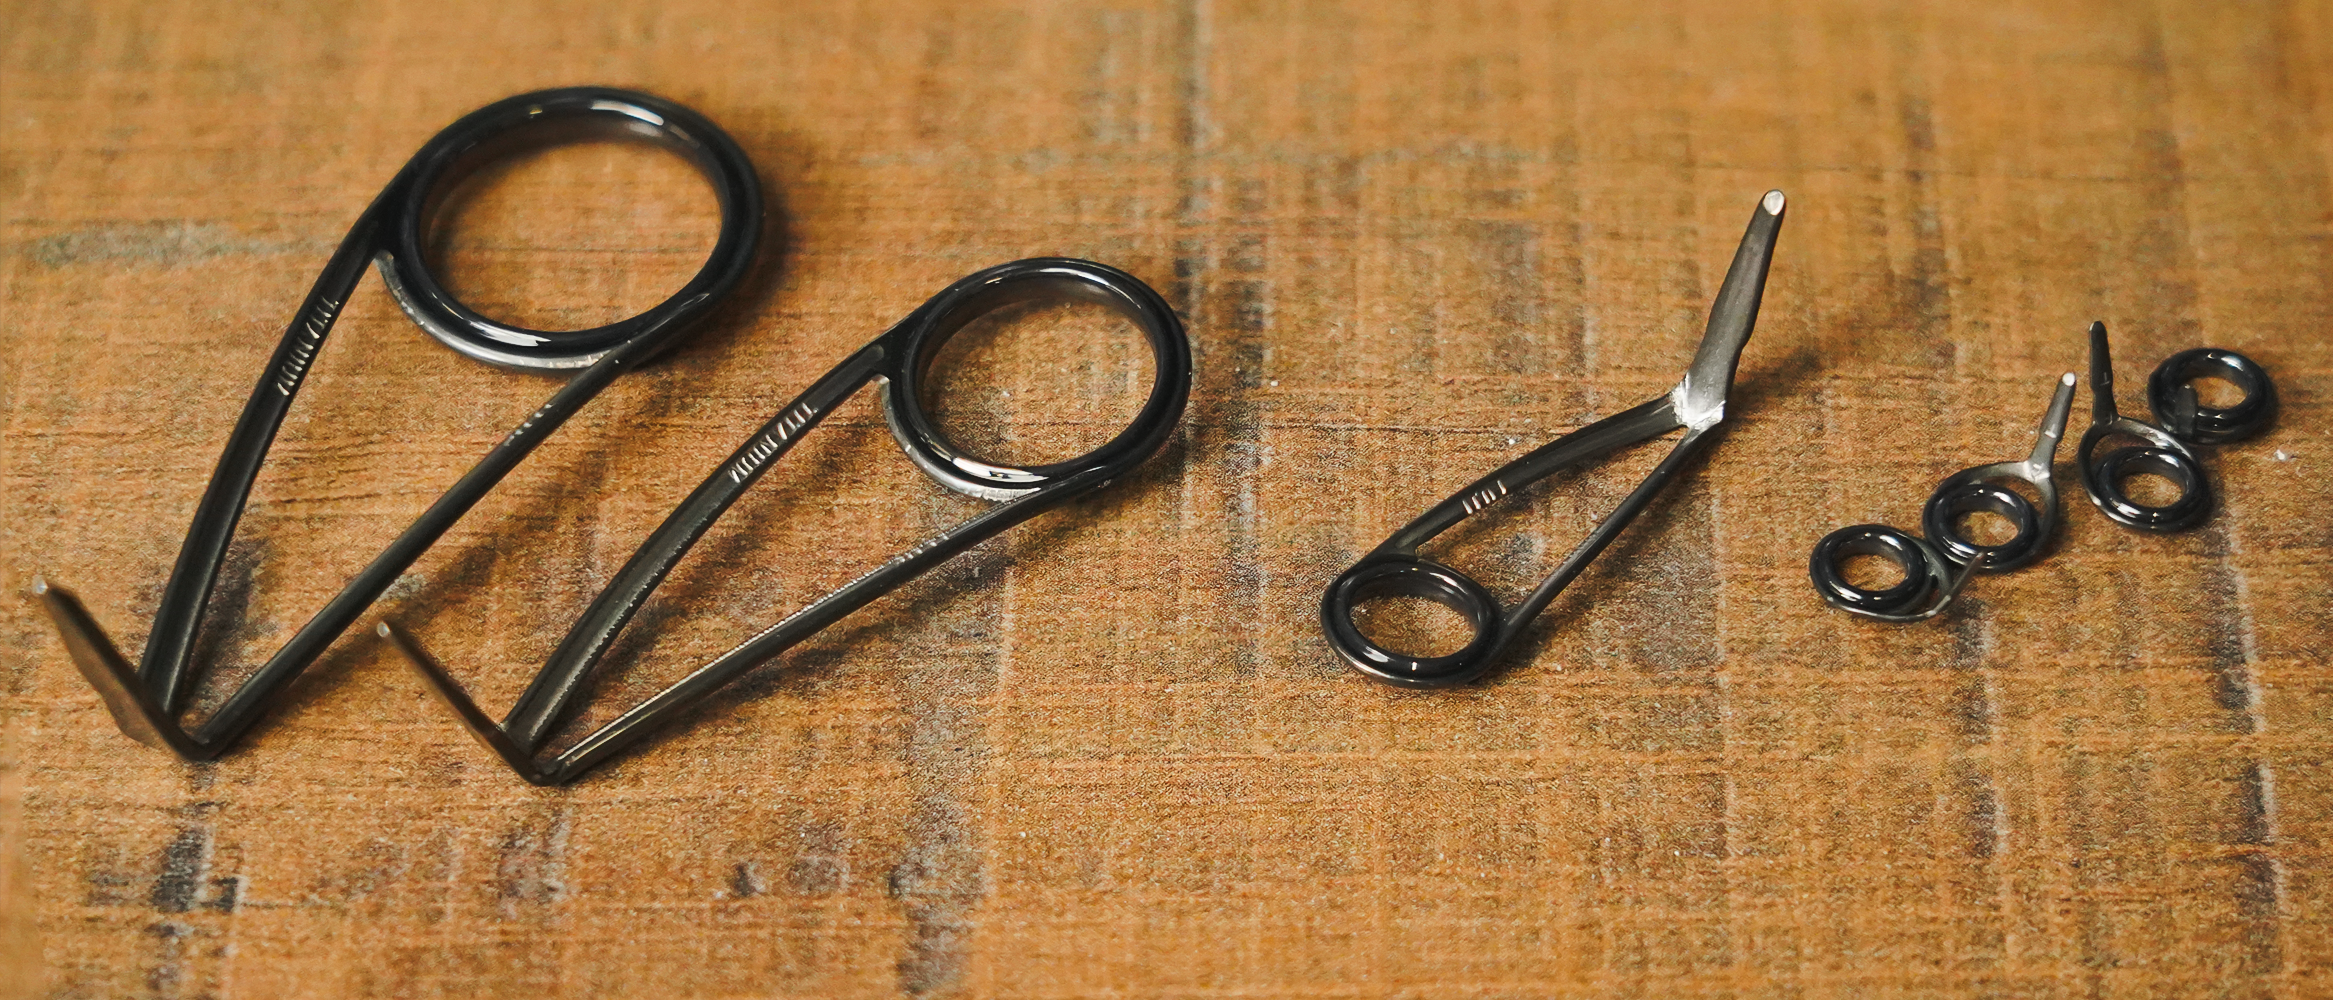
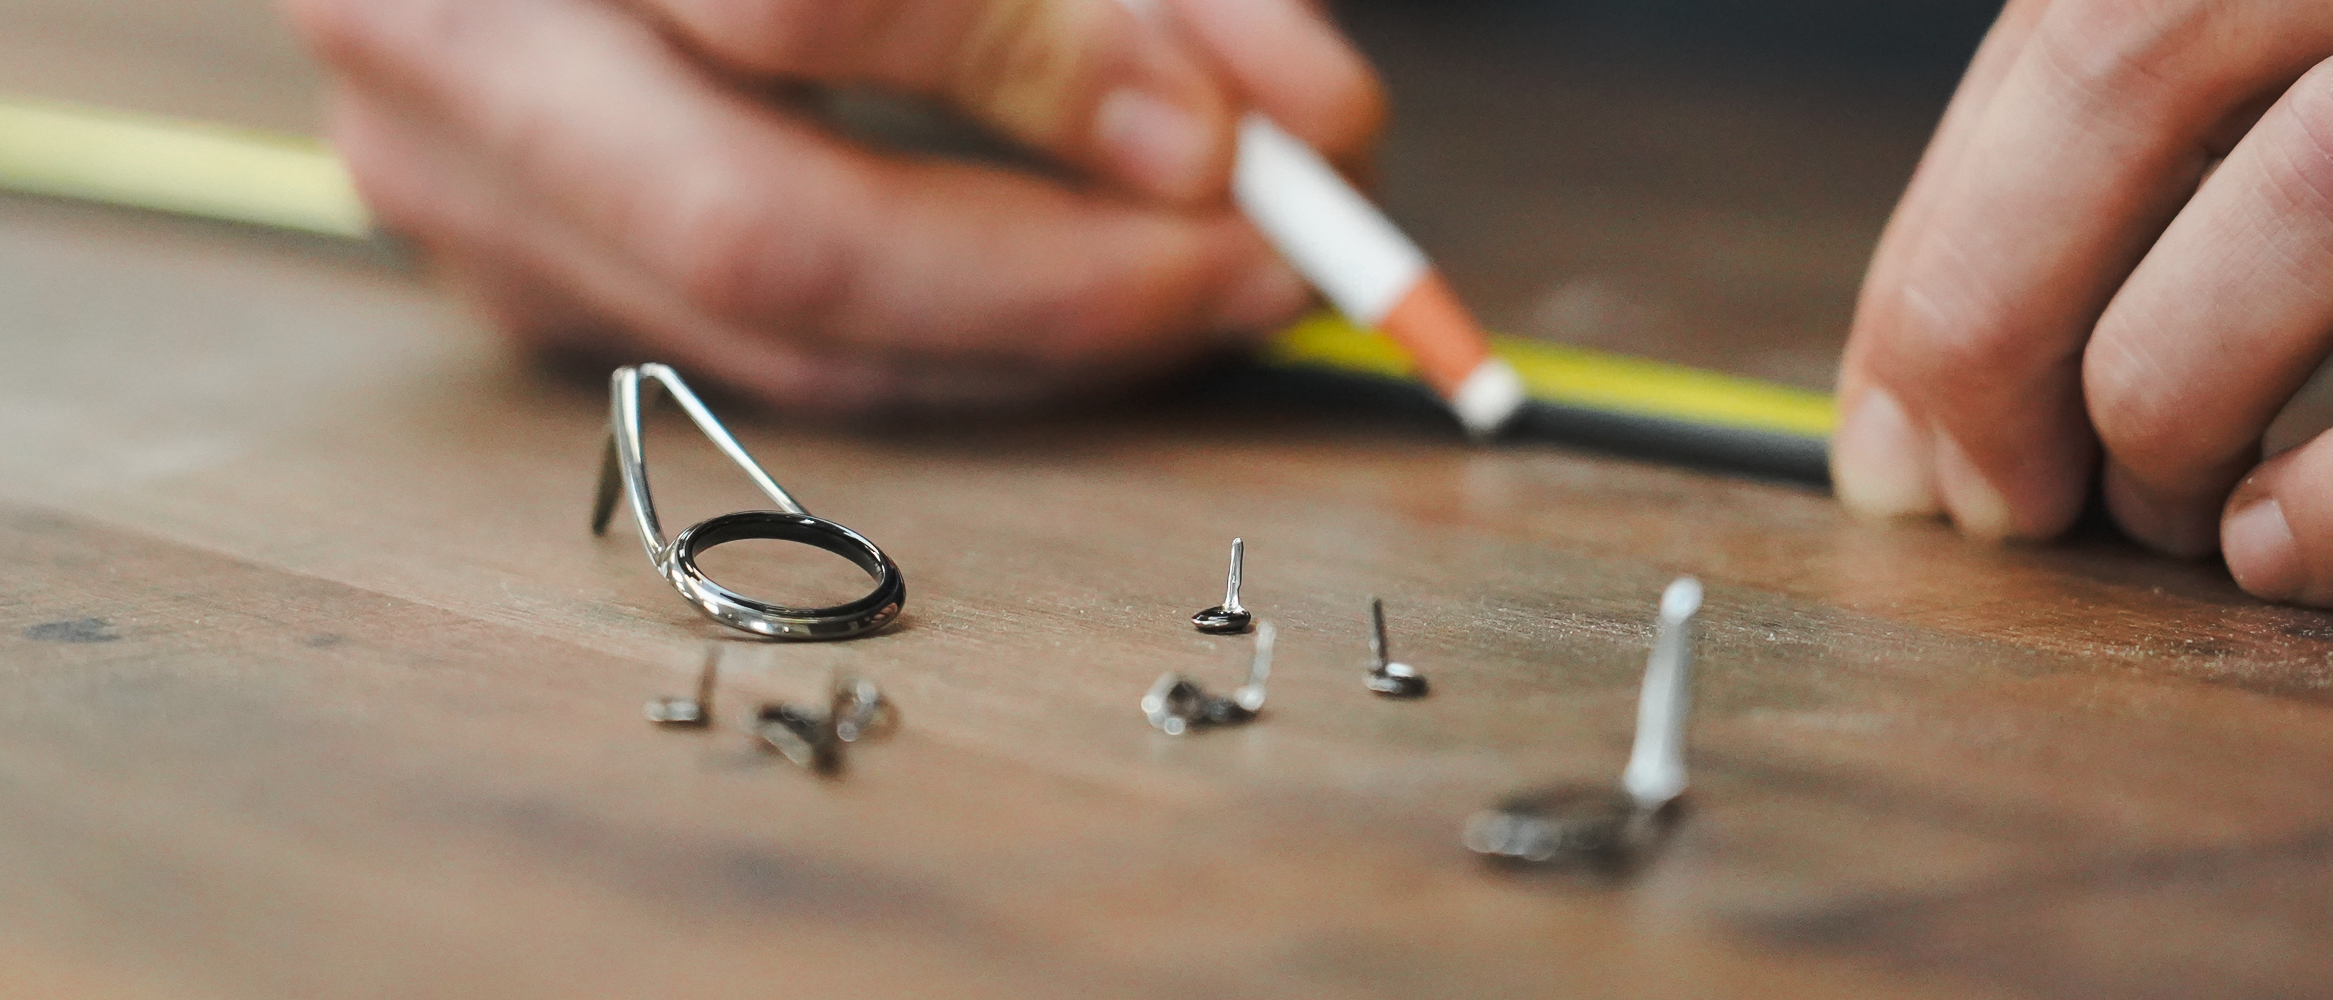
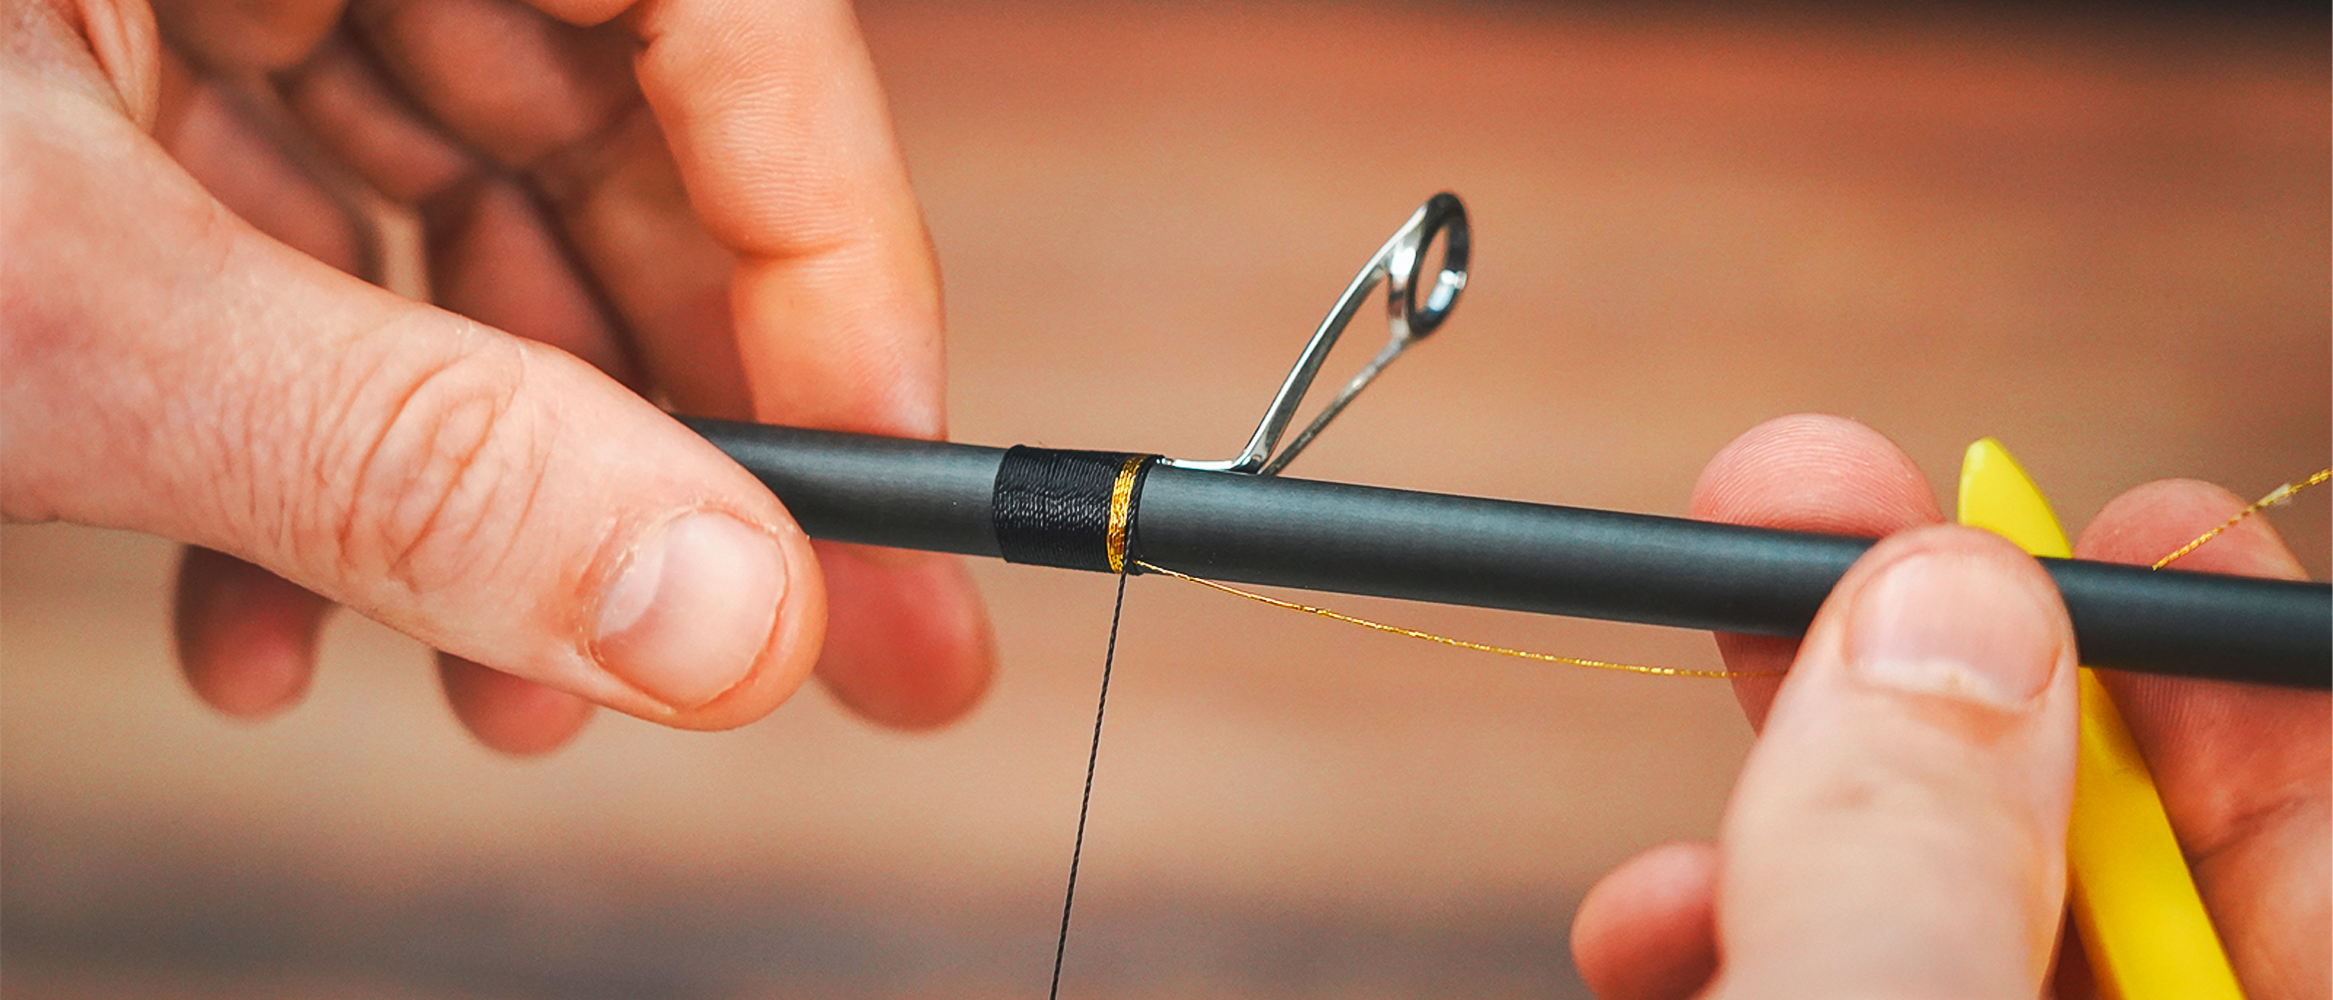
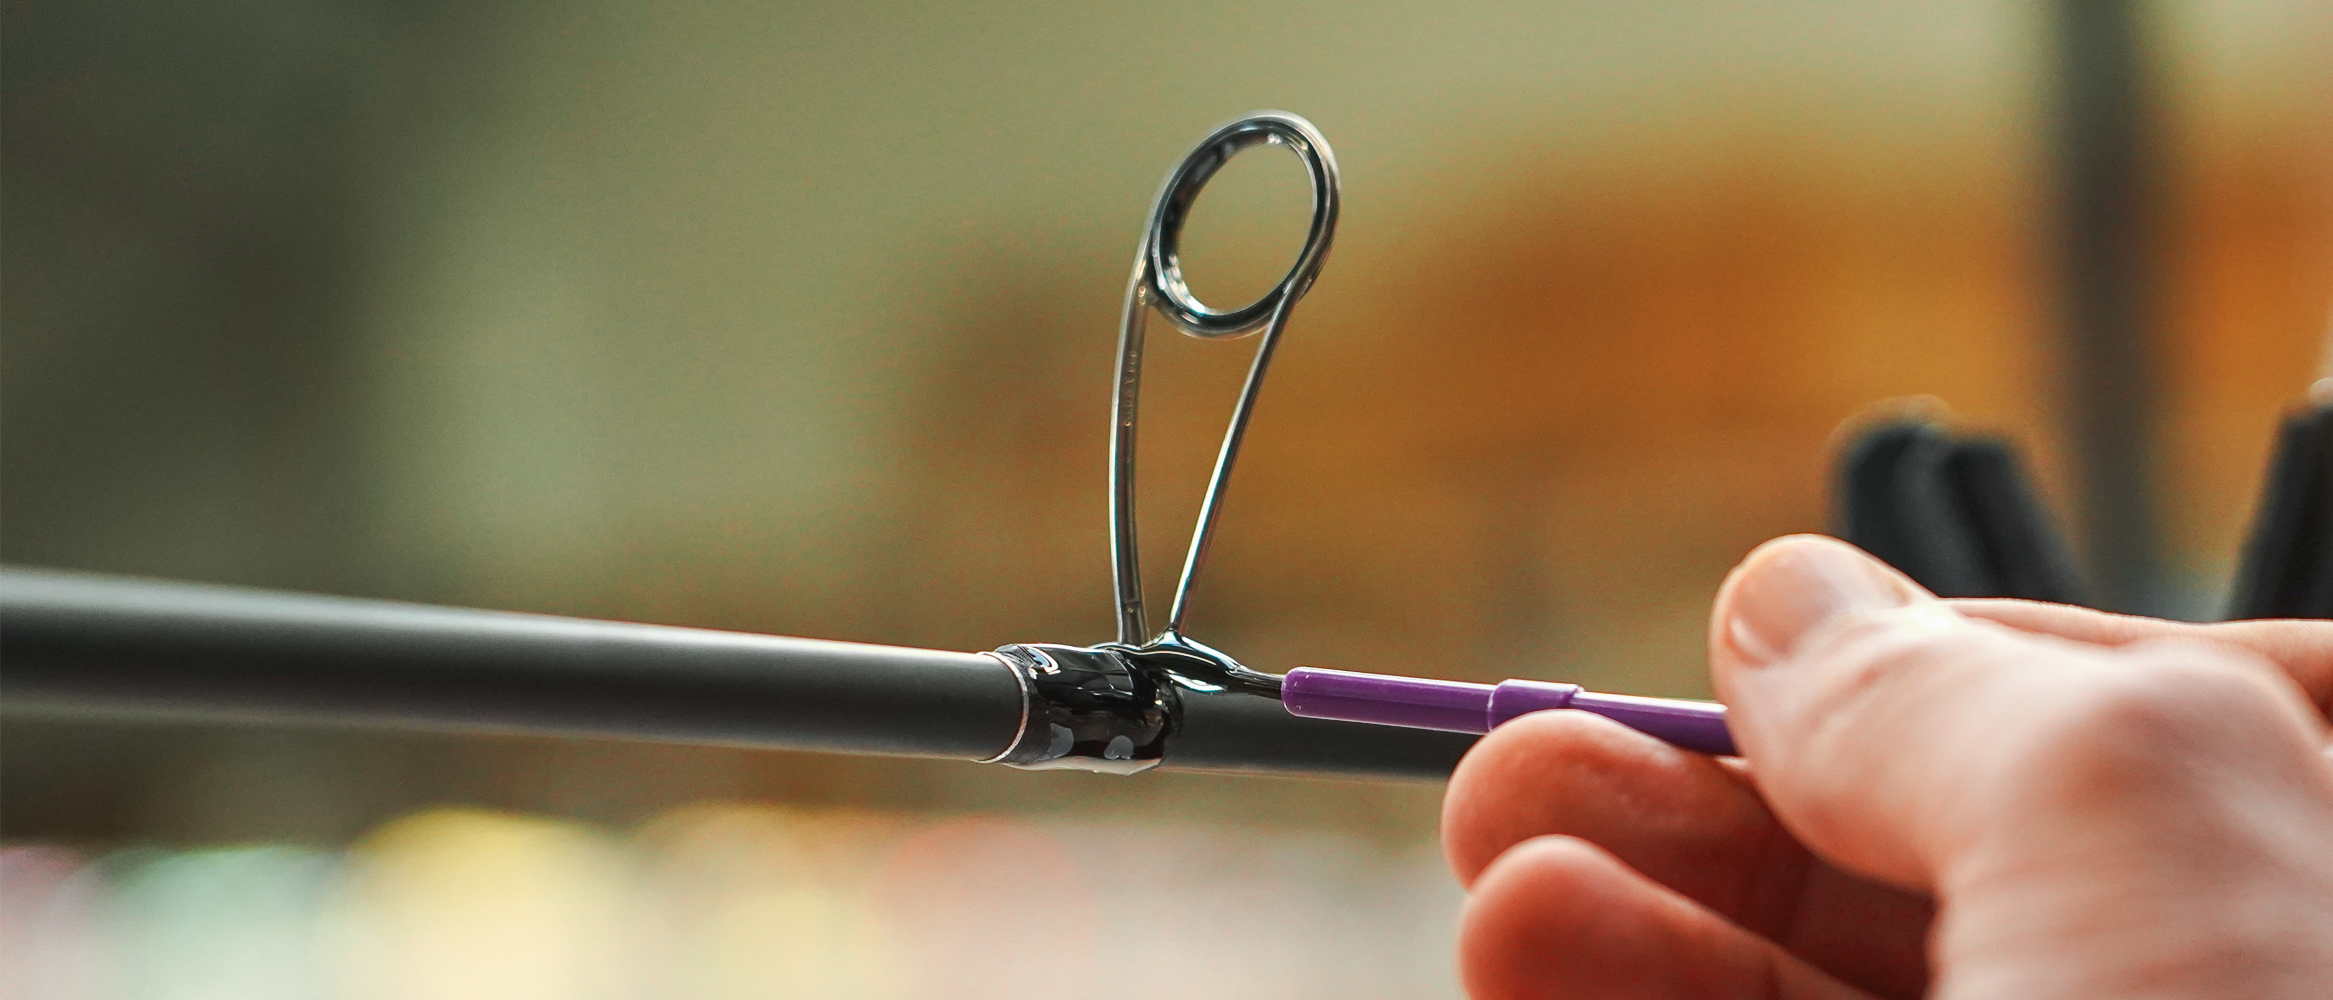
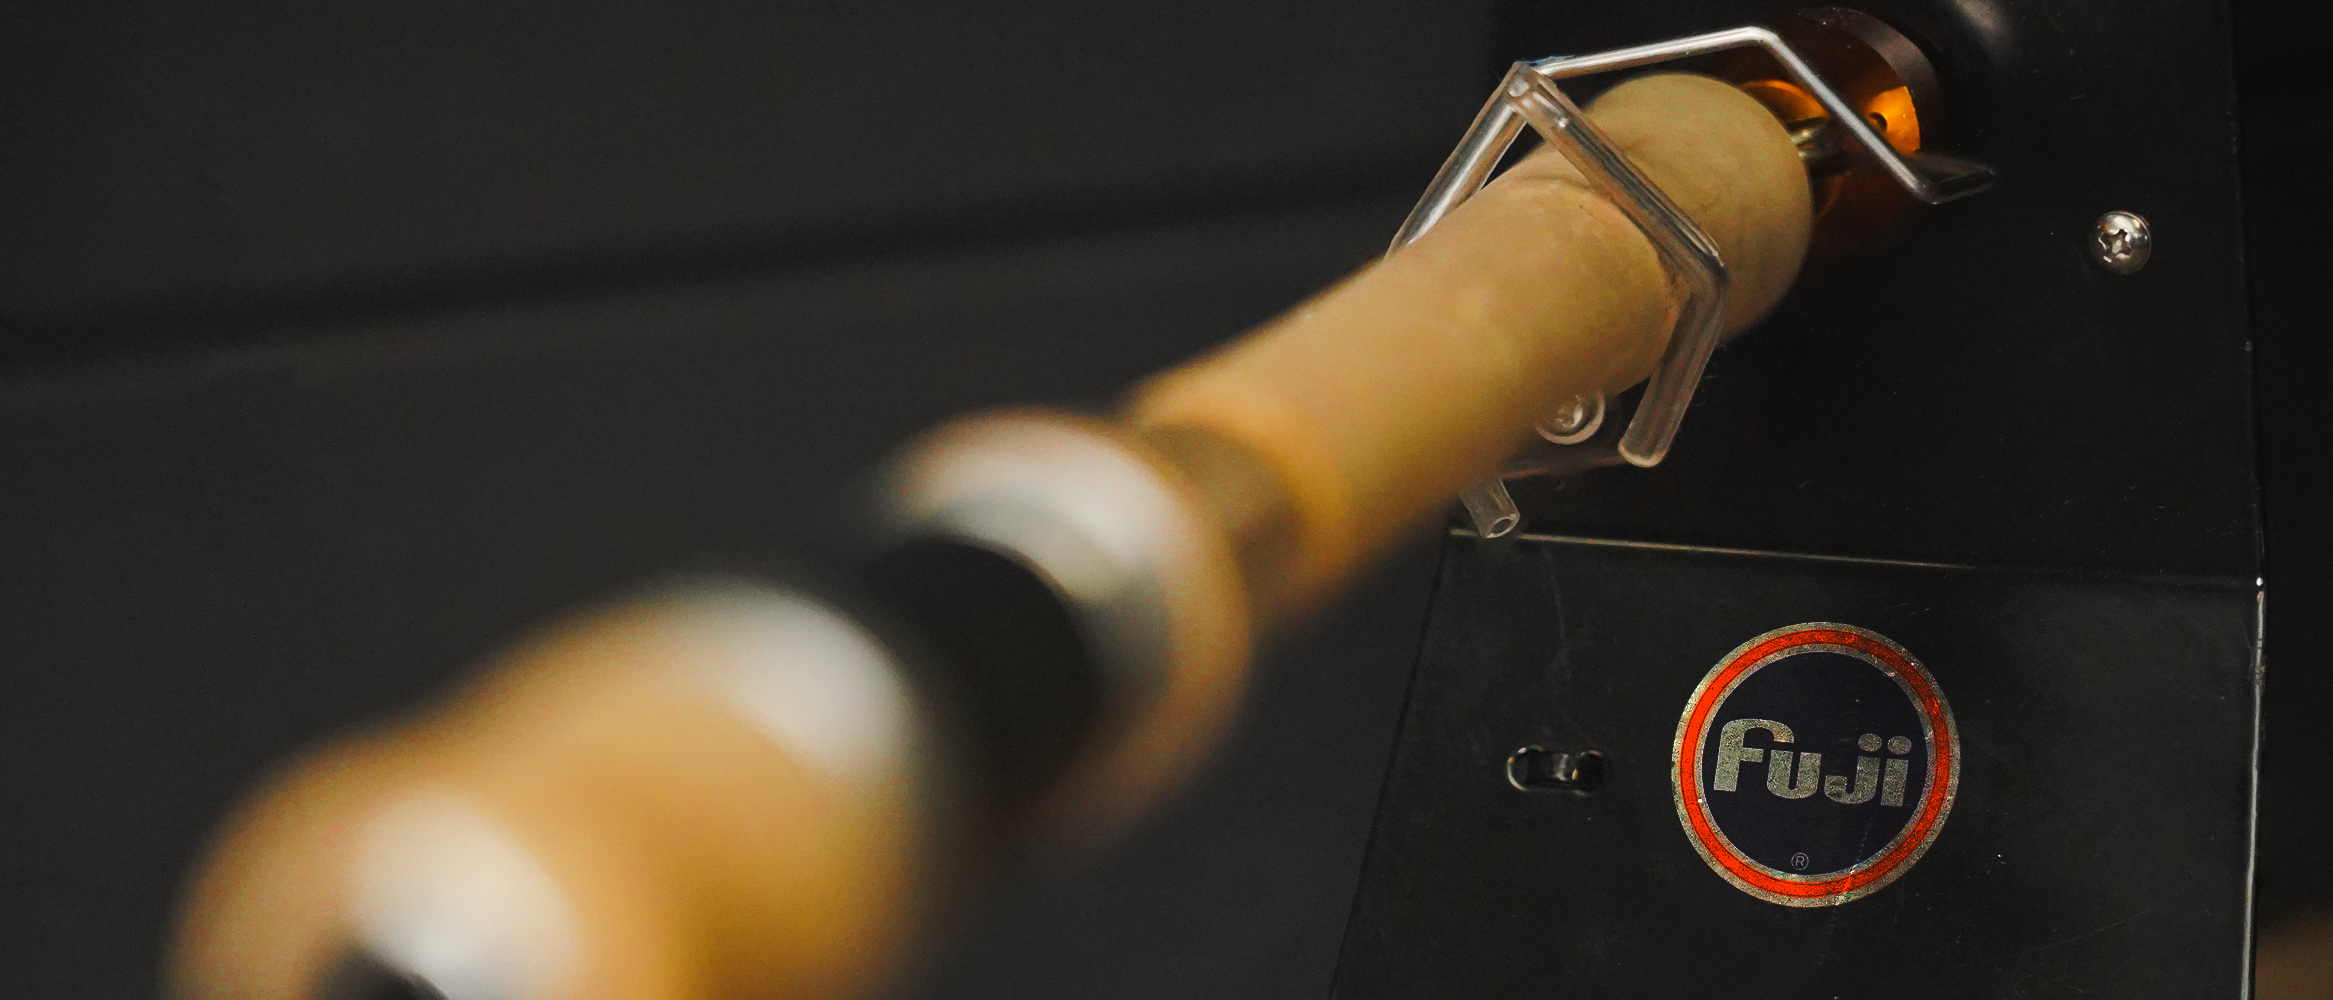
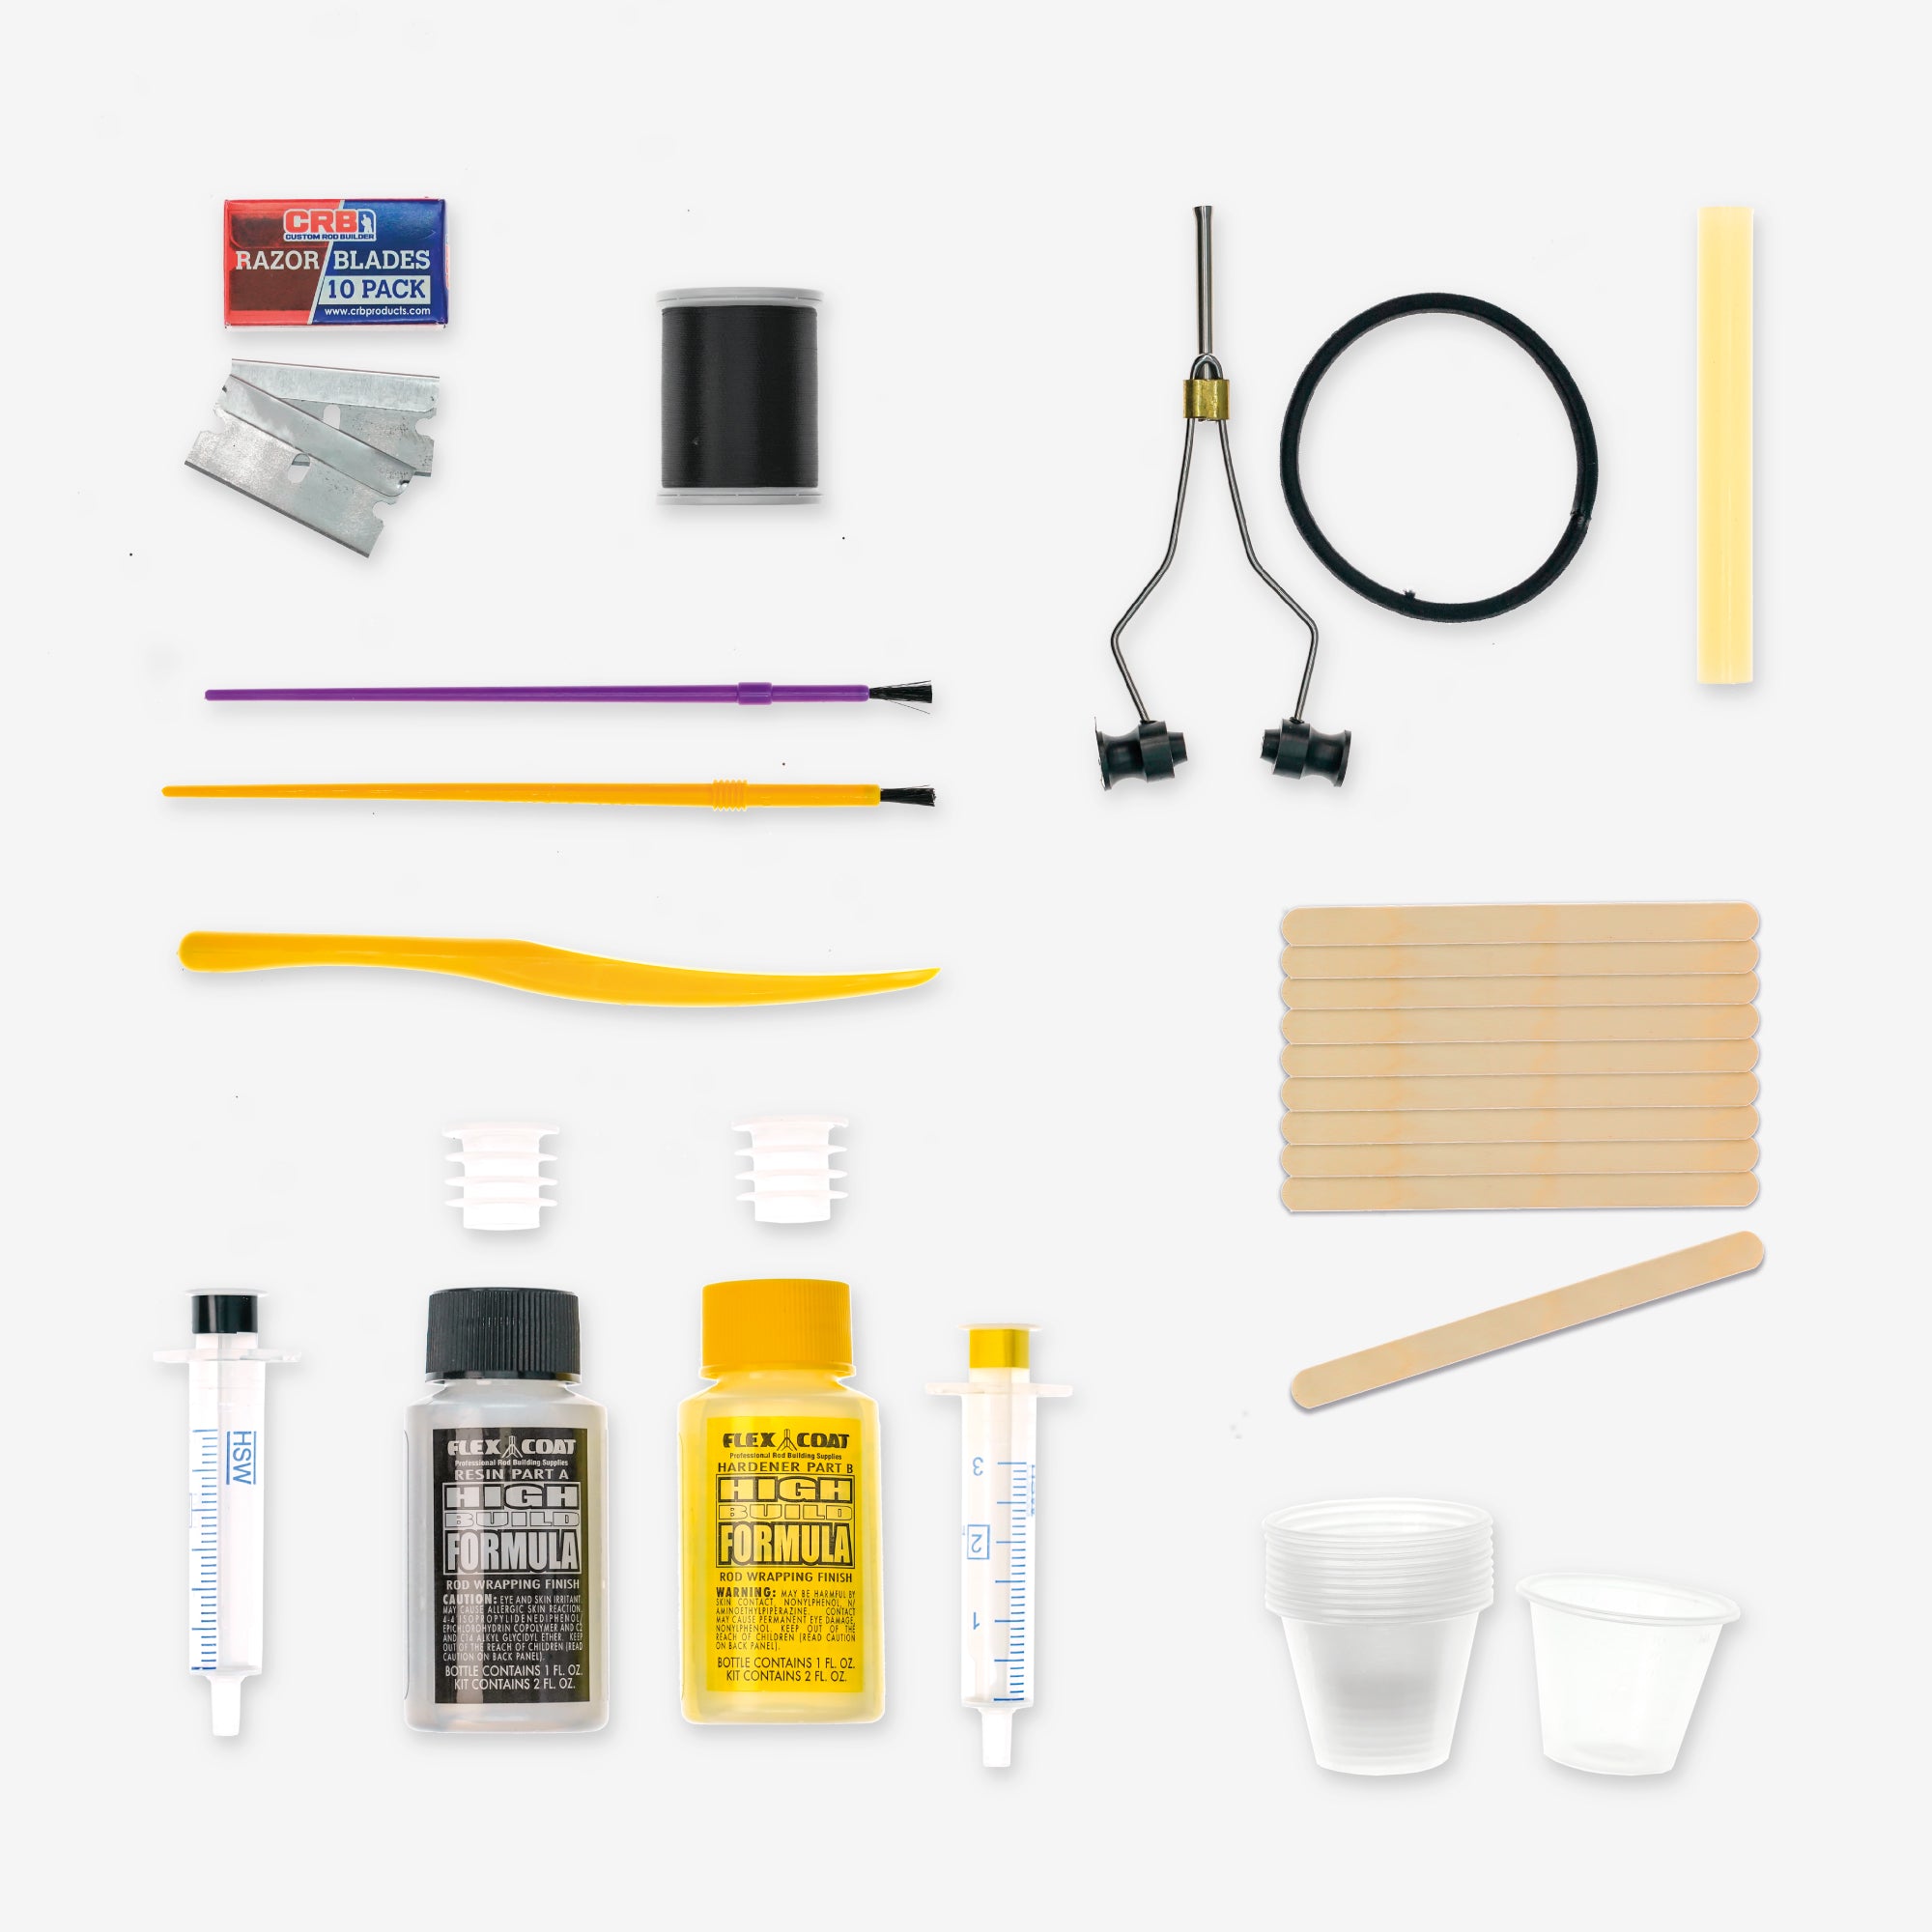
Placer les anneaux
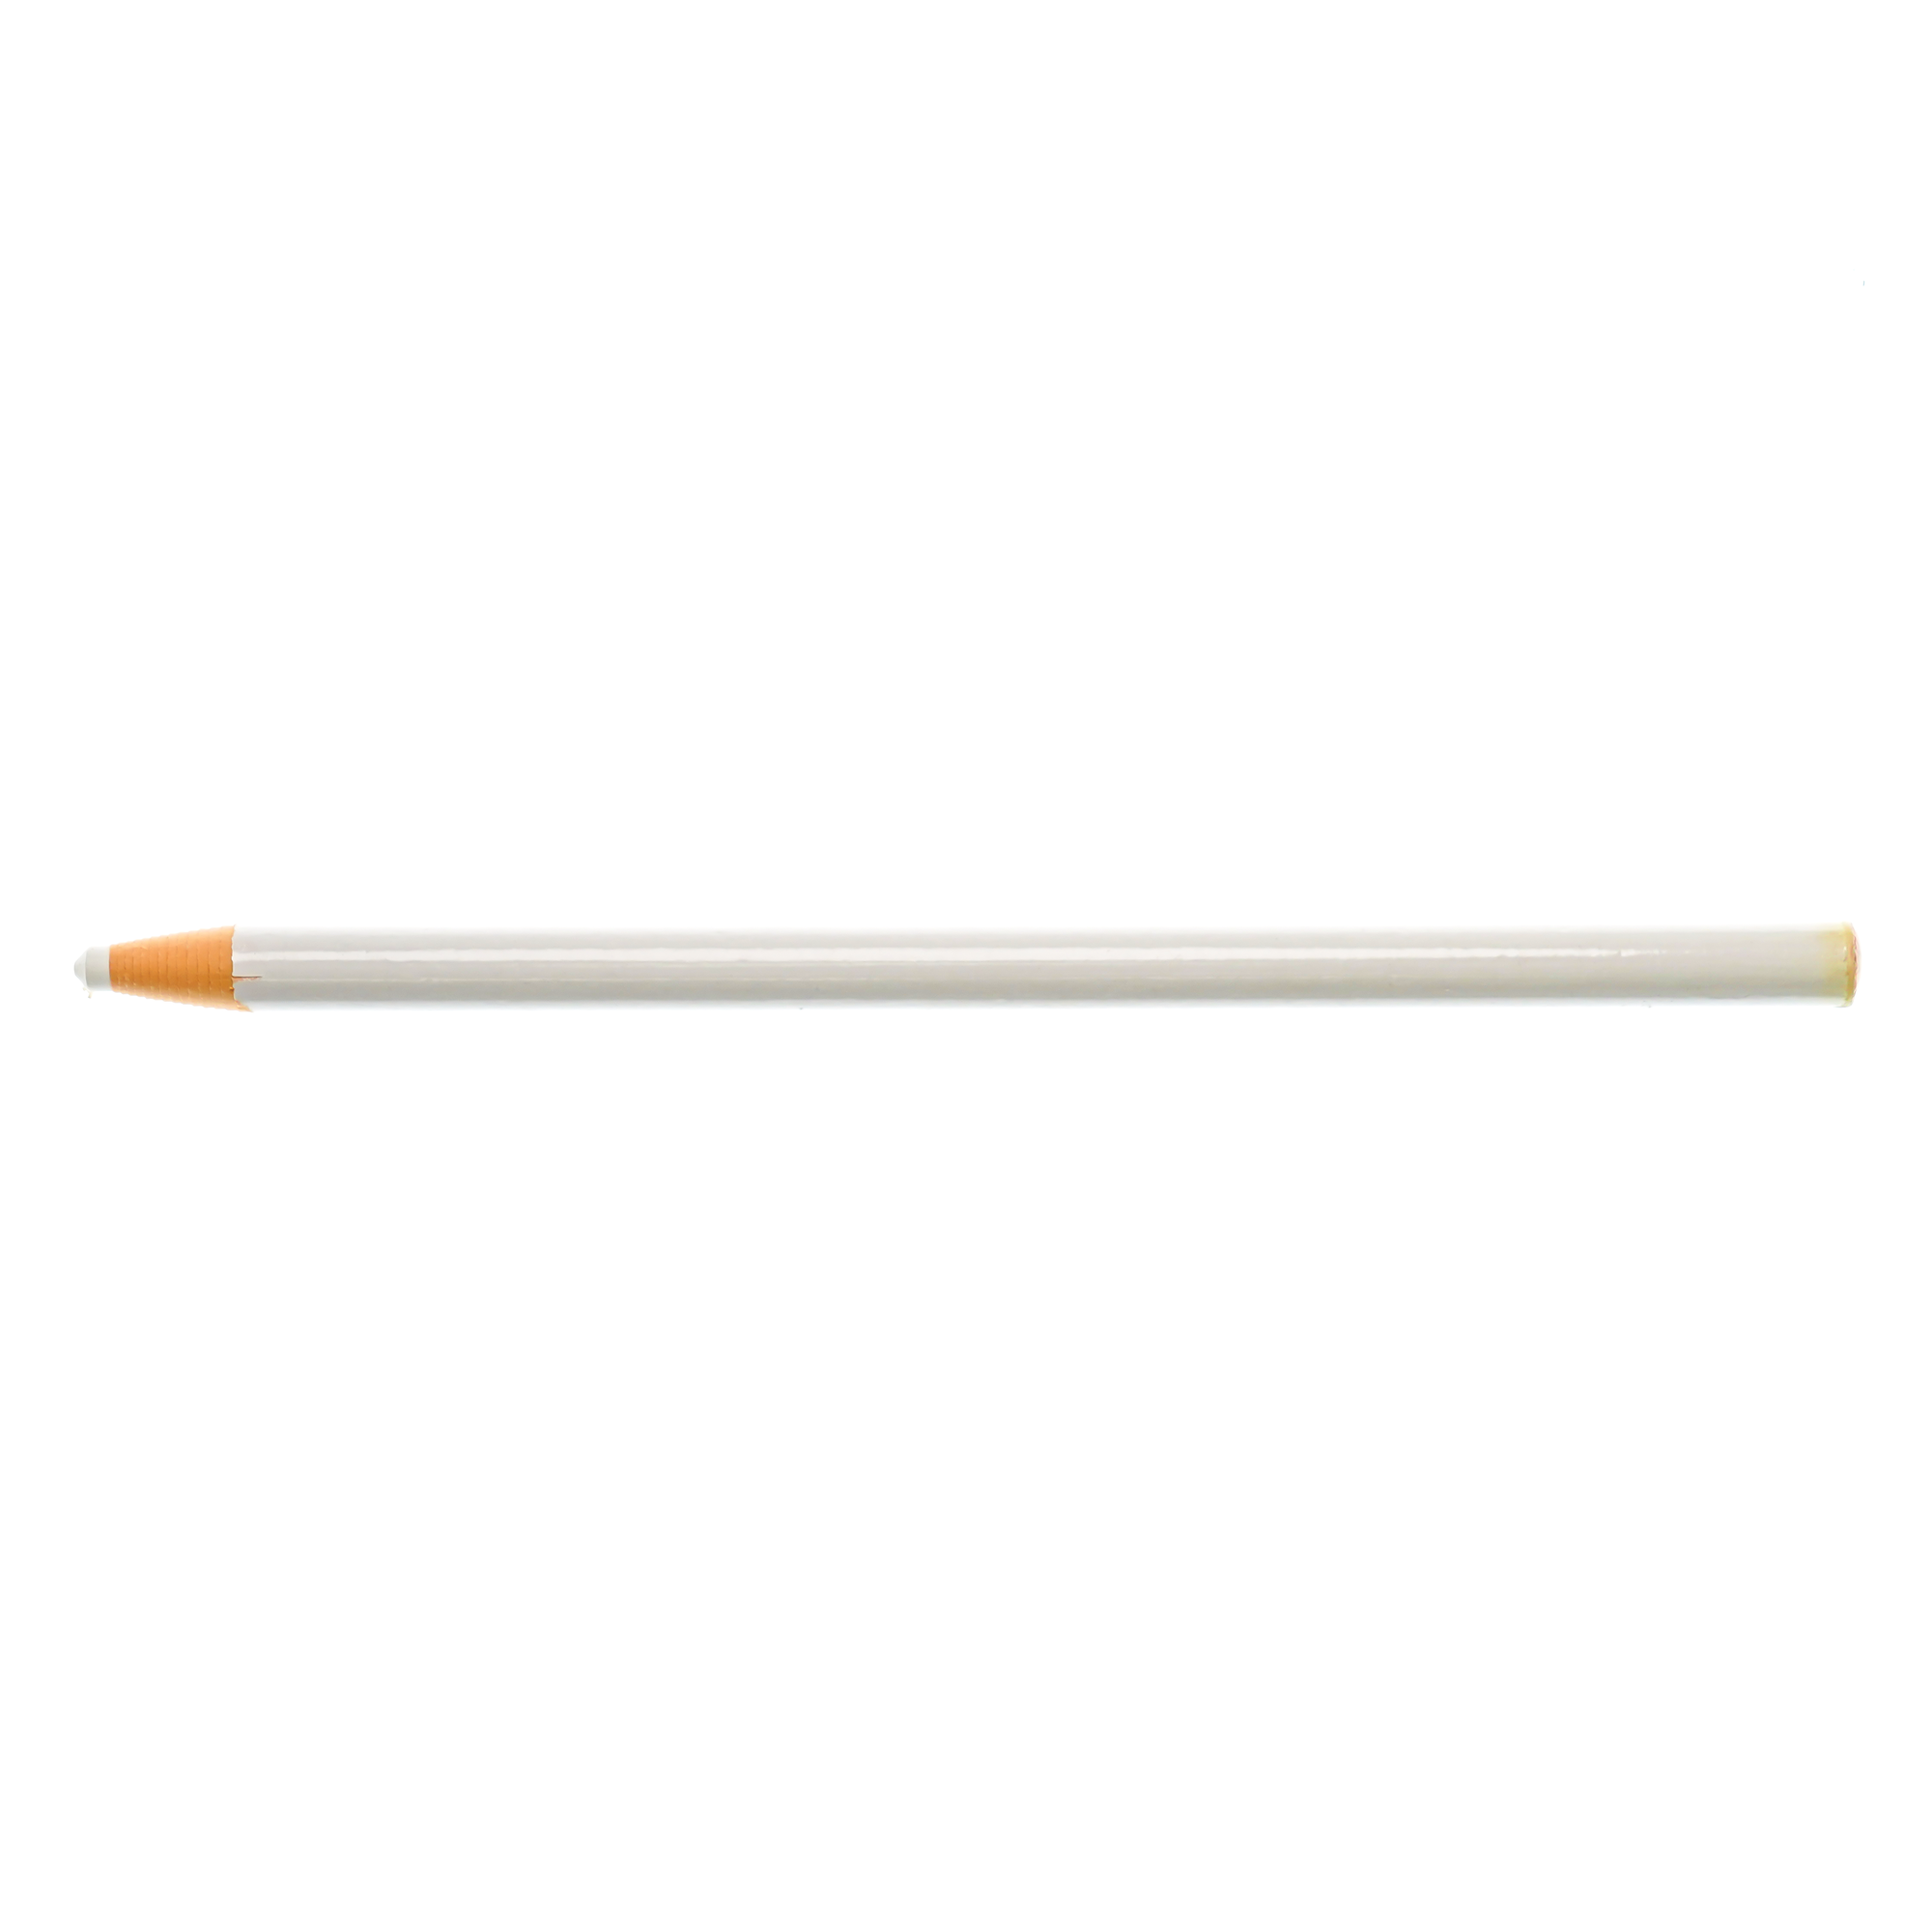
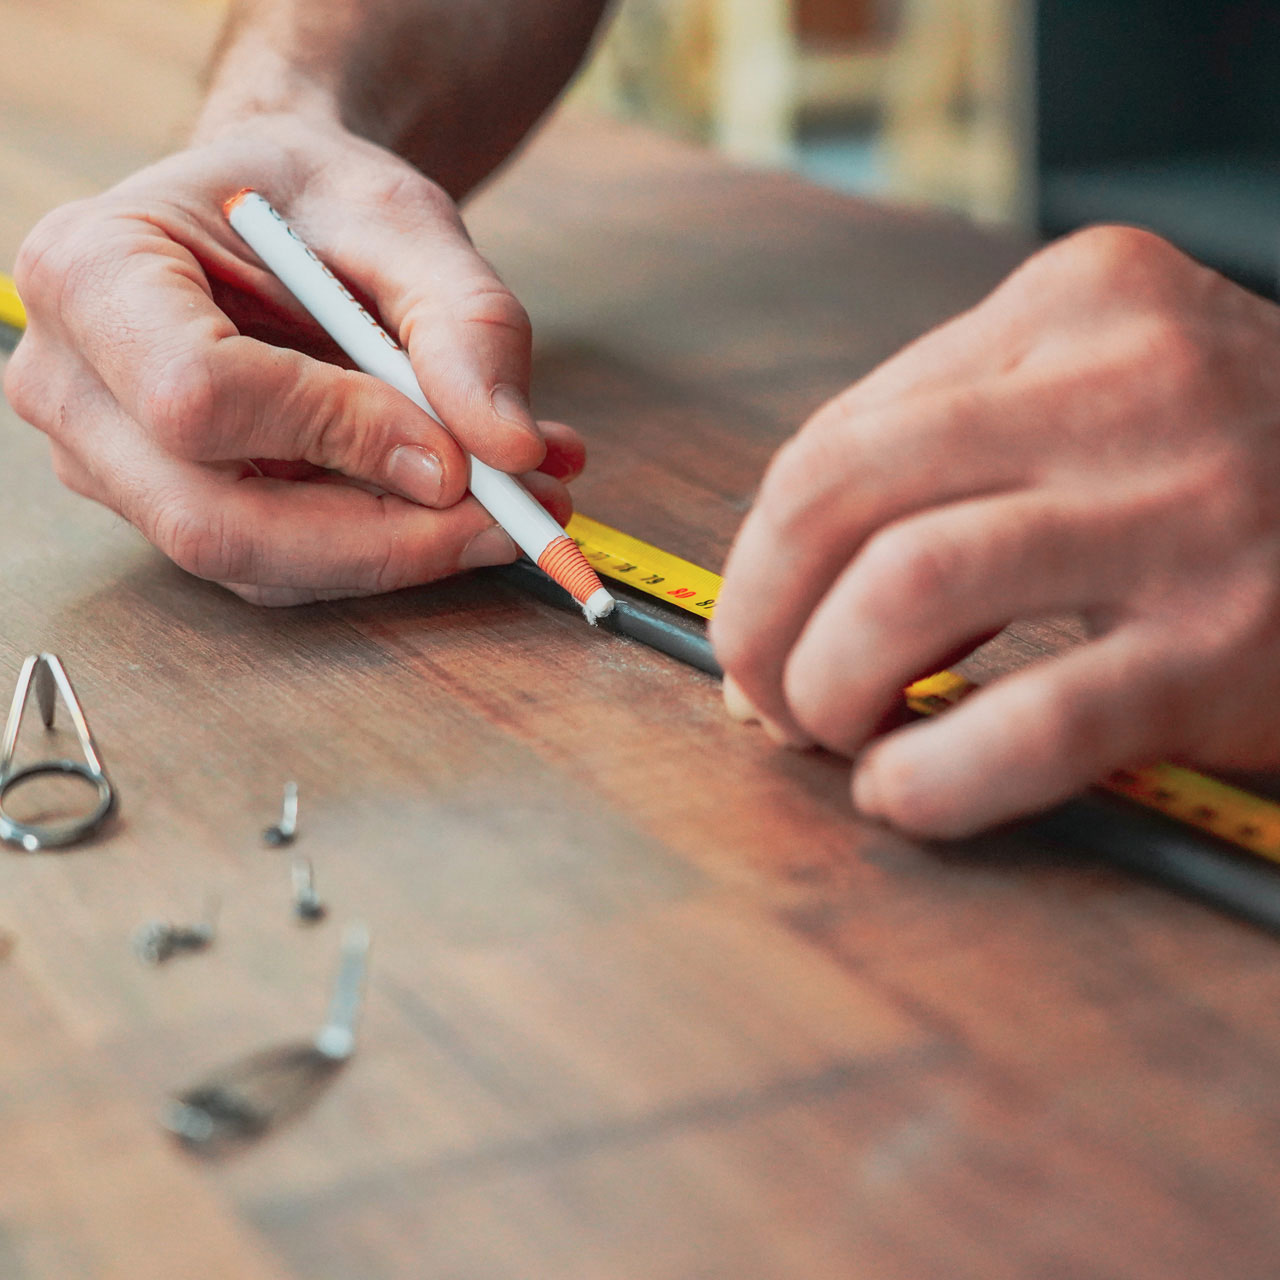
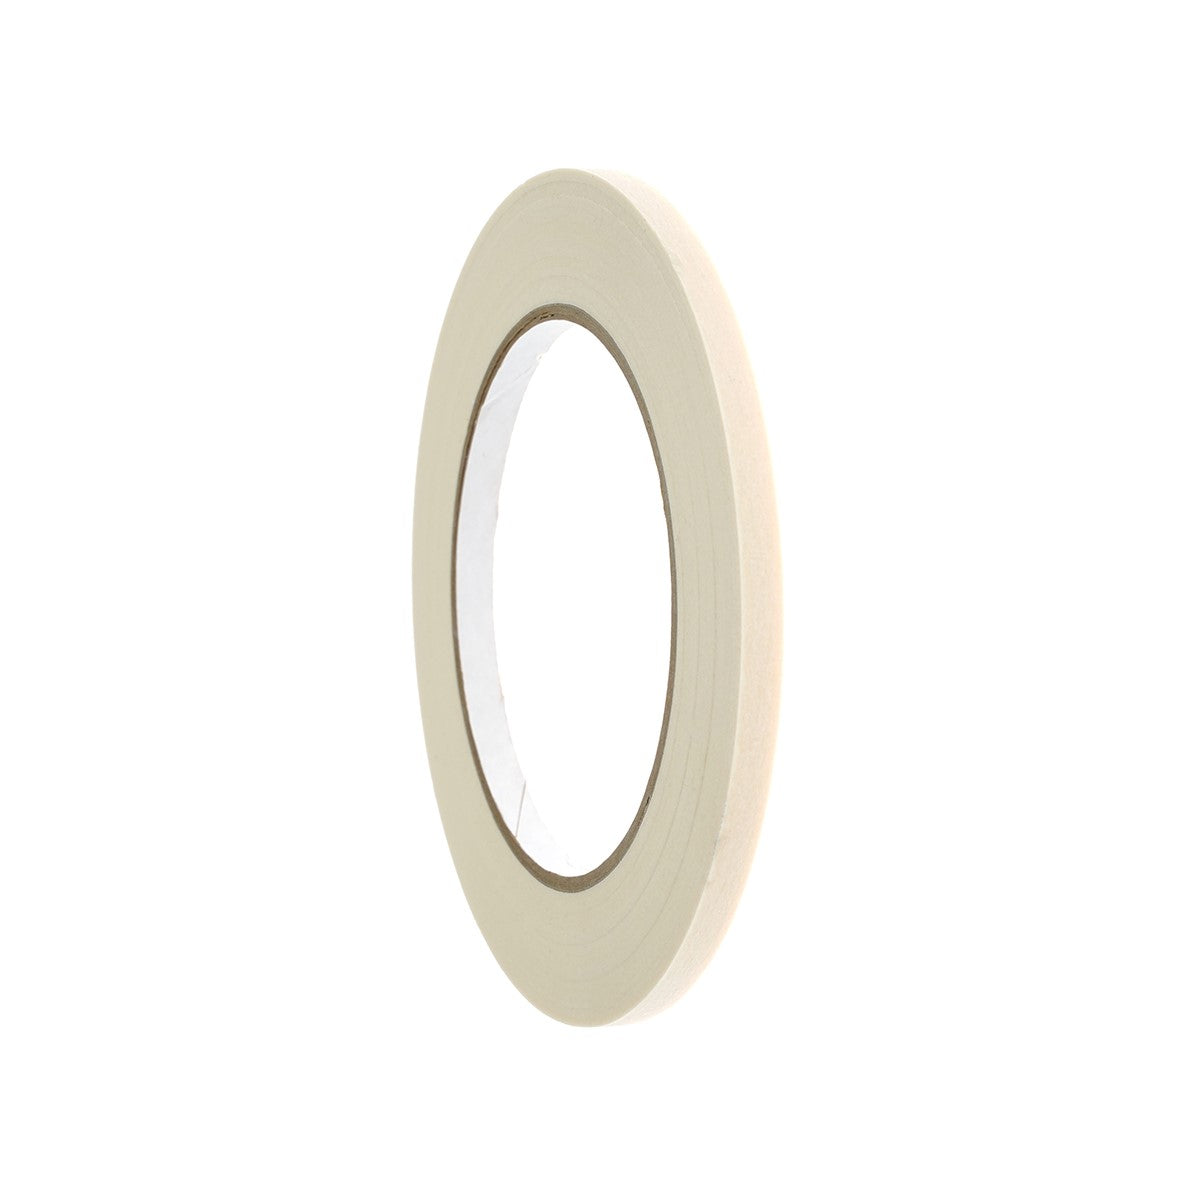
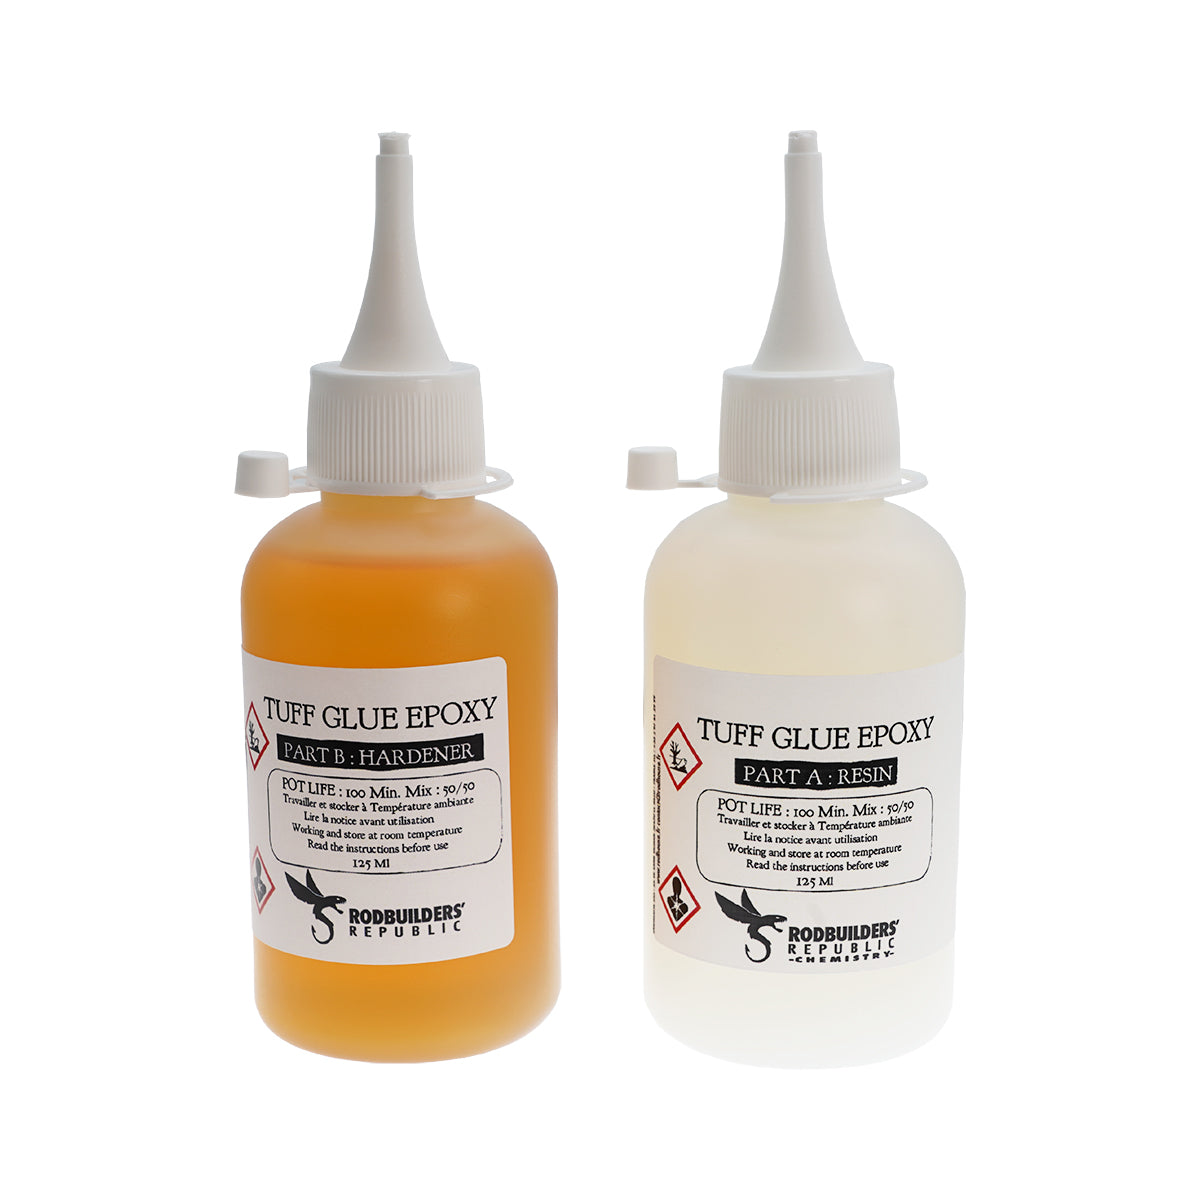
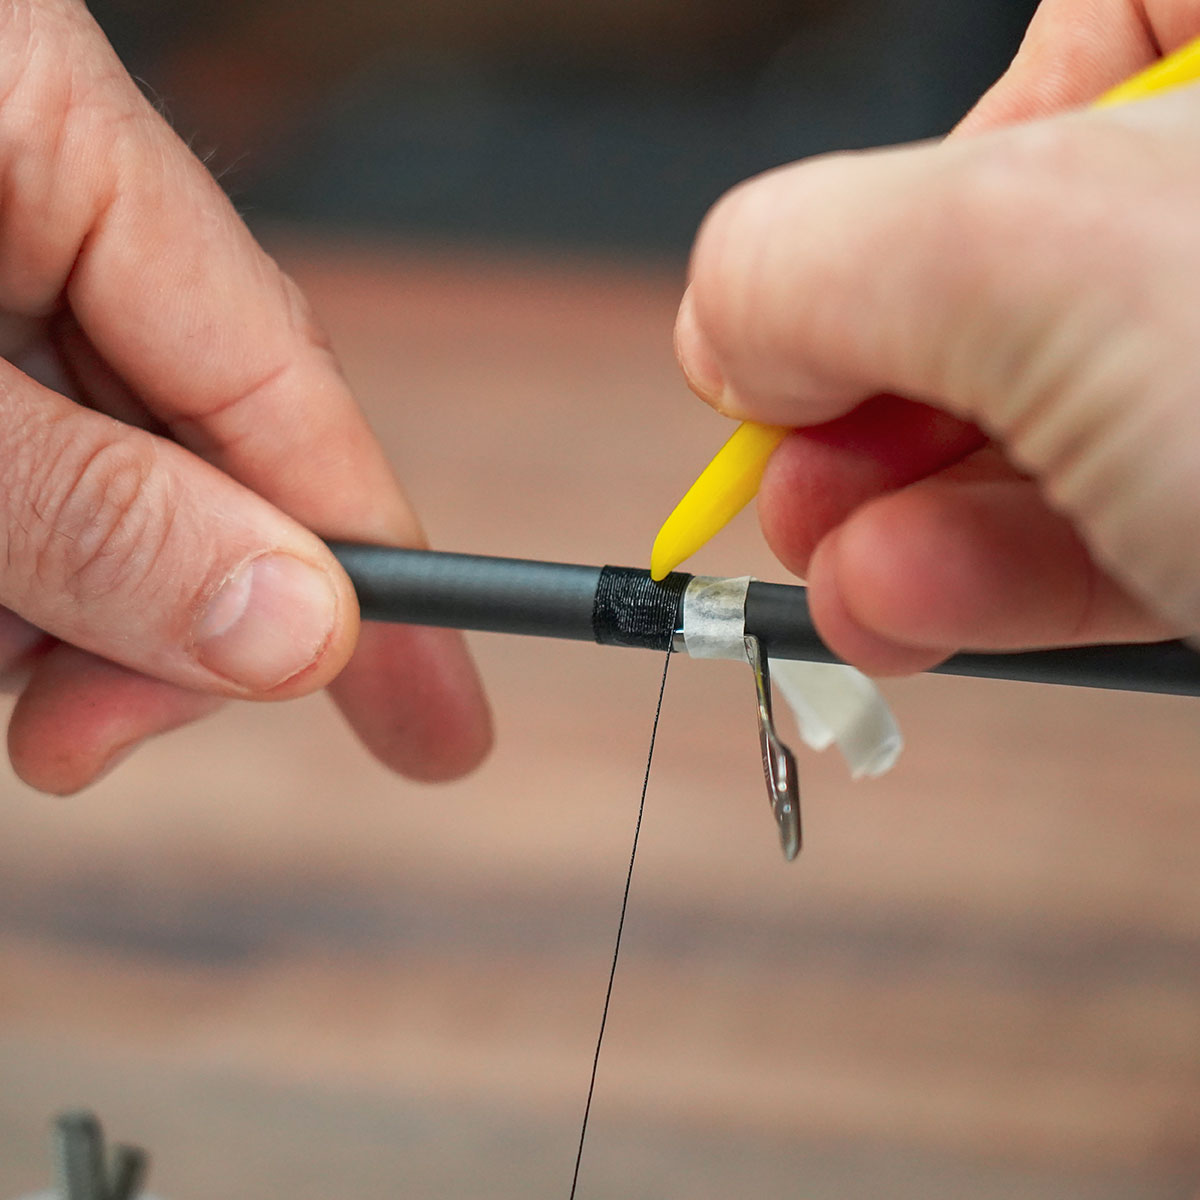
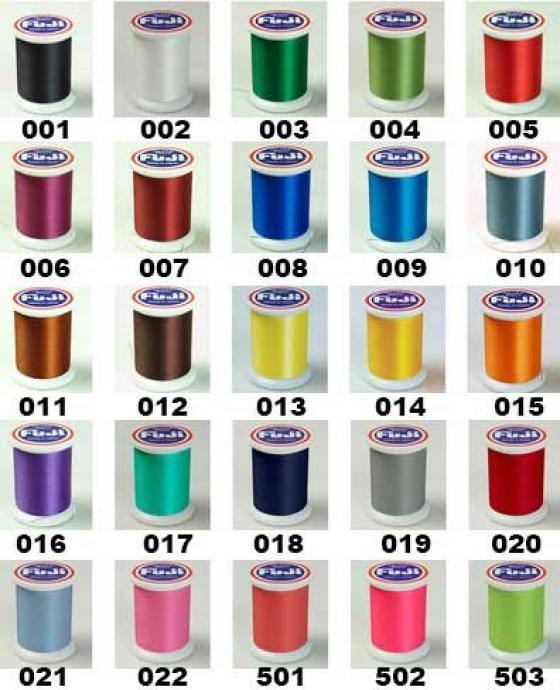
Nous allons vous montrer comment répartir vos anneaux sur votre blank. Nous allons déterminer l'emplacement des anneaux selon un tableau d'espacement (Spacing Chart) réalisée par Fuji. Dans l'exemple suivant, nous choisissons un pack KR Spinning pour une canne de 6'6 et un anneau de pointe avec une finition identique. L'anneau de pointe est fixé avec une colle thermofusible. Ensuite, on marque les emplacements des anneaux avec un crayon blanc, et on place les anneaux sur le blank grâce à l'adhésif de masquage. Les outils utilisés dans ce tutoriel sont présents ci-dessous.
Outils utilisés

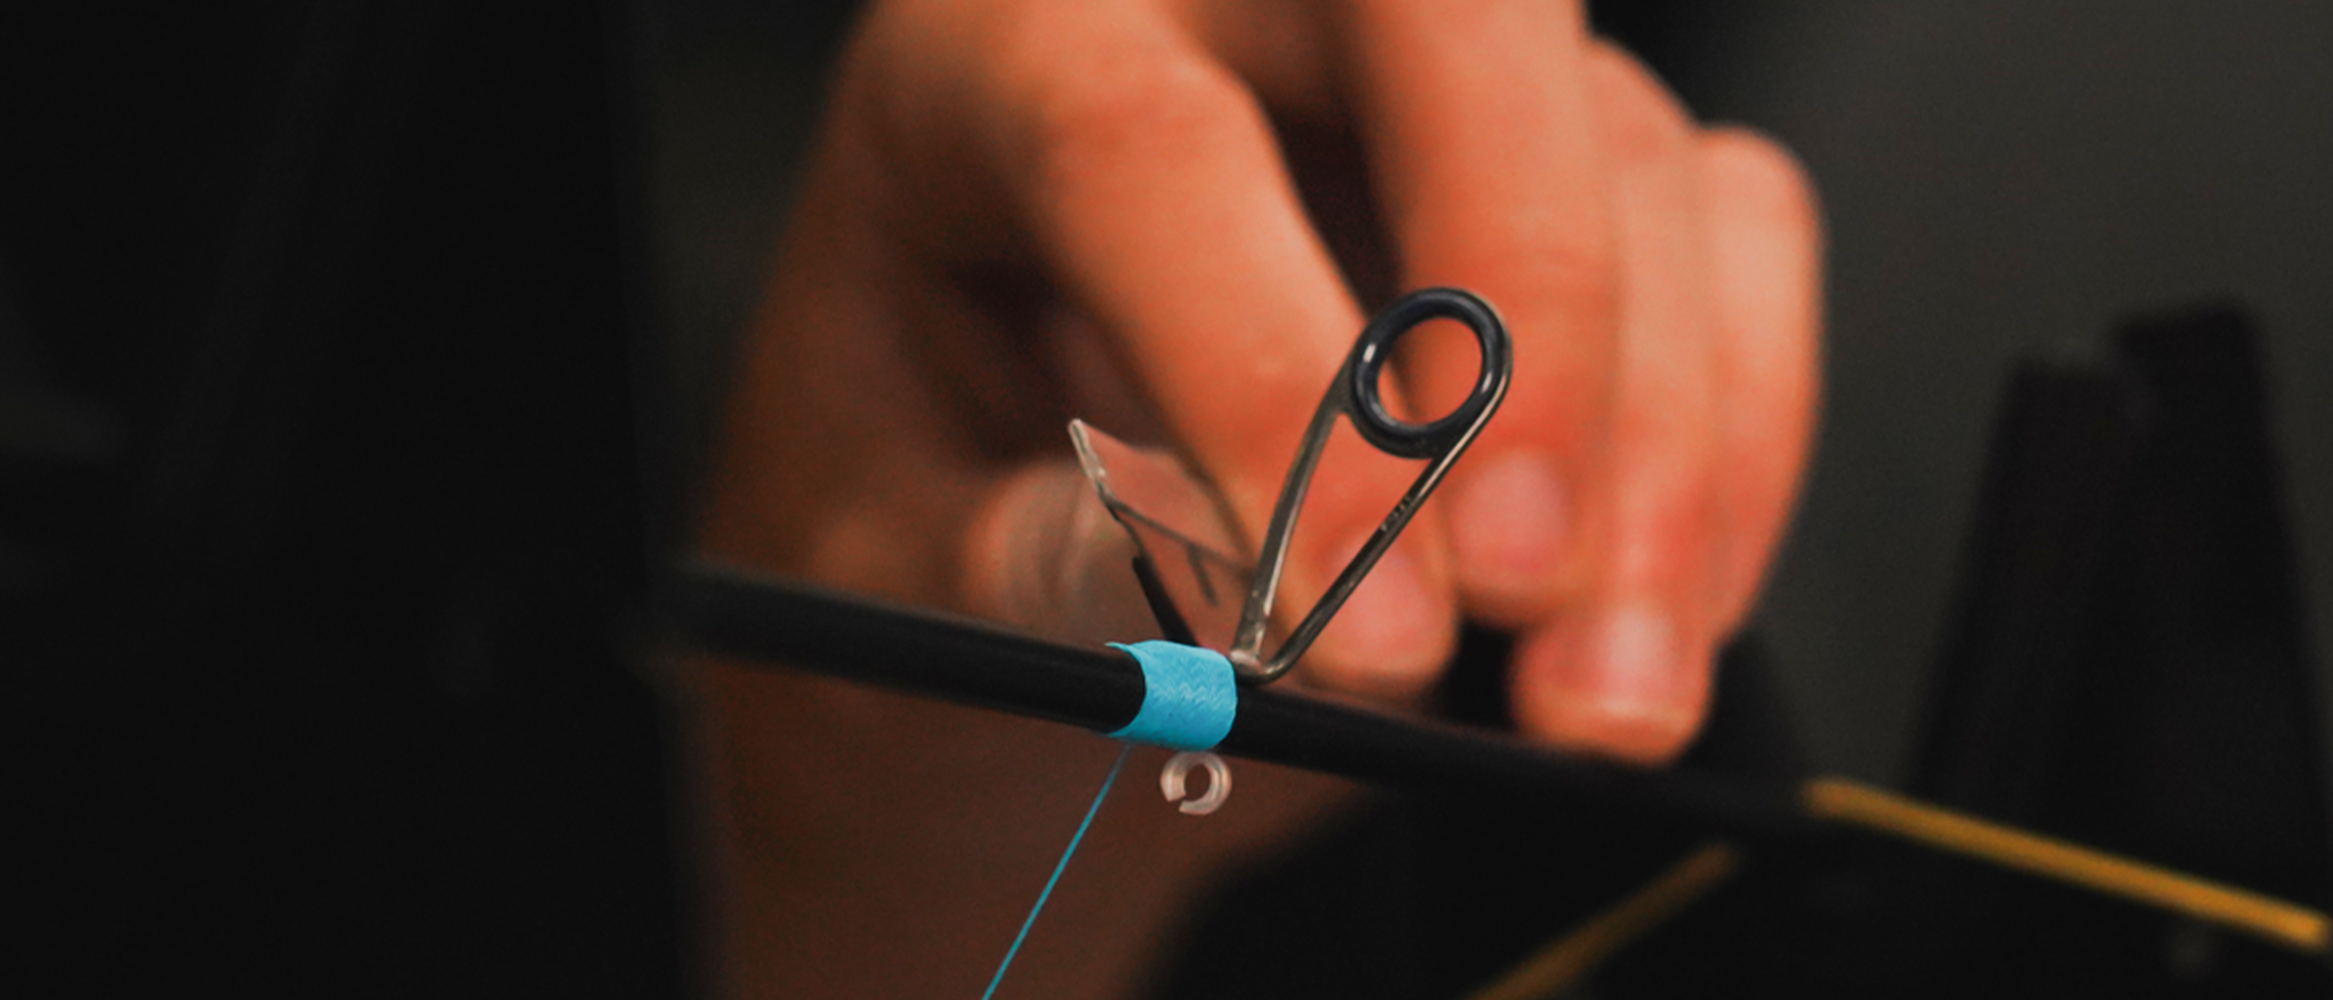
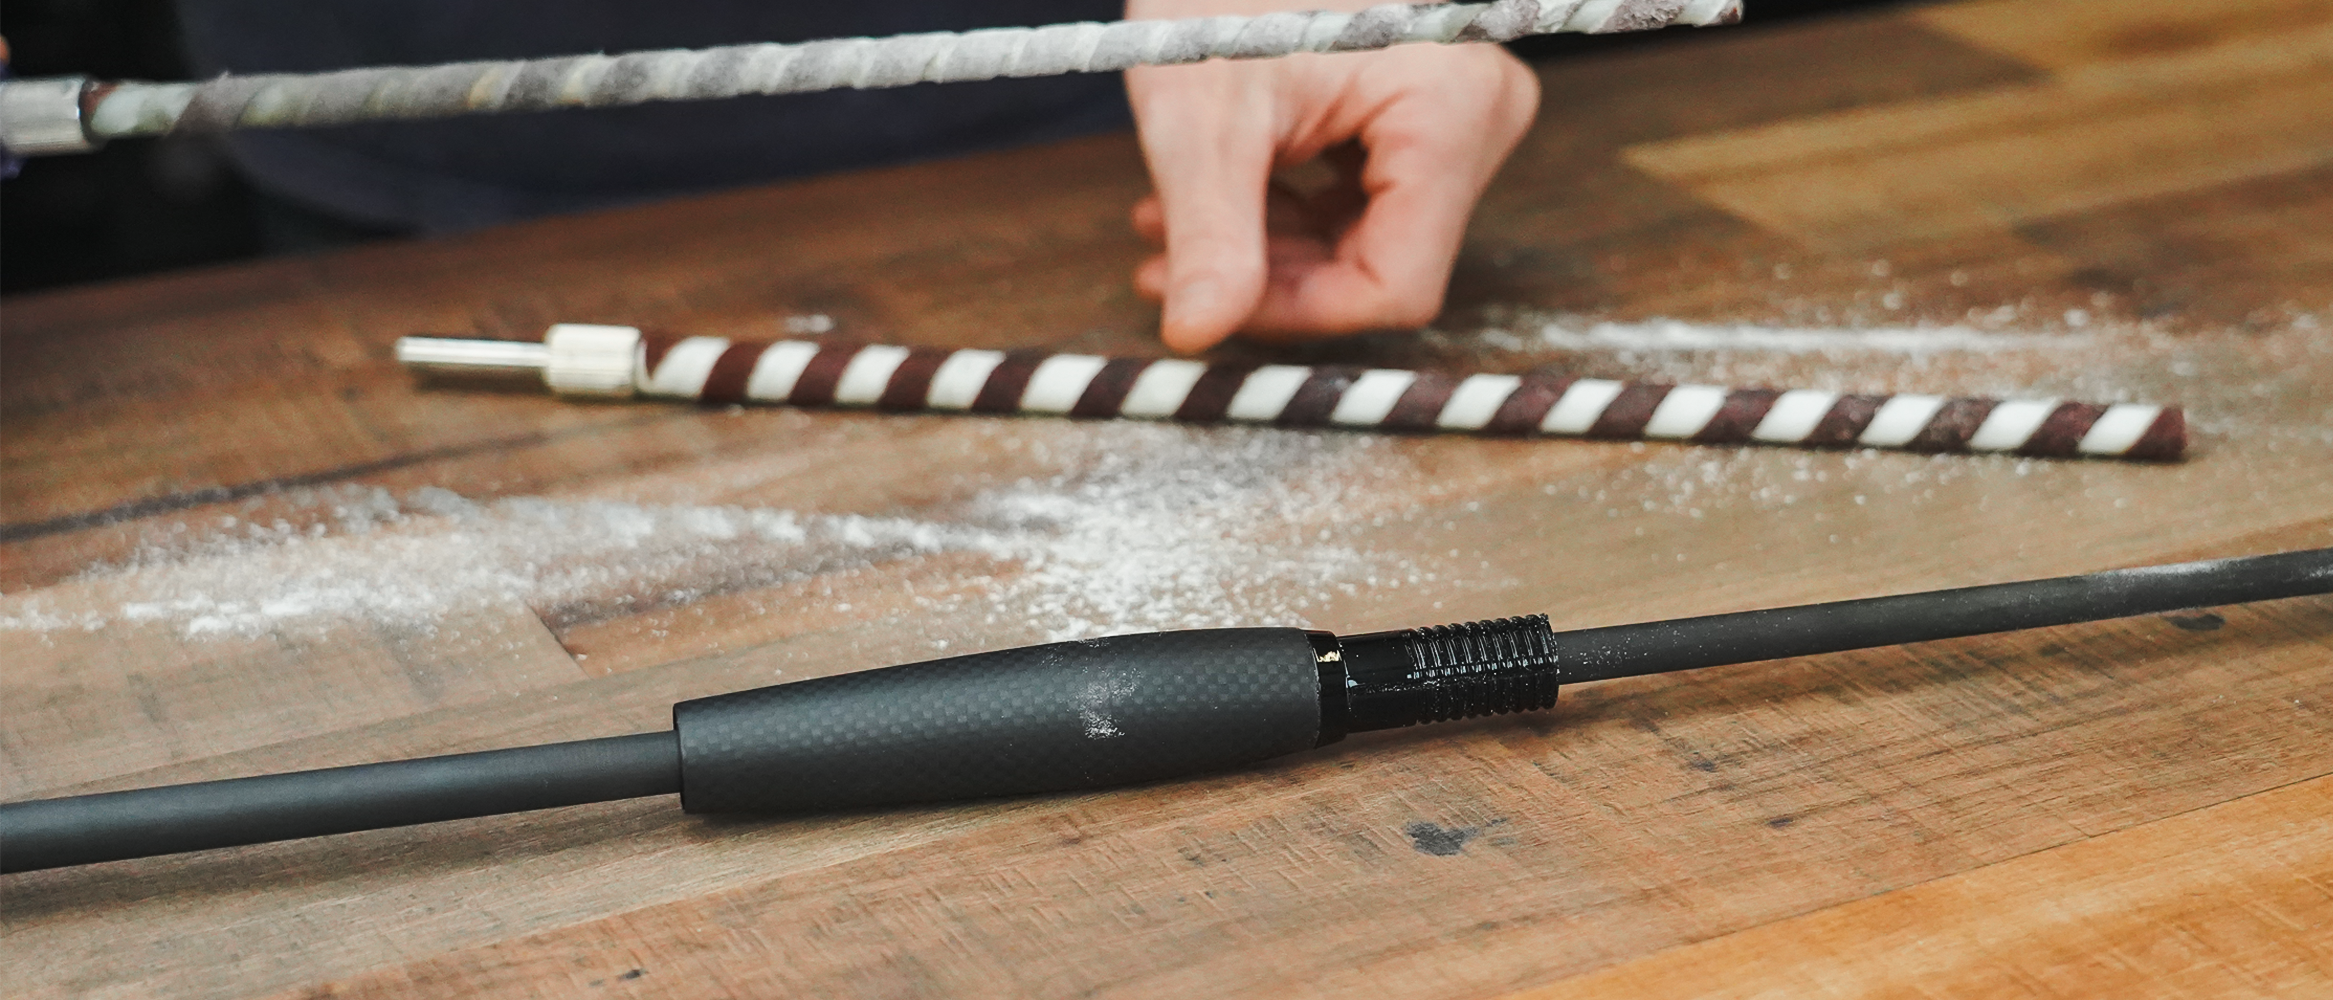
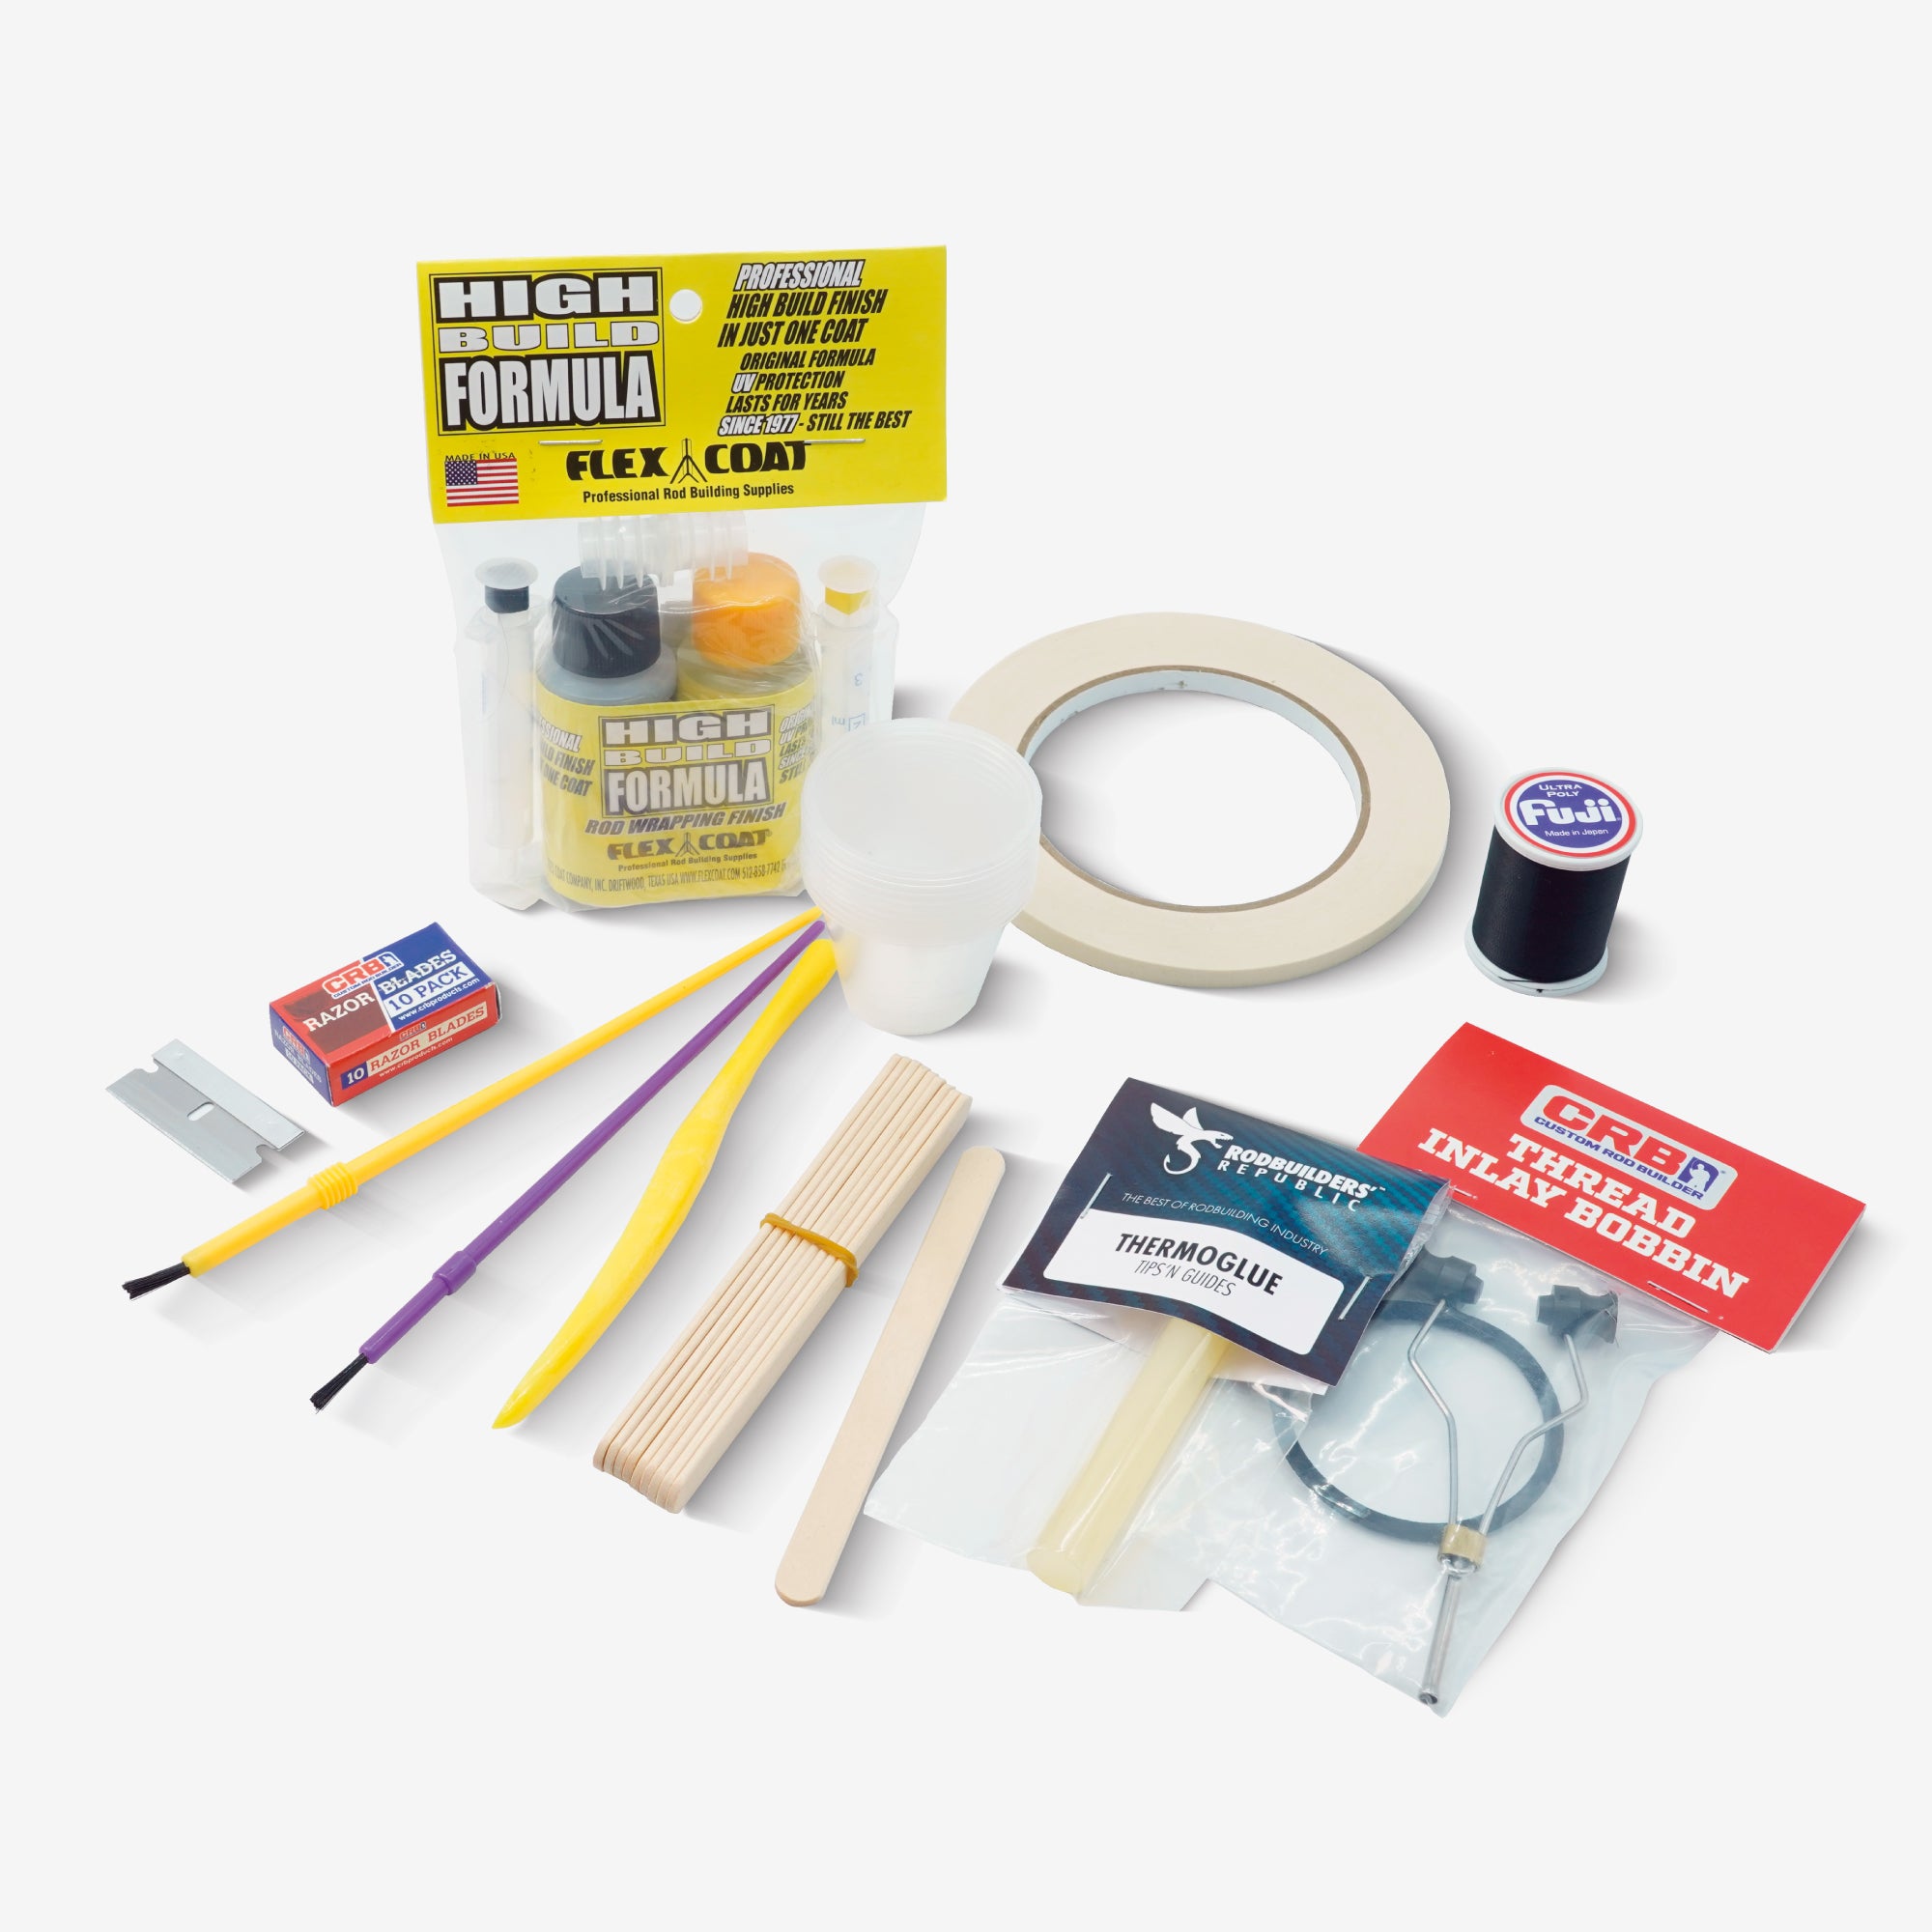
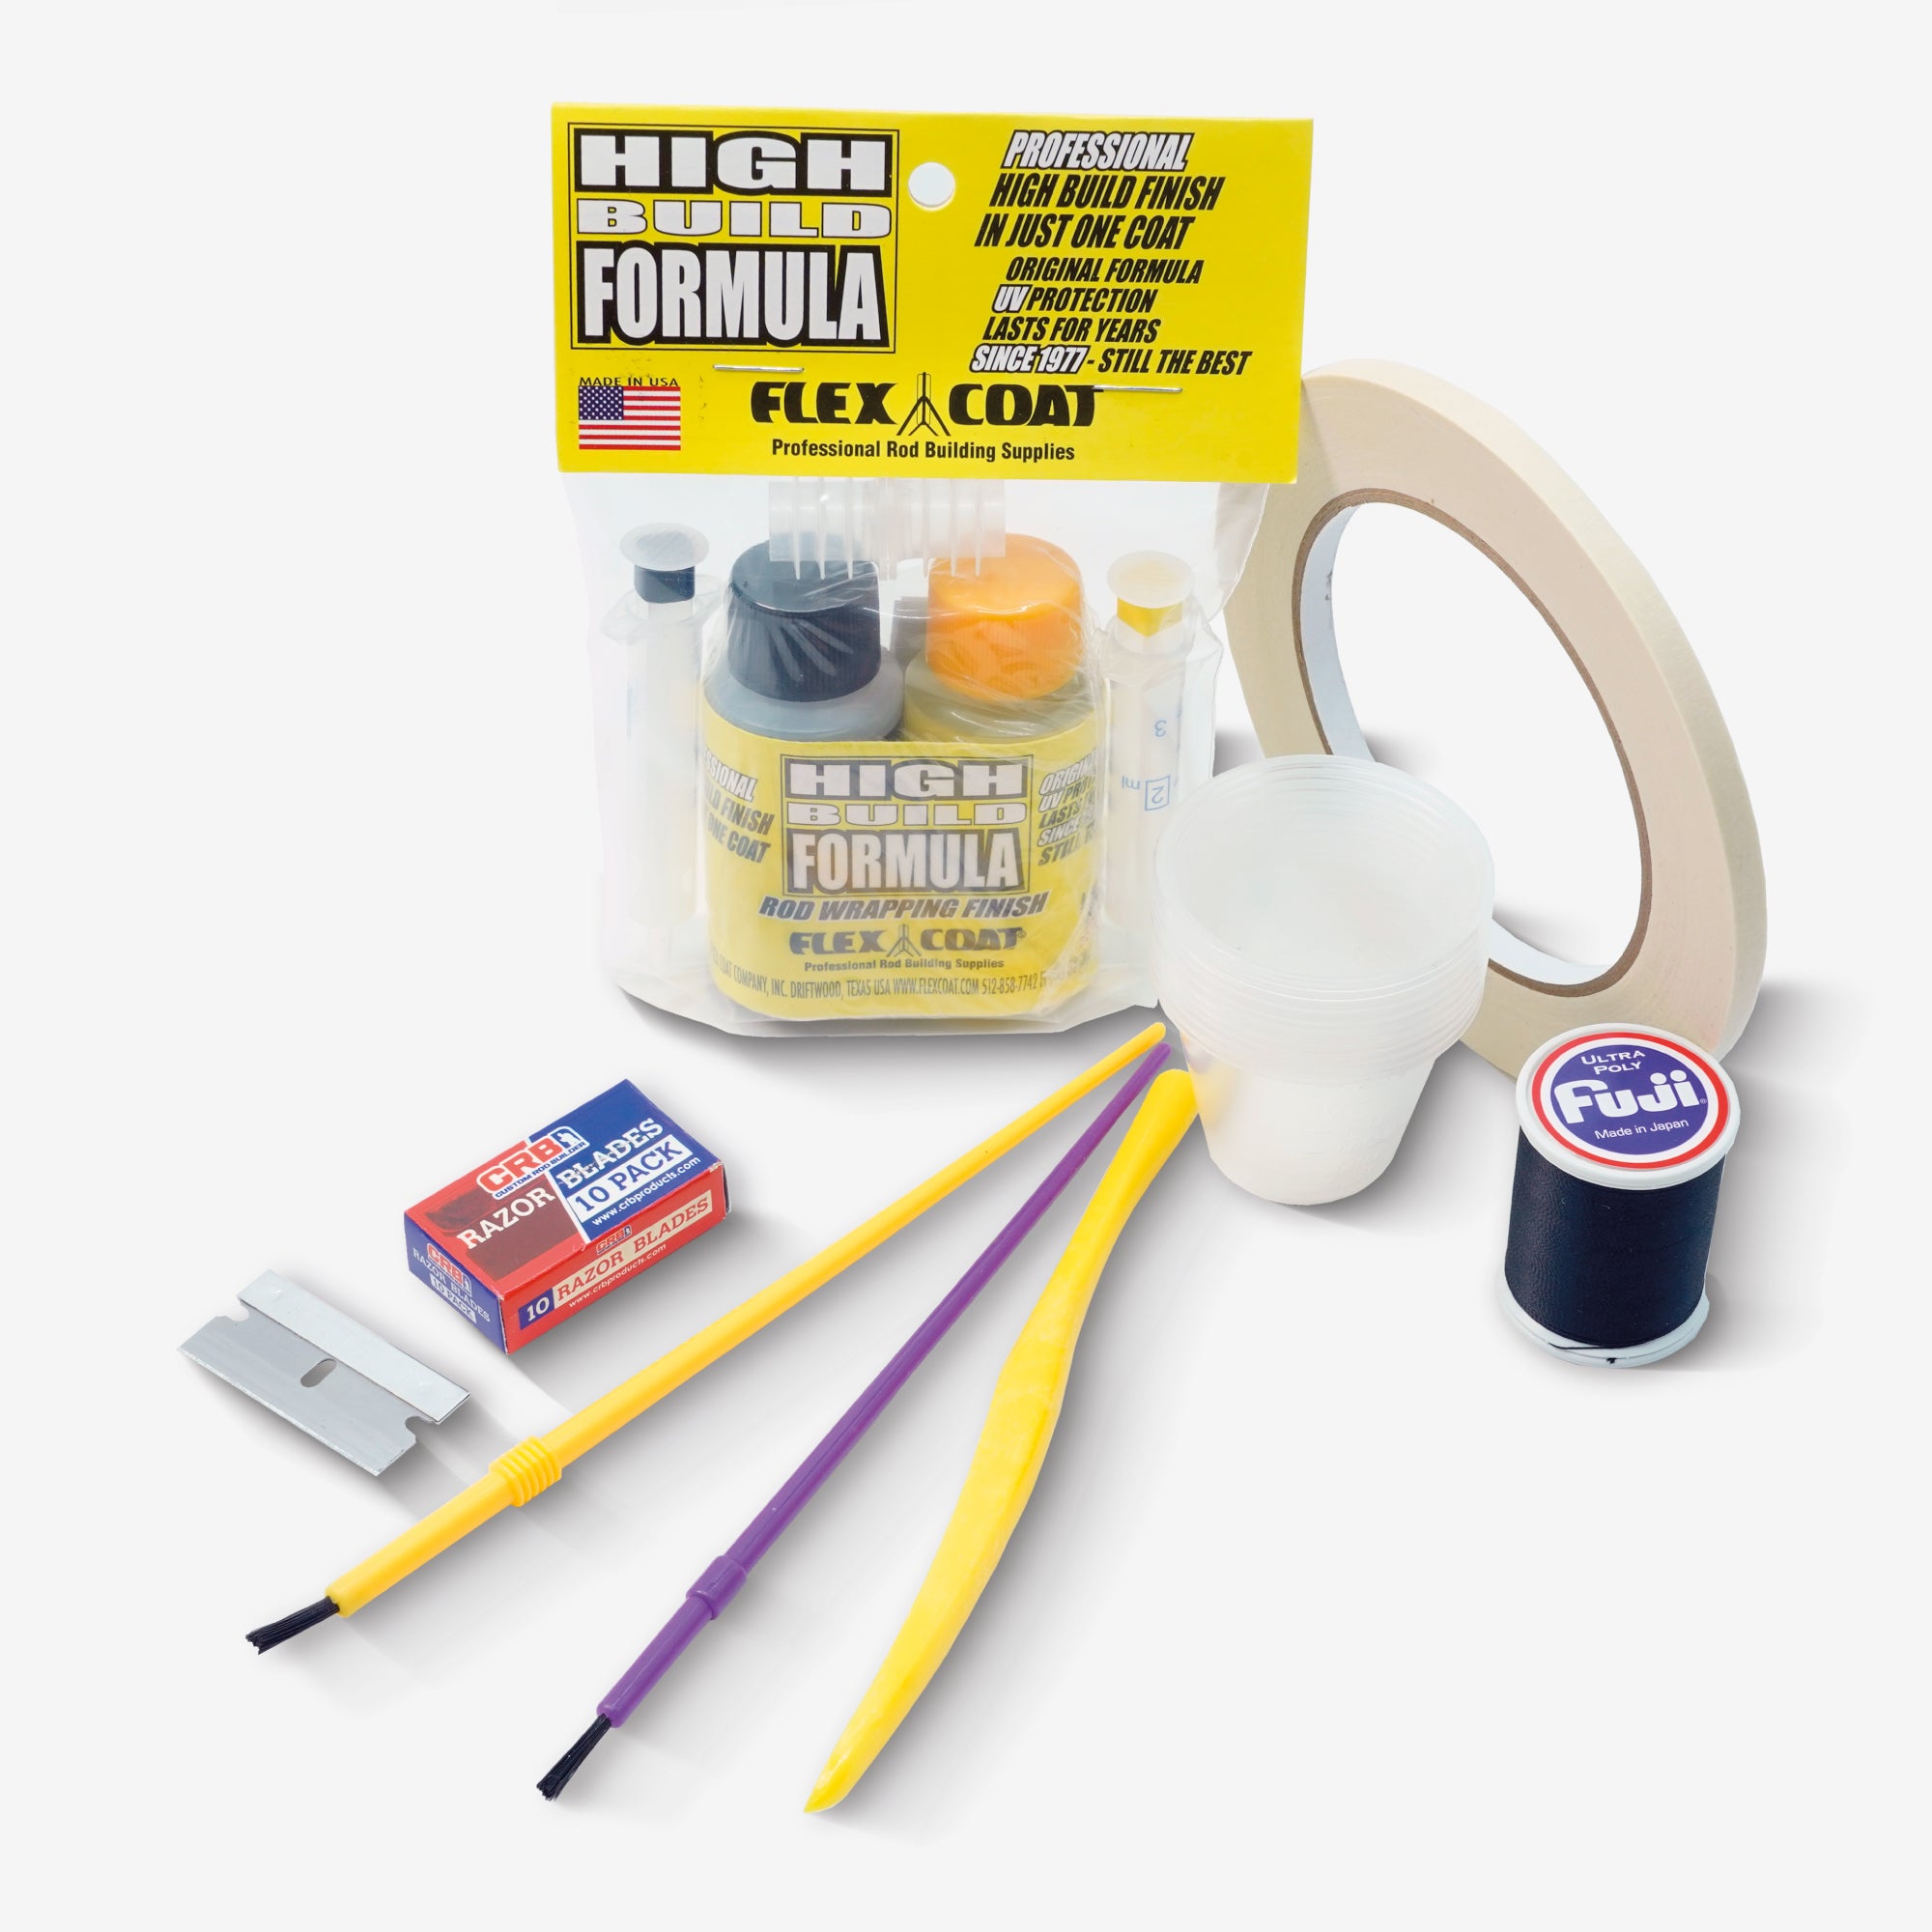
Réaliser une ligature
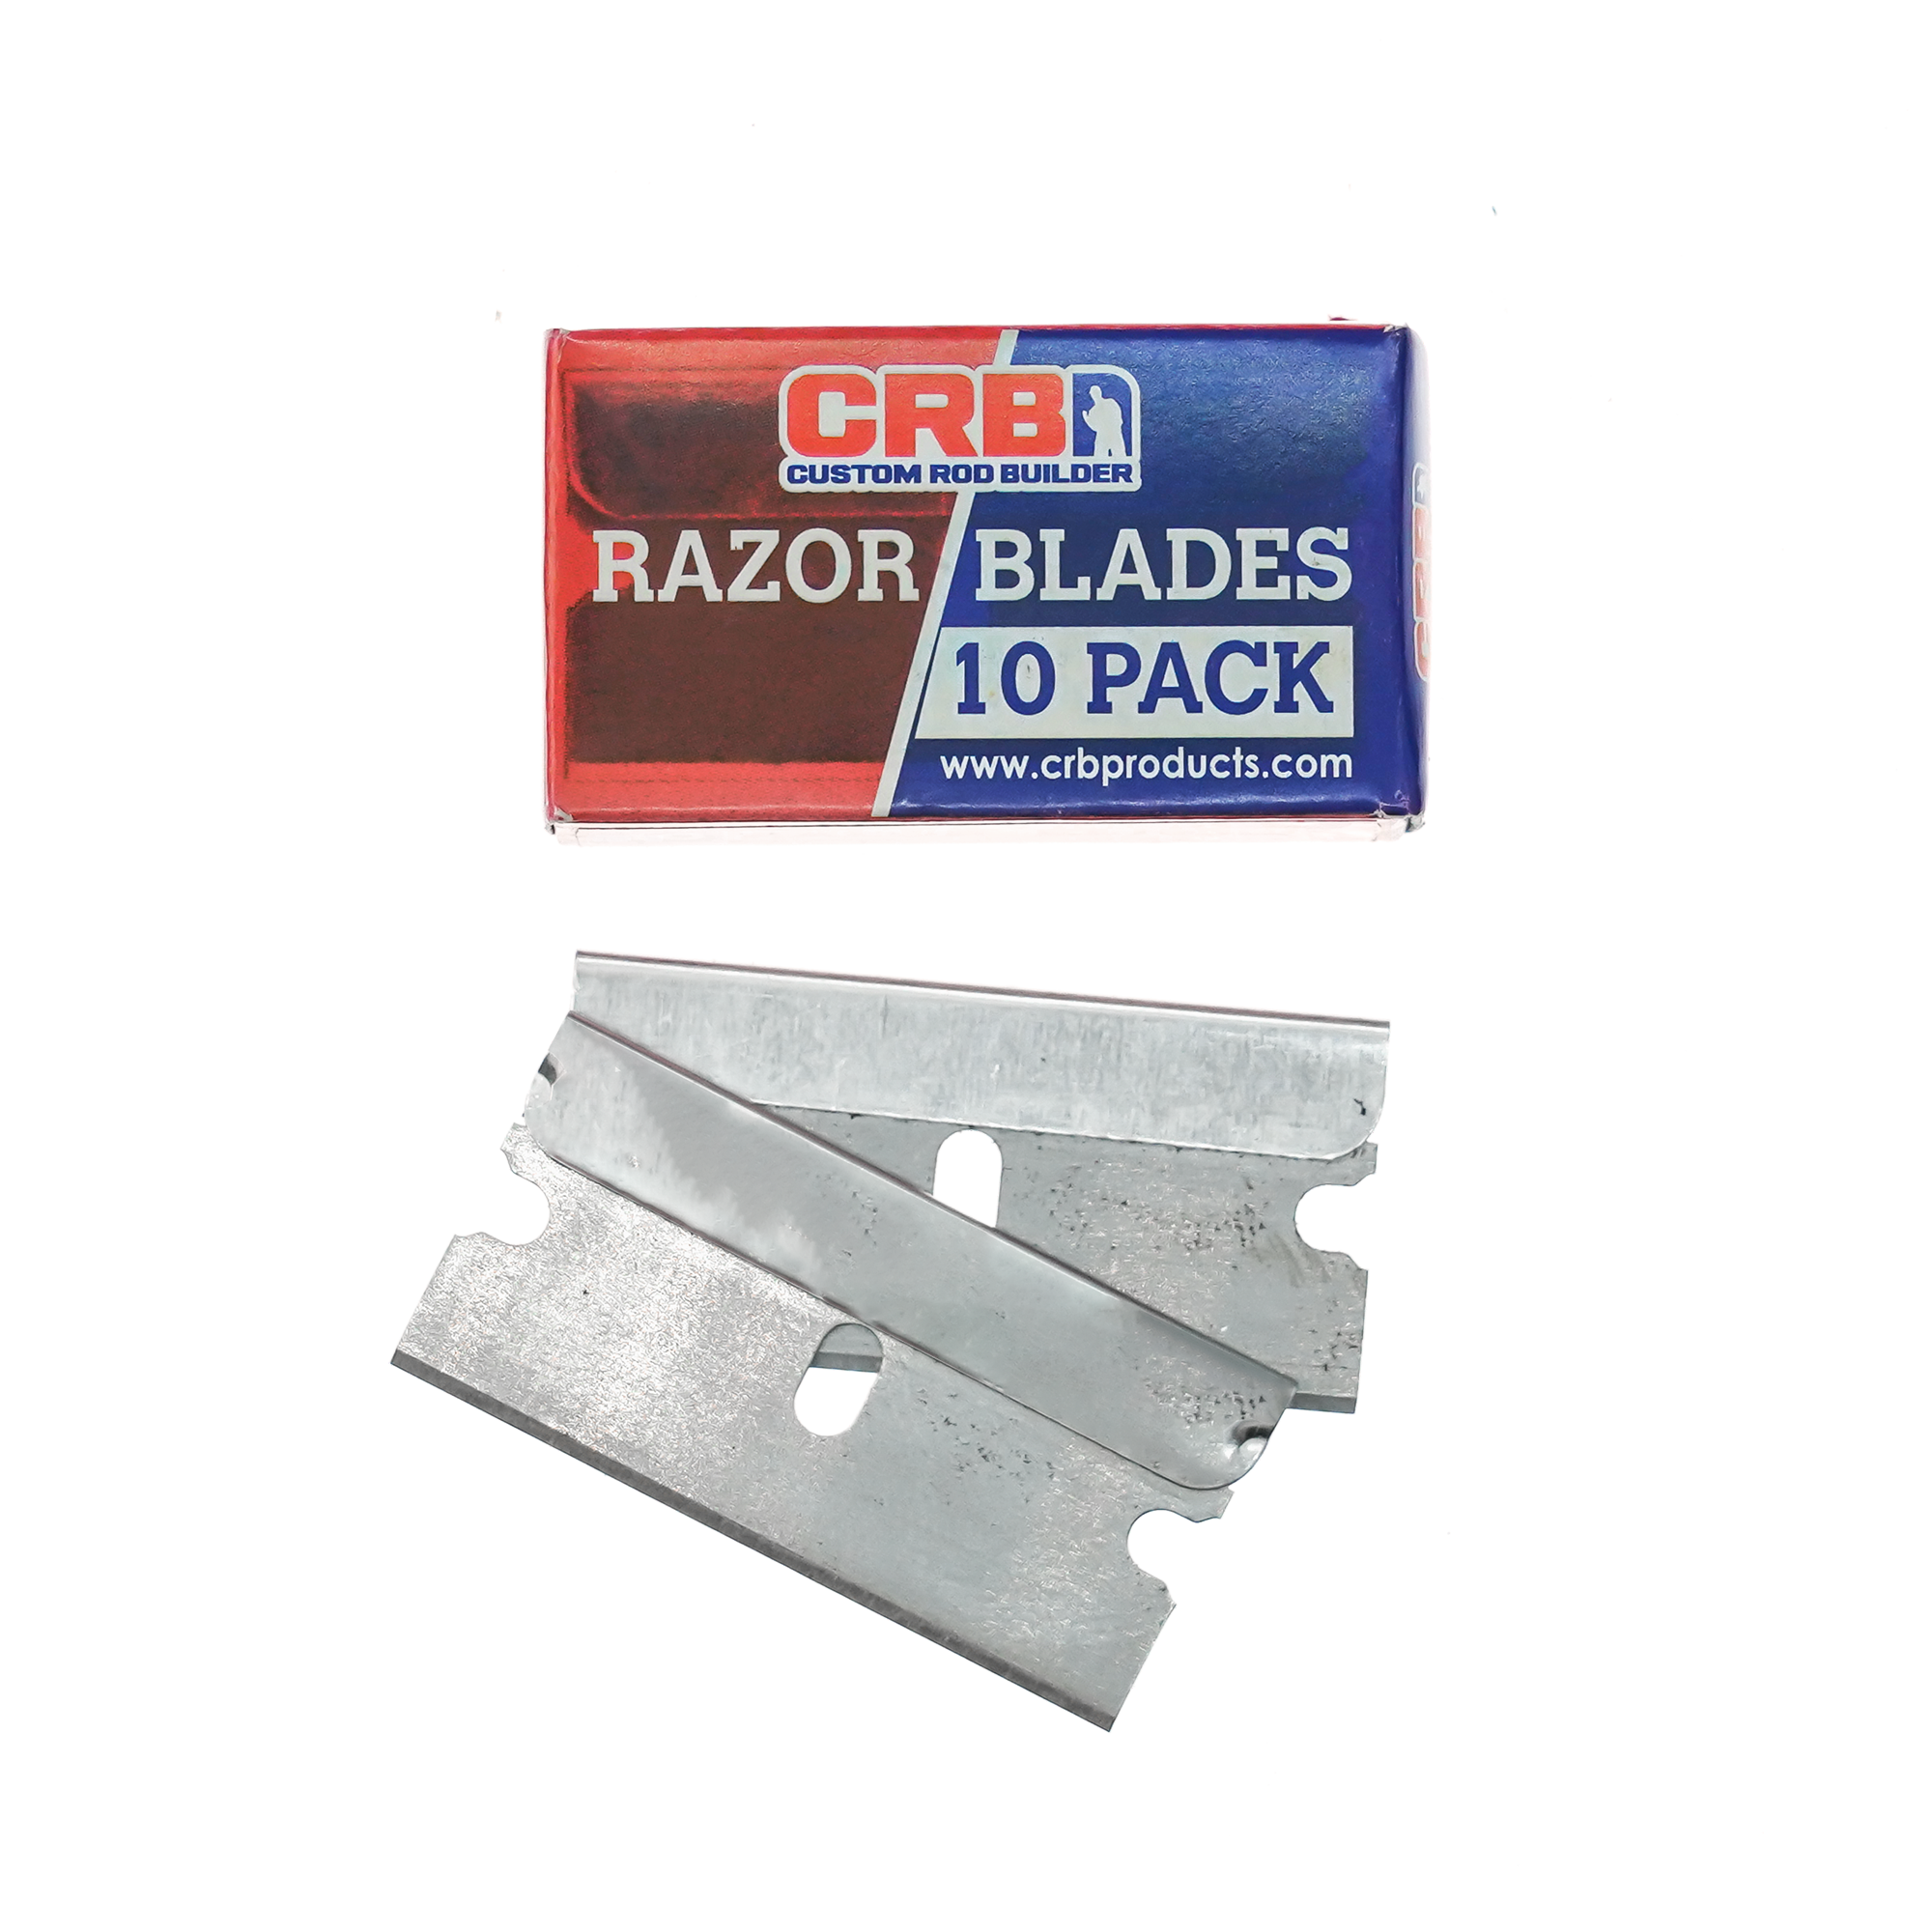
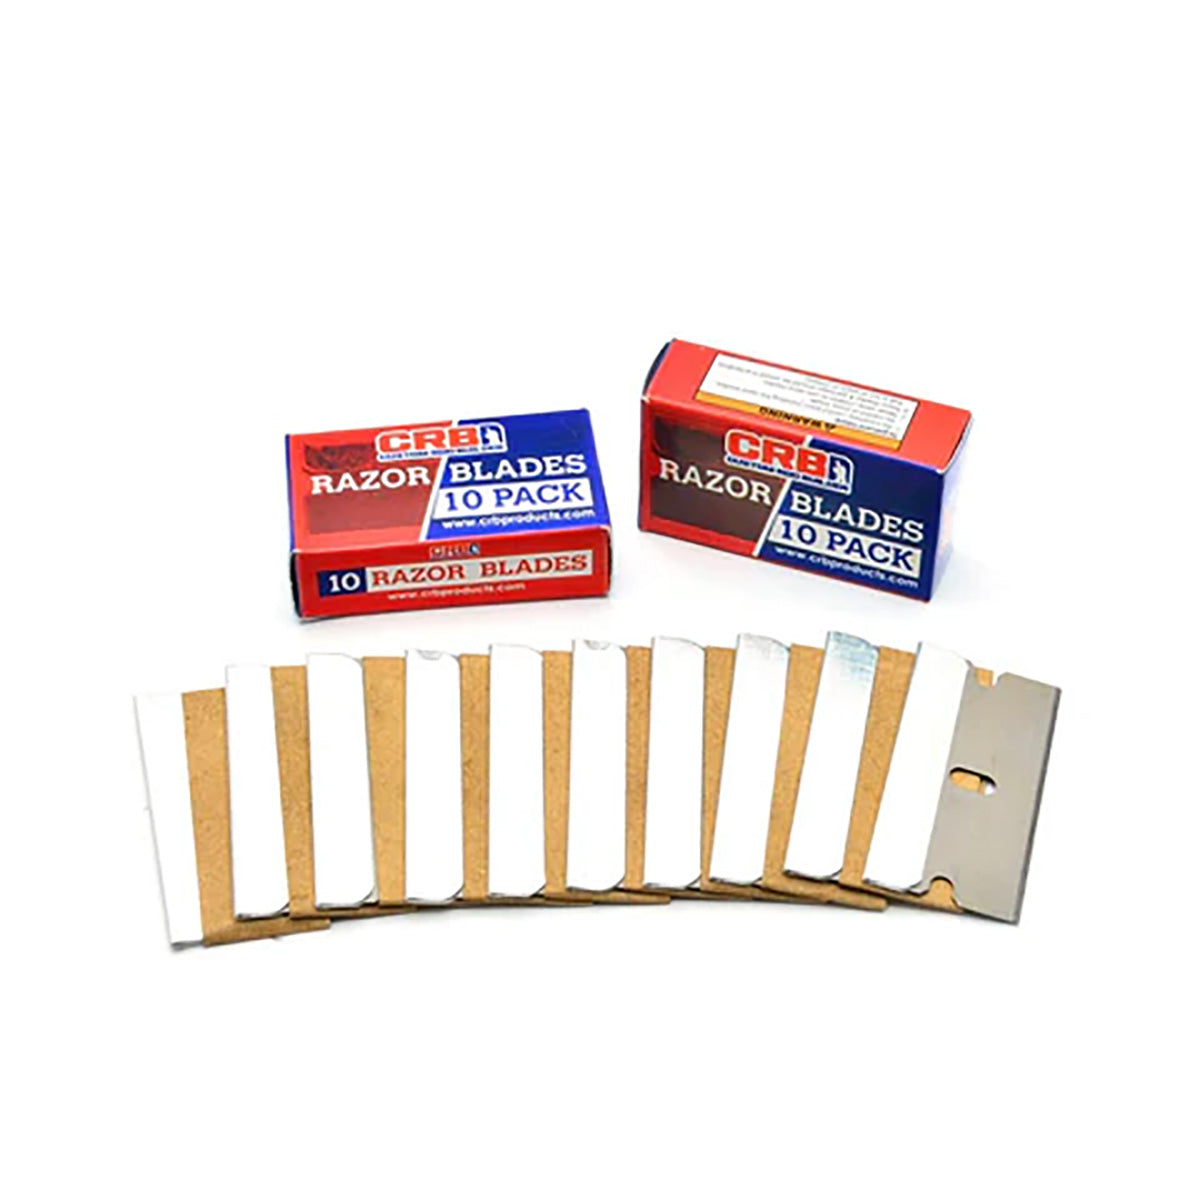
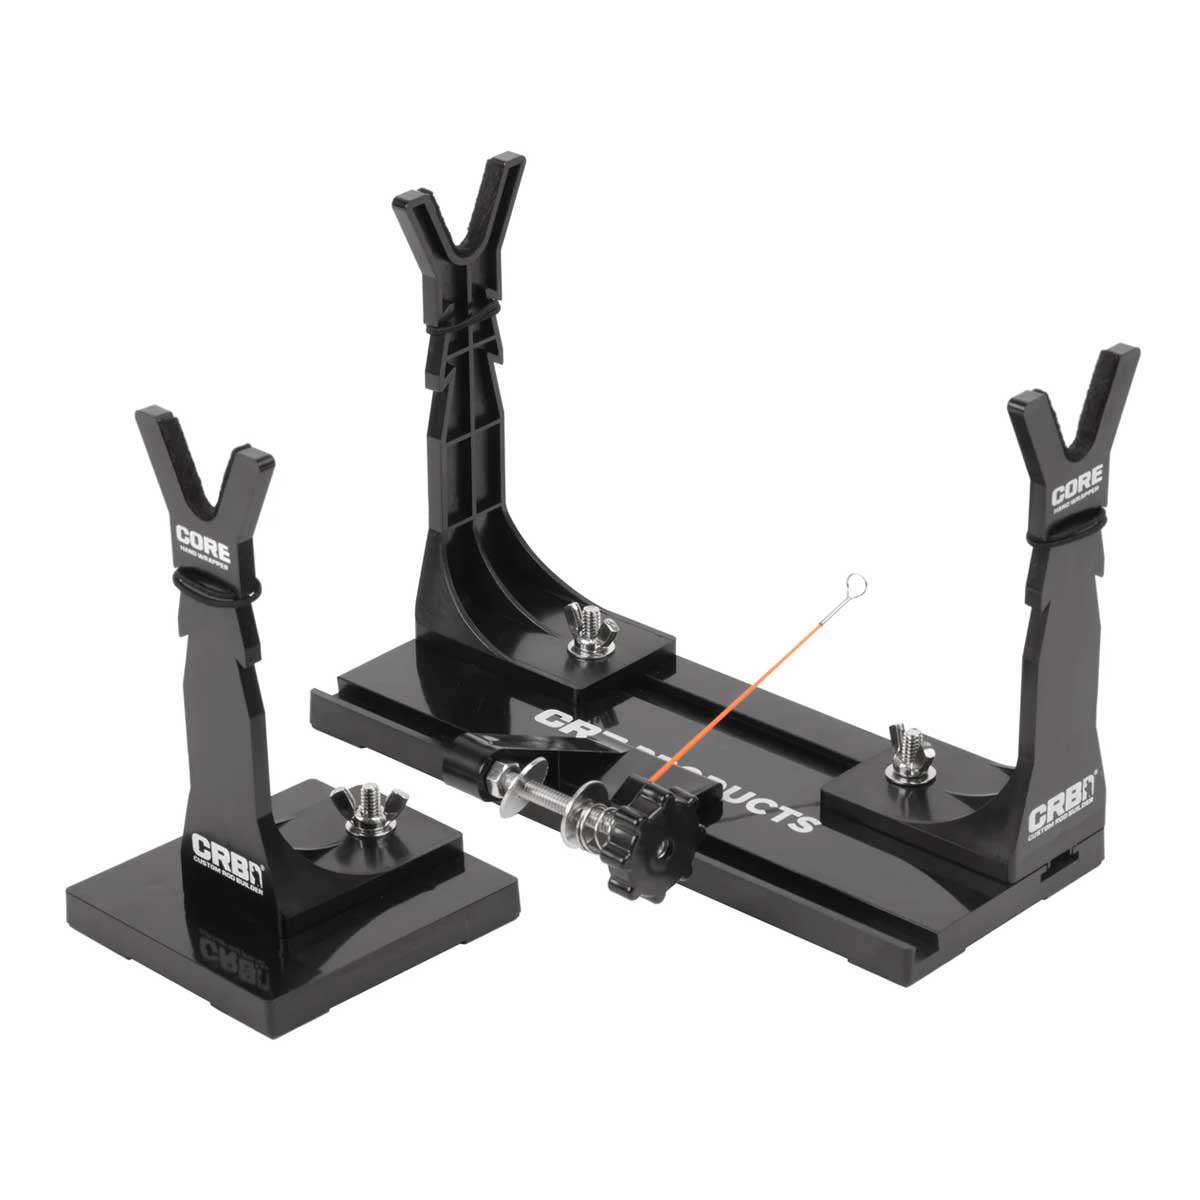
Dans cette vidéo, nous démontrons différentes techniques pour créer des ligatures à l'aide d'un banc à ligatures, de fil, d'une lame de rasoir, d'un briquet et de ruban de masquage. Le tutoriel couvre la réalisation d'une ligature simple et l'alignement des anneaux. Pour ceux qui recherchent une connexion solide, nous suggérons une technique avec une sous-ligature. Nous conseillons aux débutants de commencer avec la version la plus simple de ligature avant de se lancer dans des wrappings.
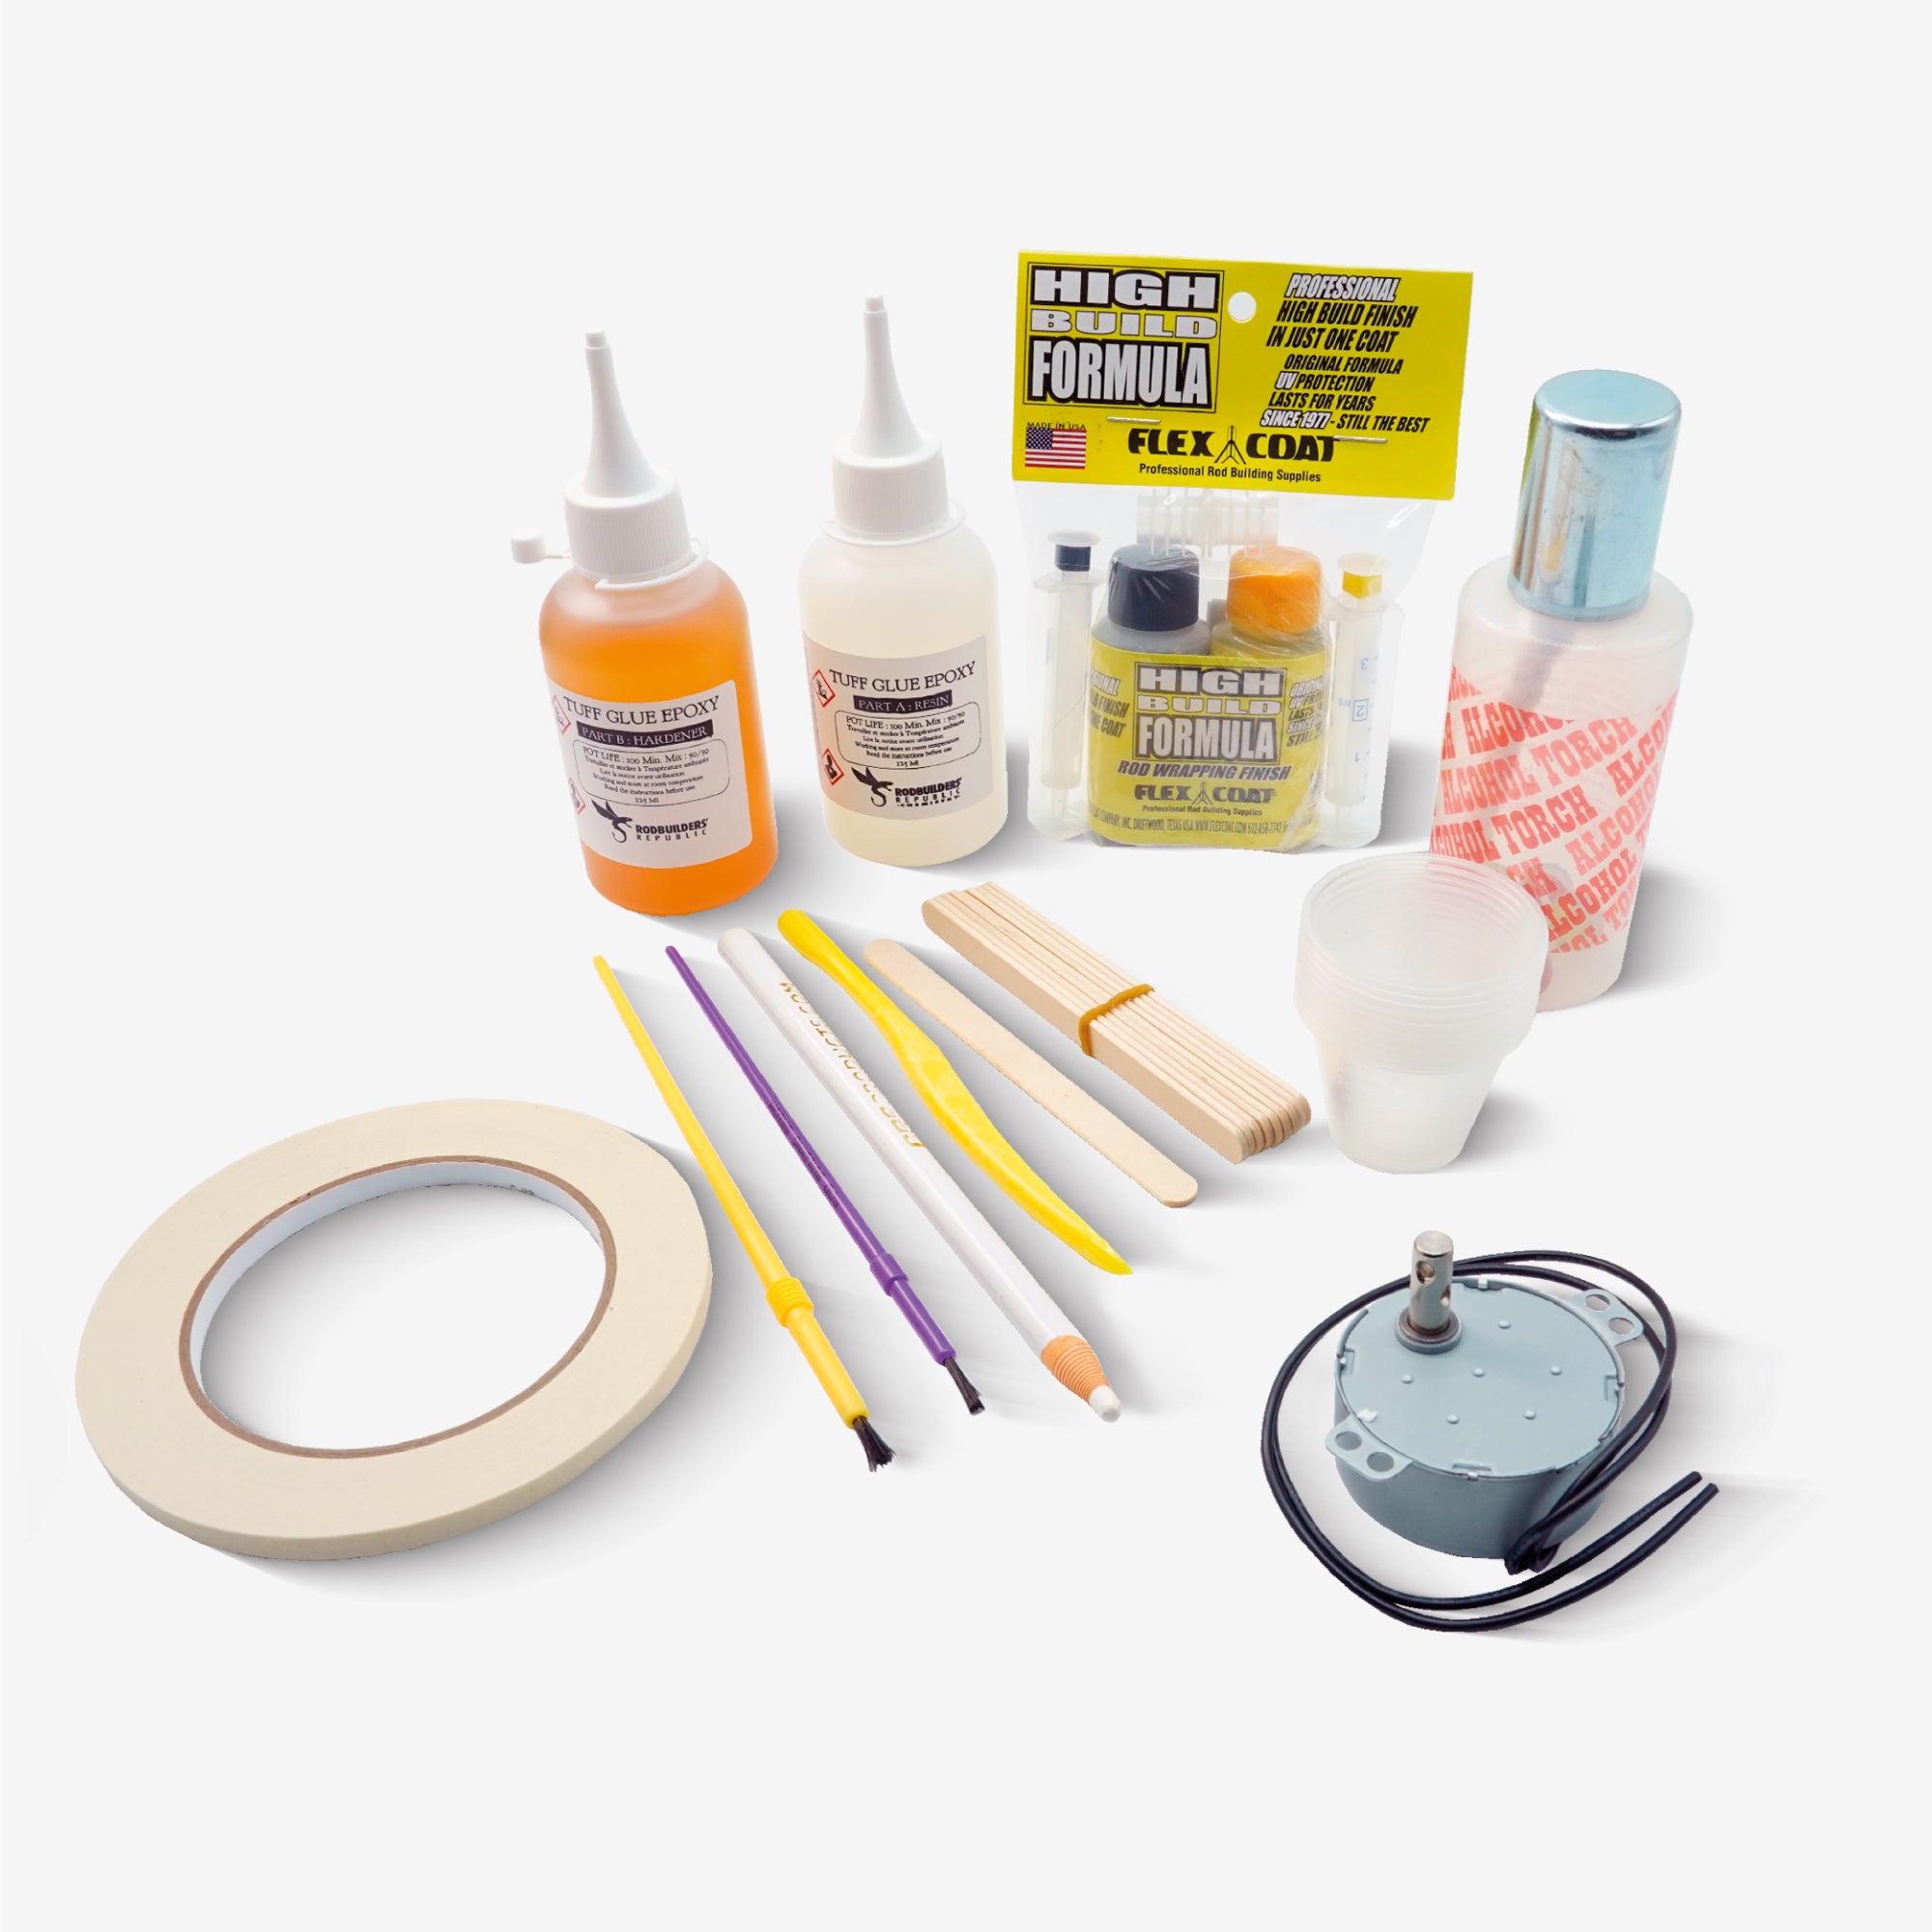
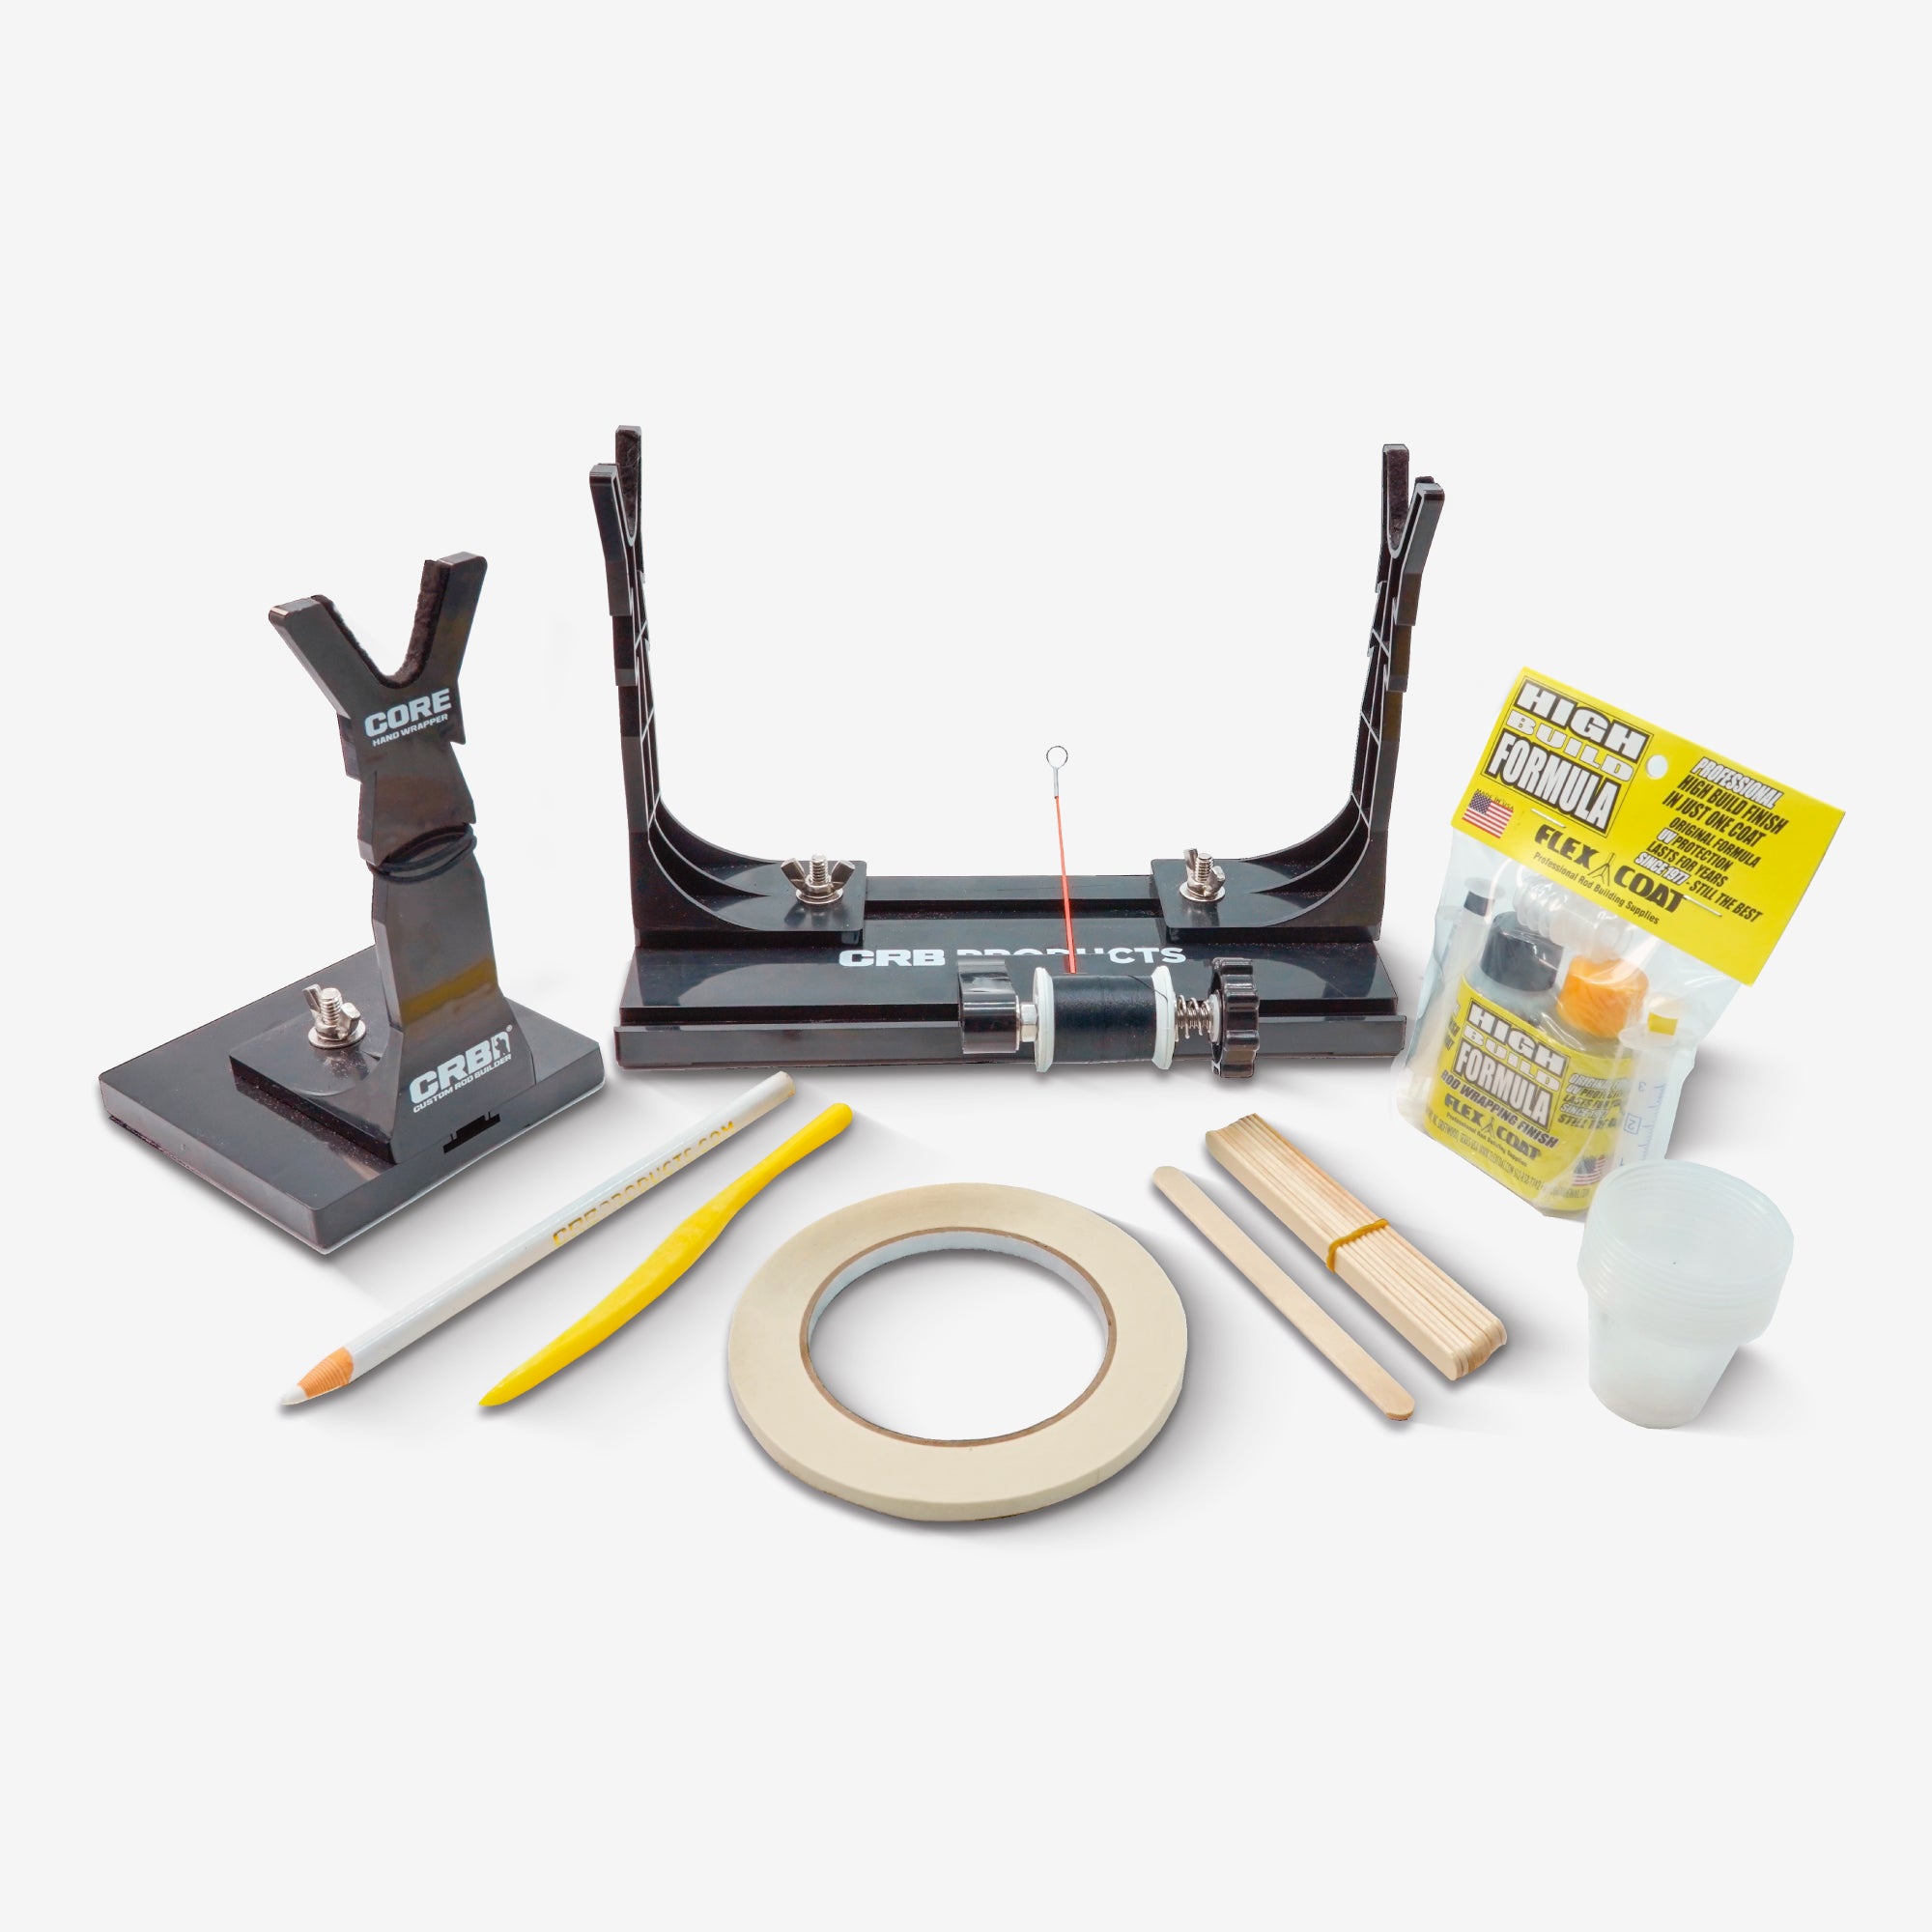
Outils utilisés
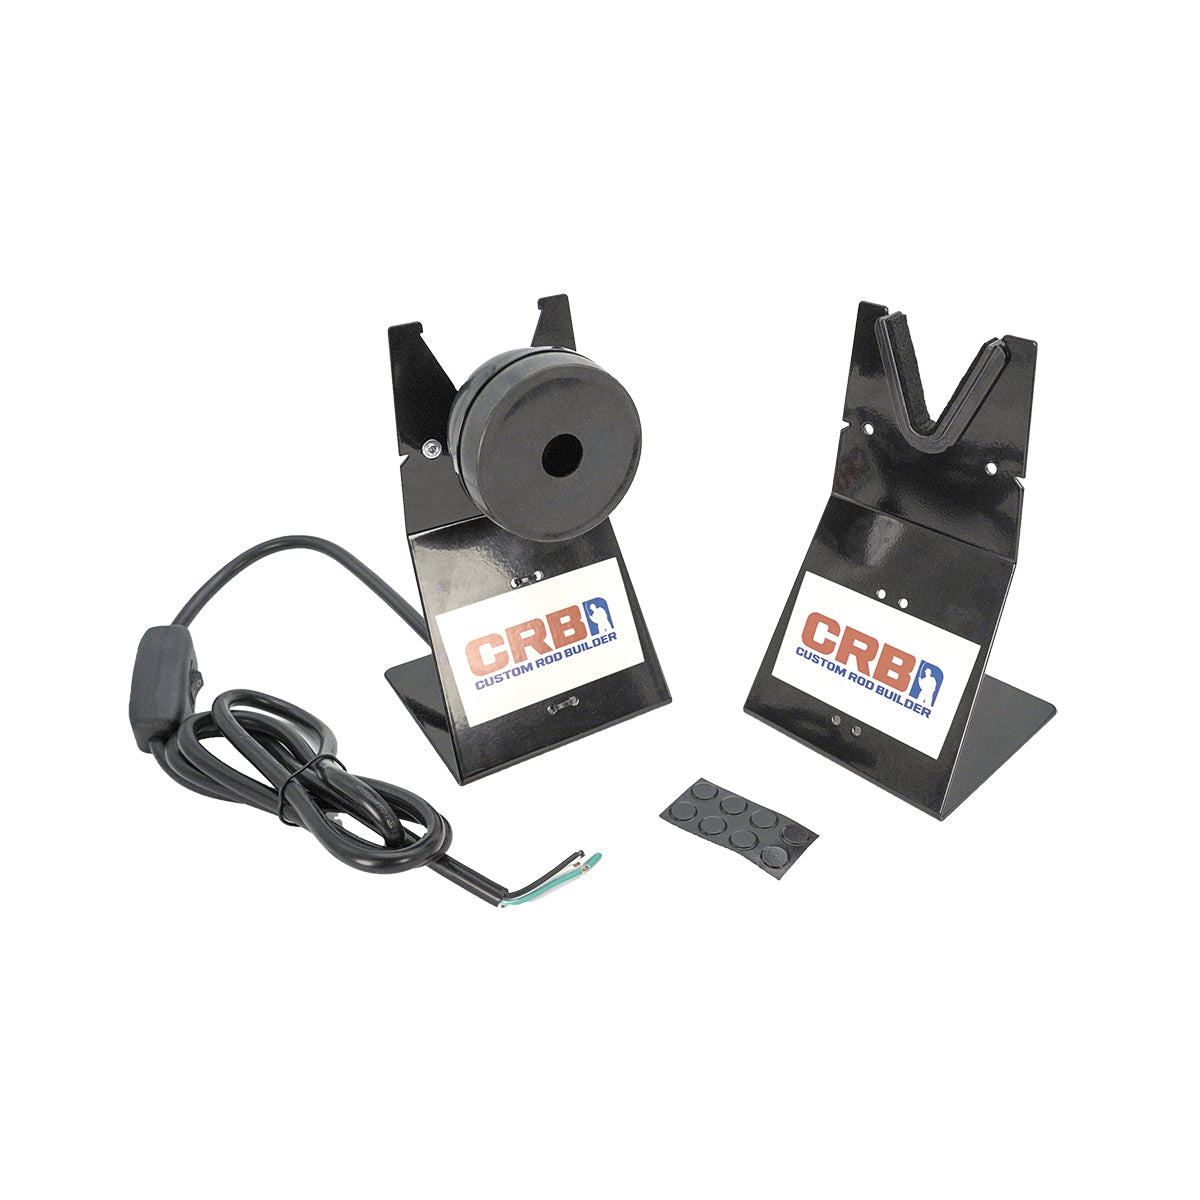
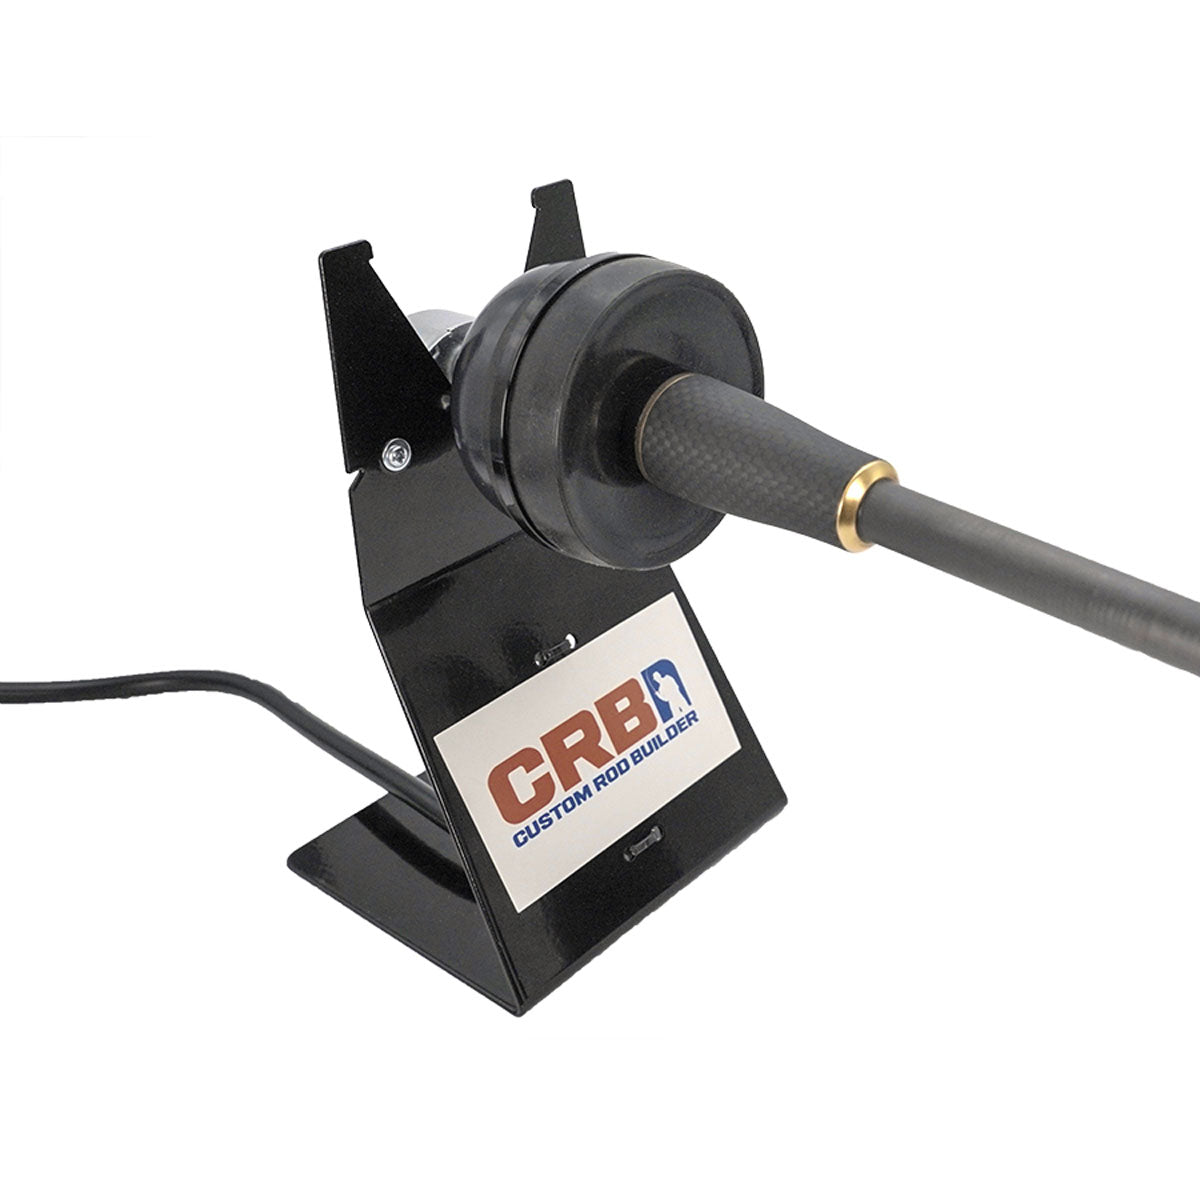
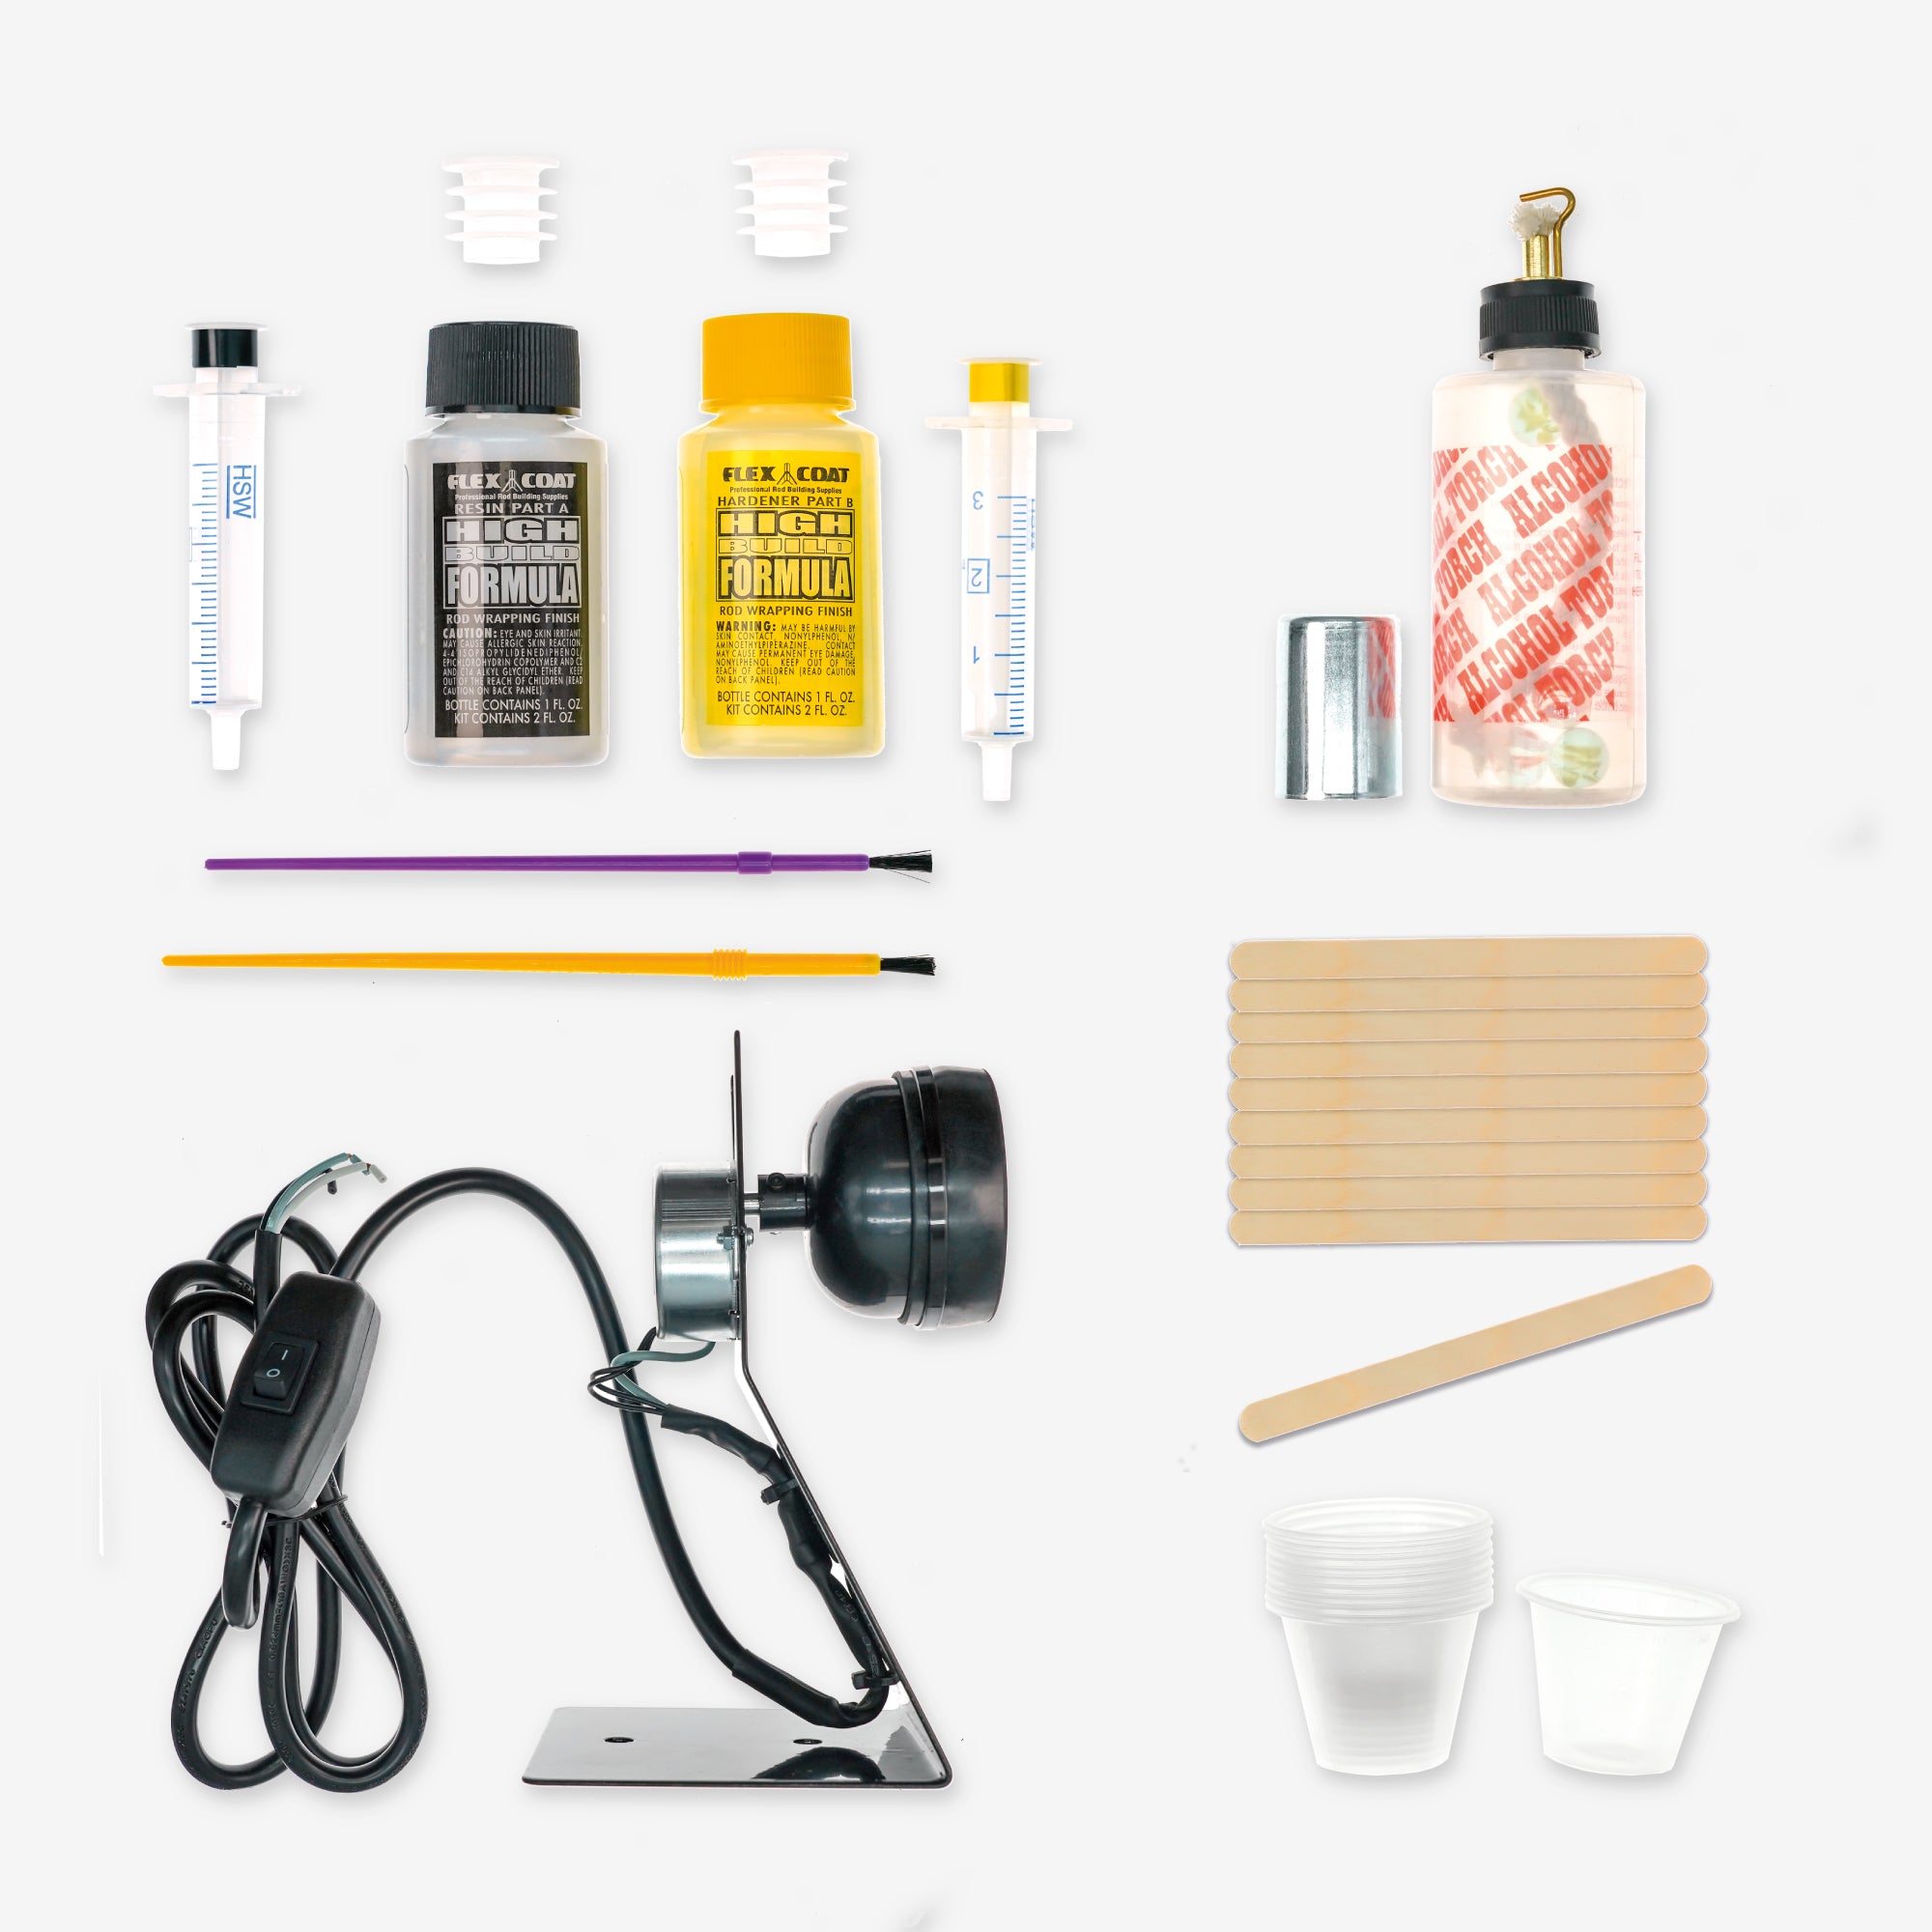
Vernir les ligatures
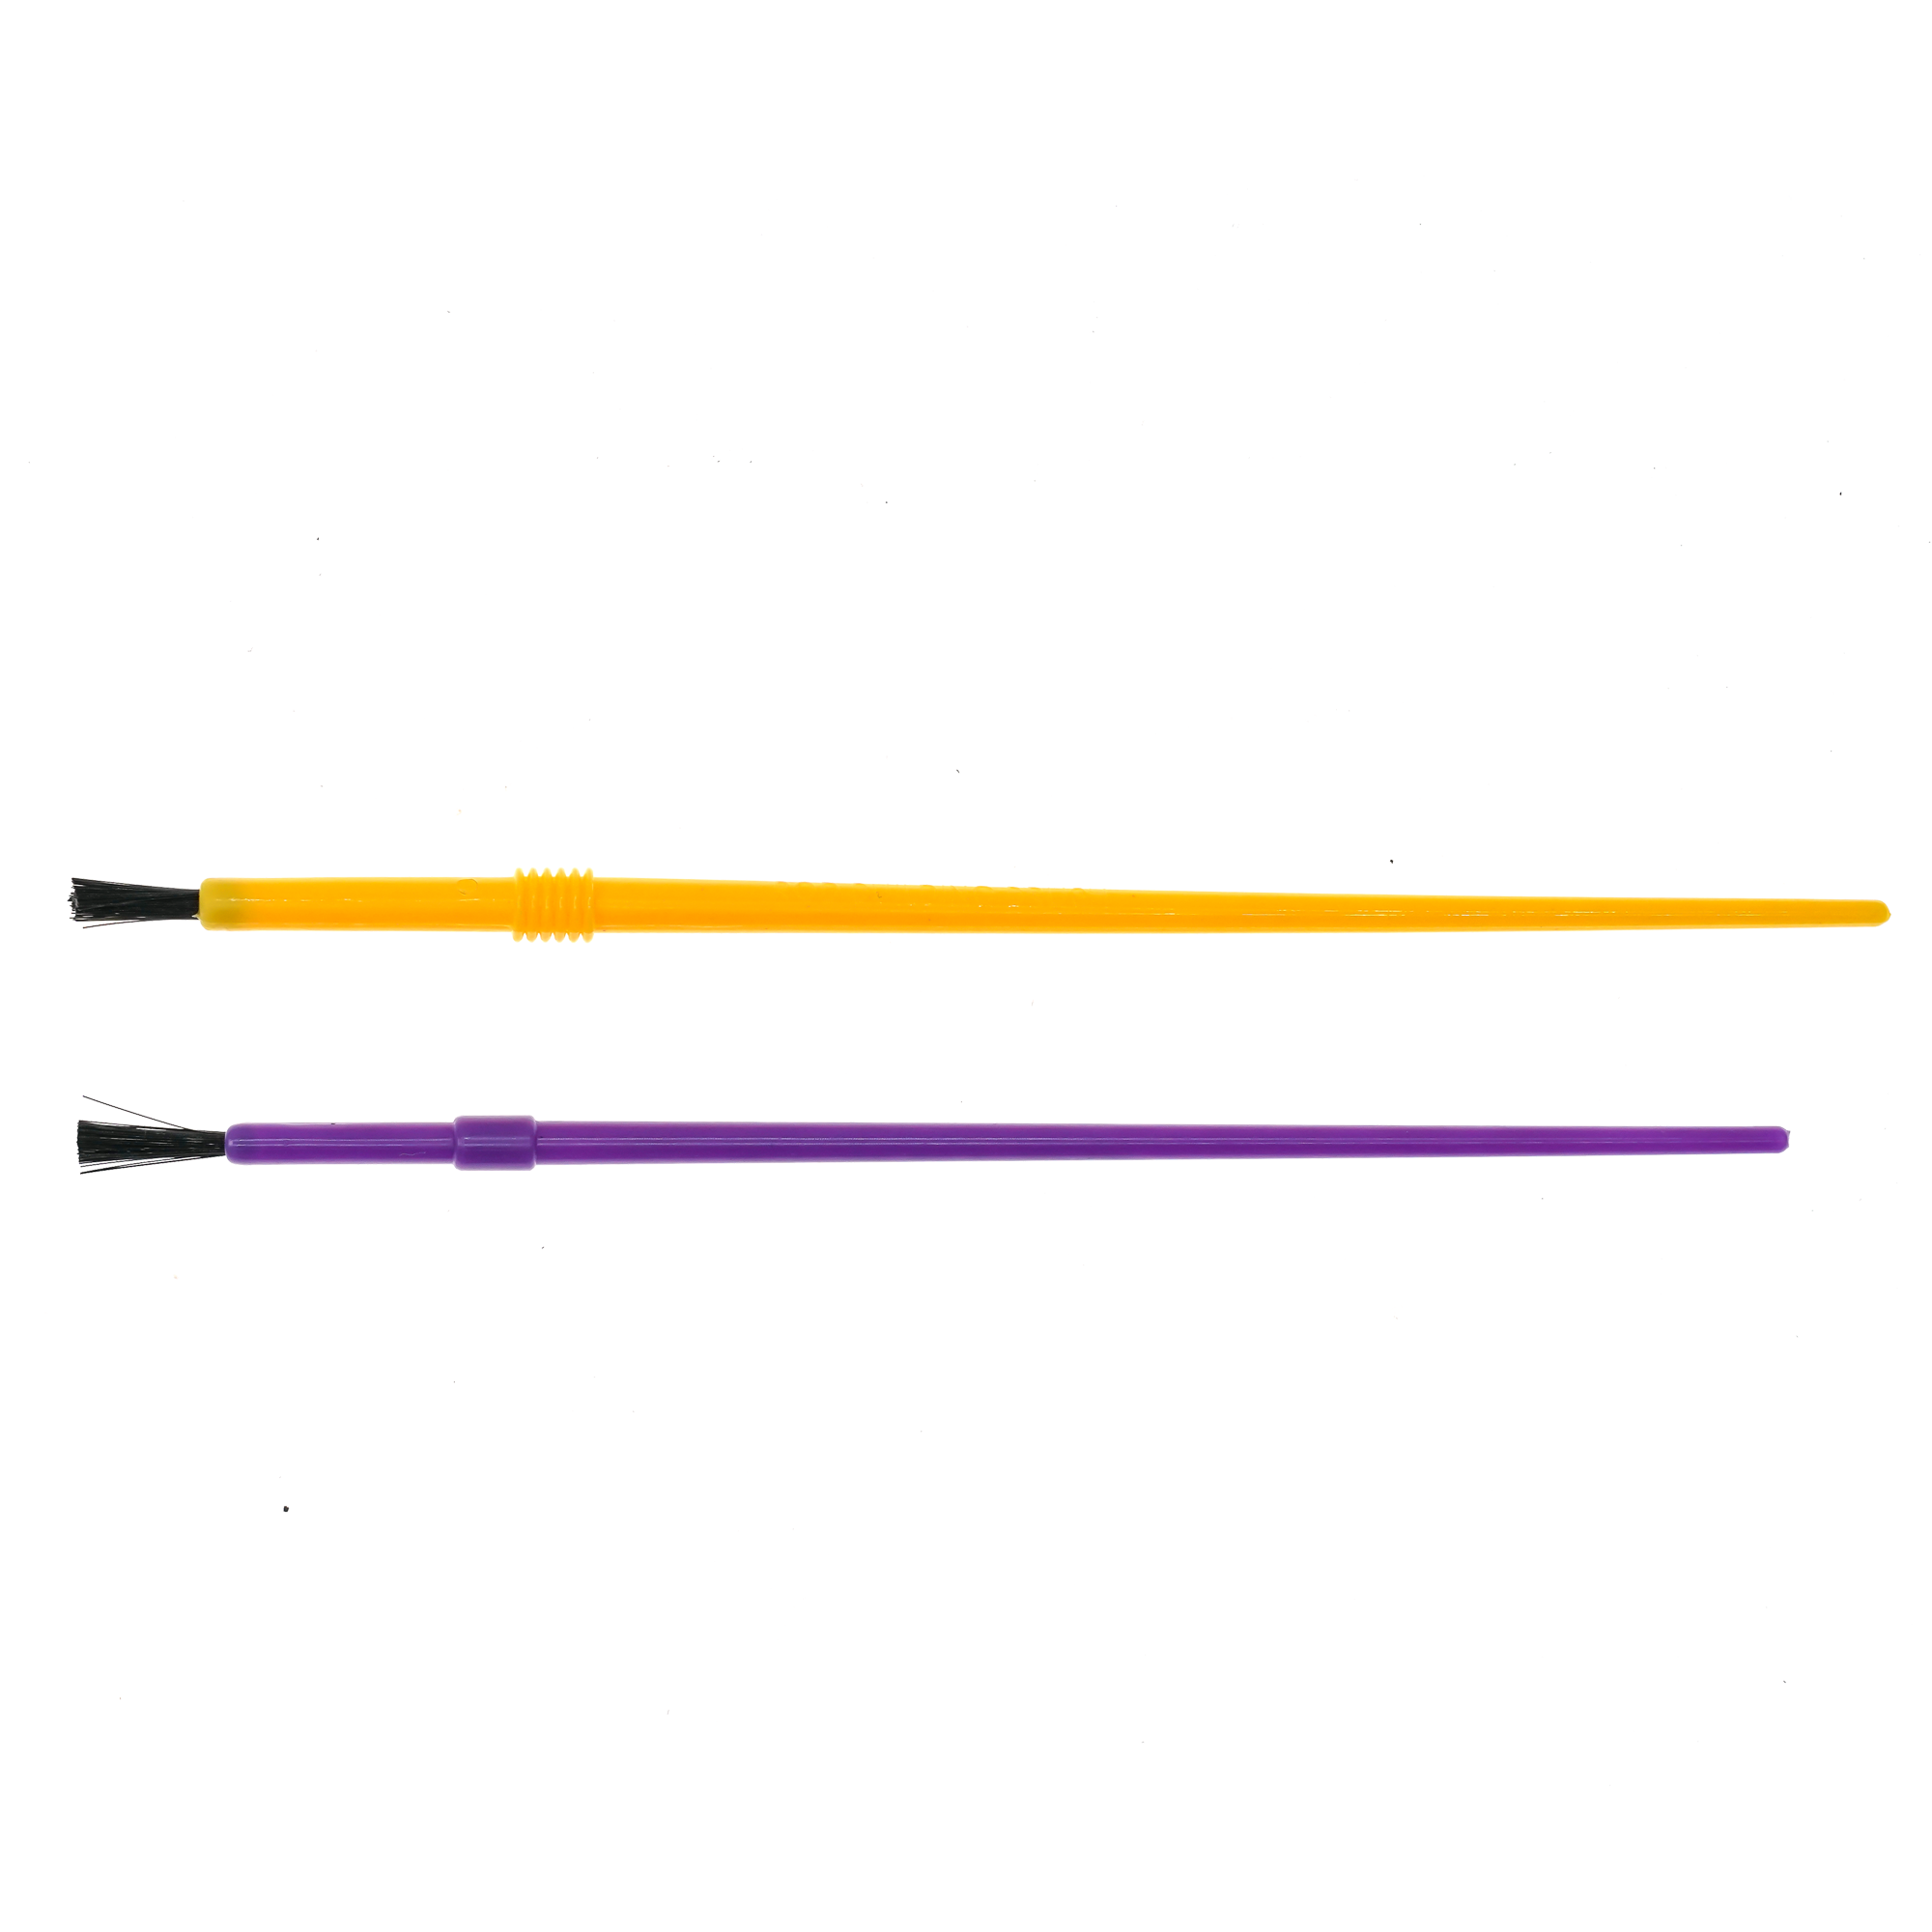
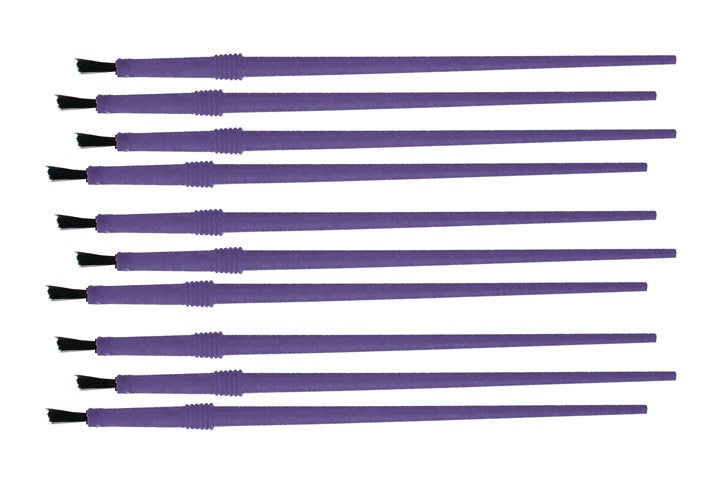
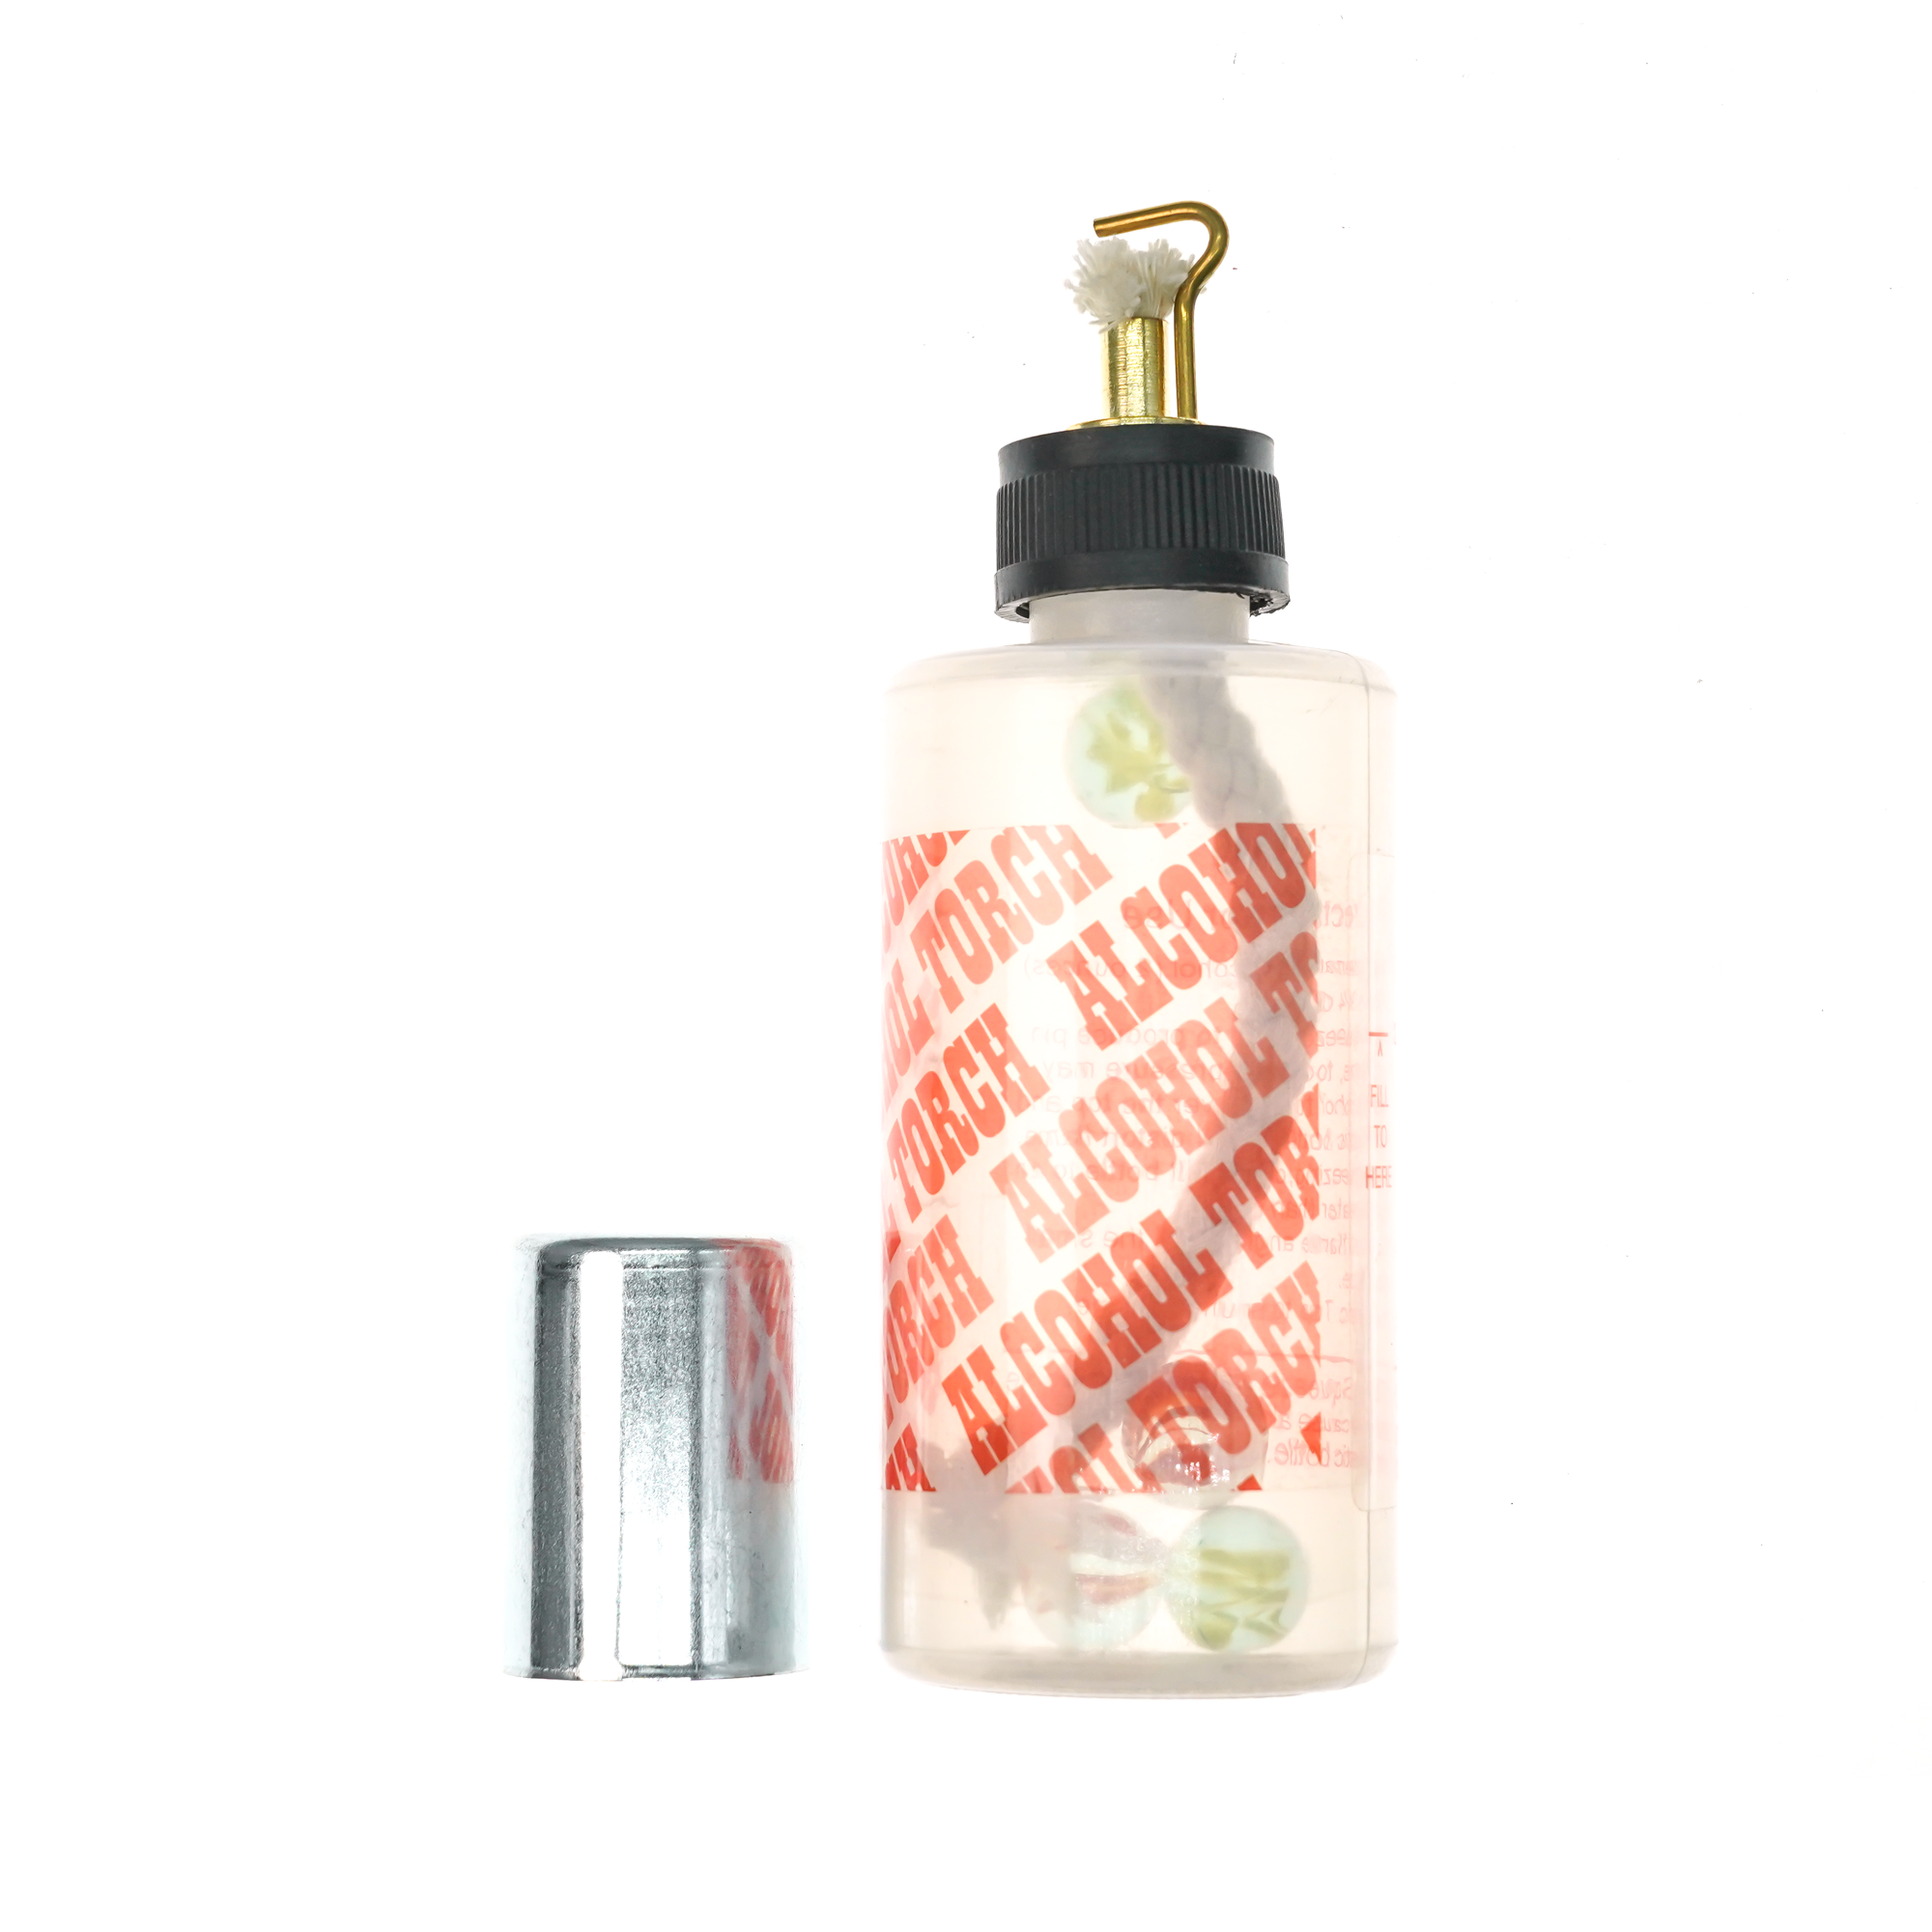
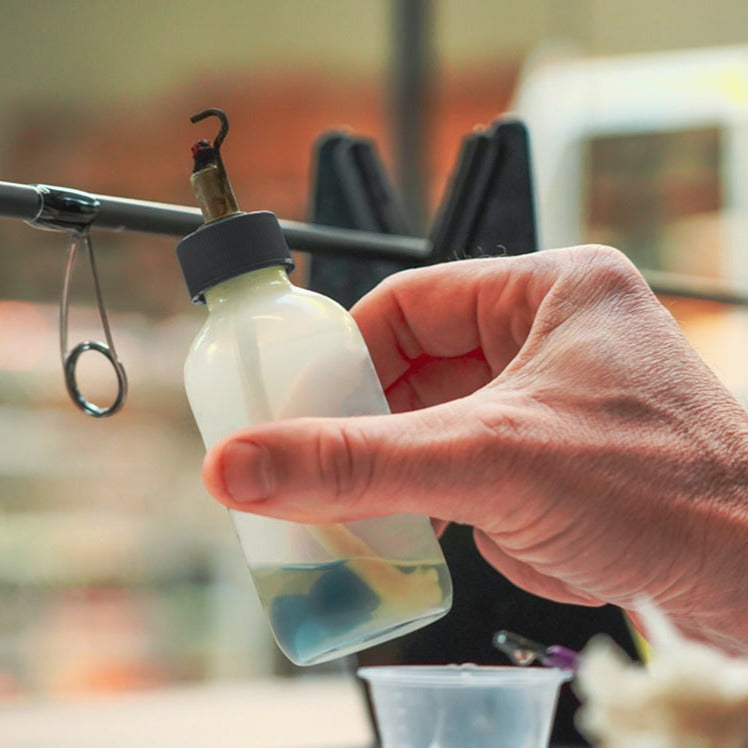
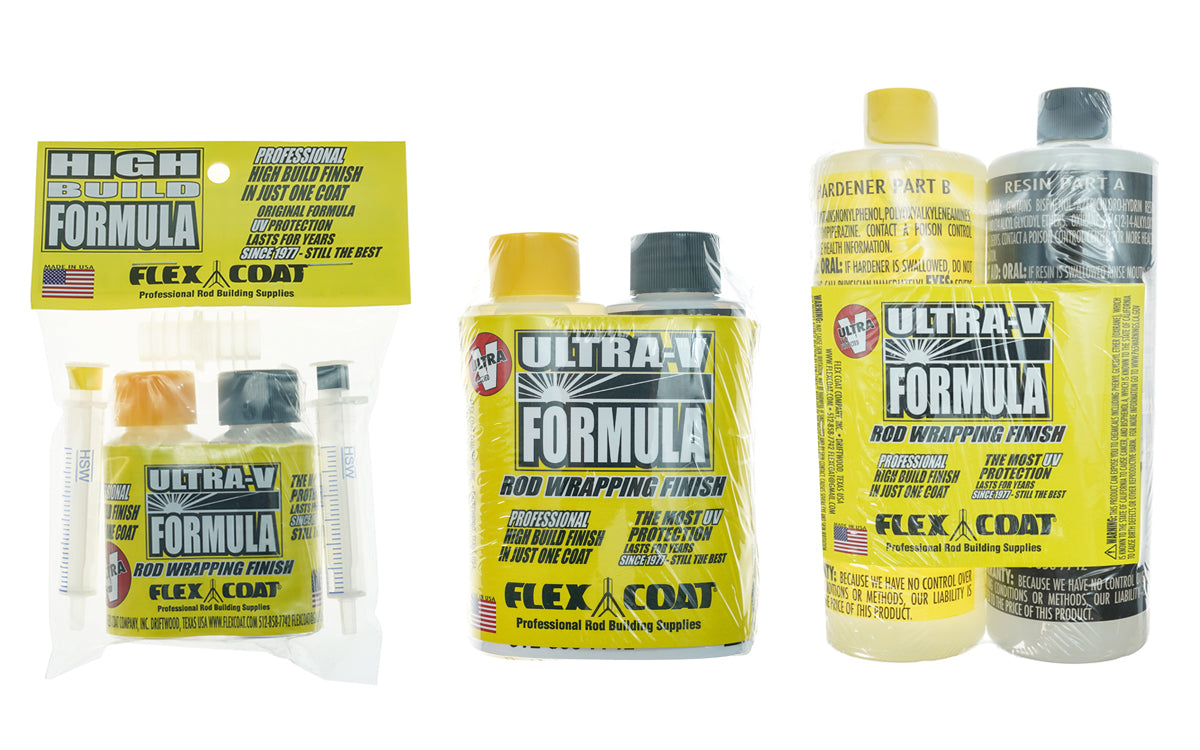
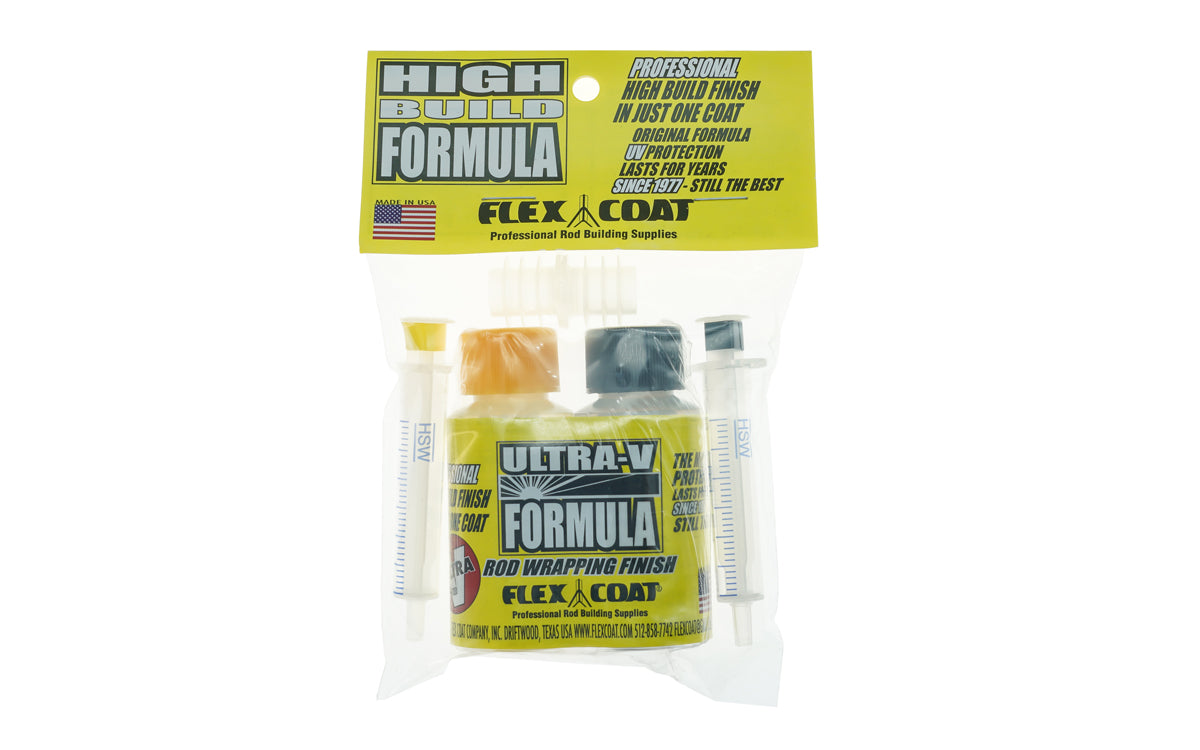
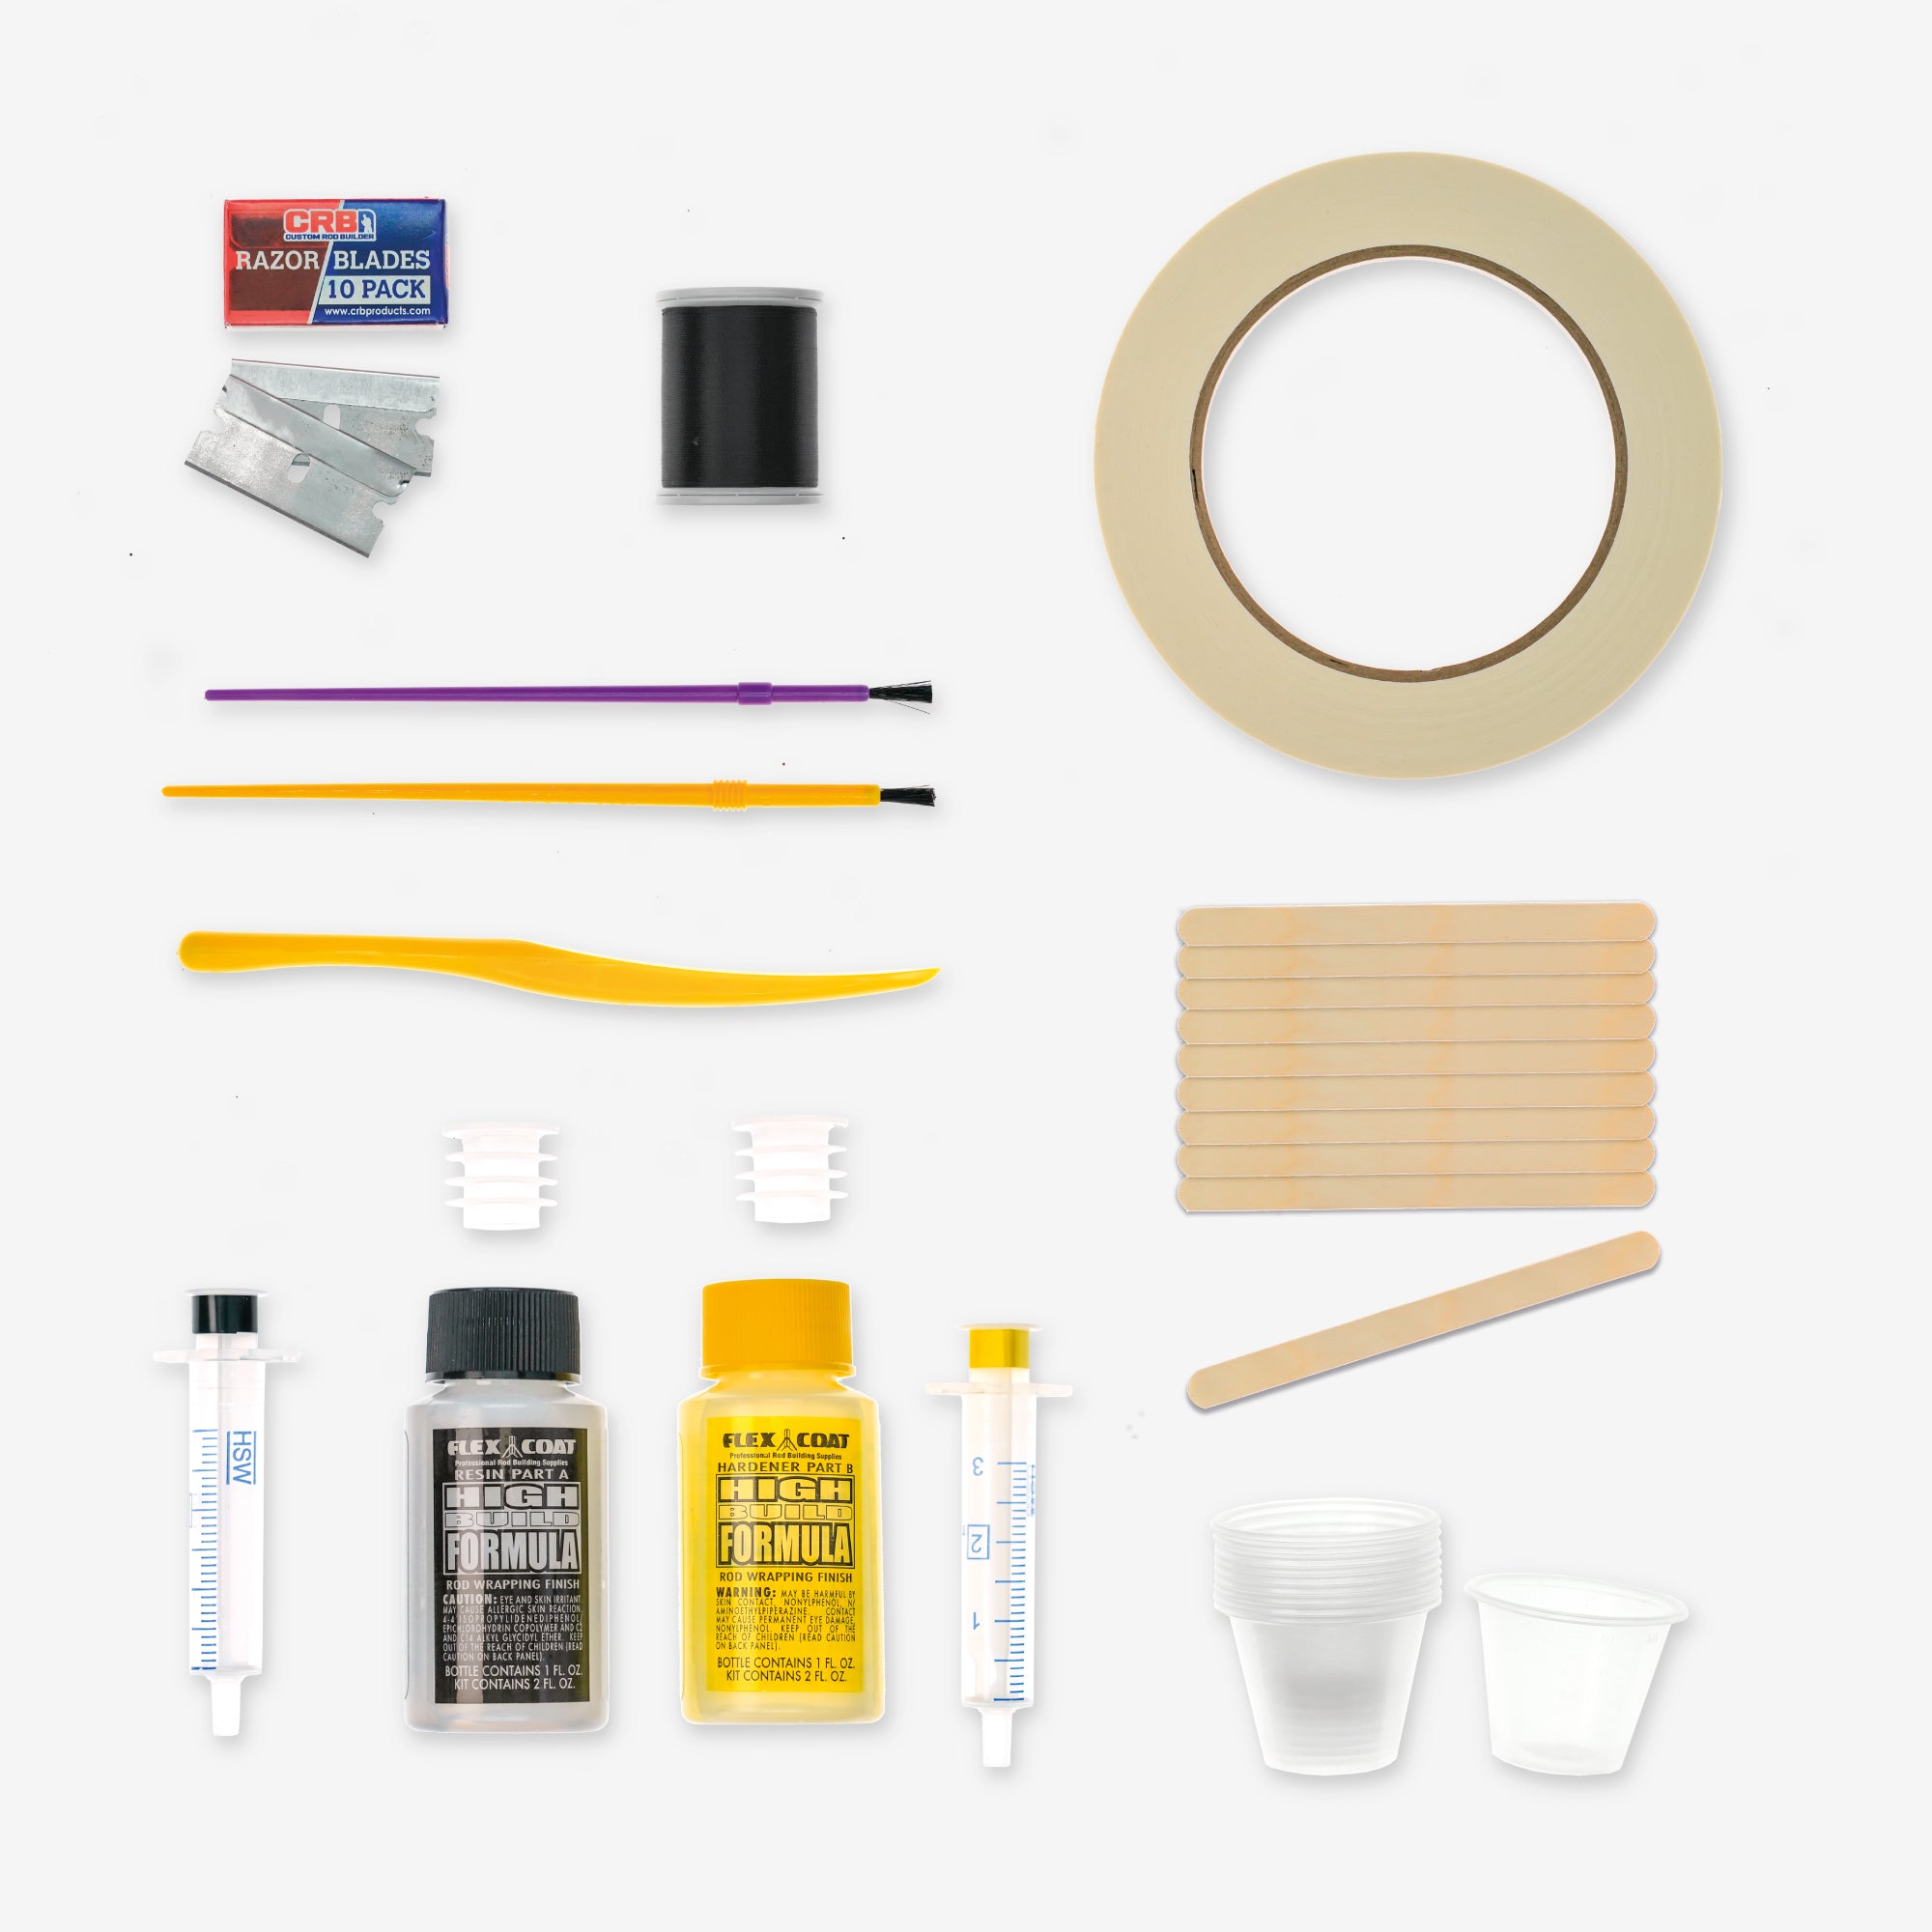
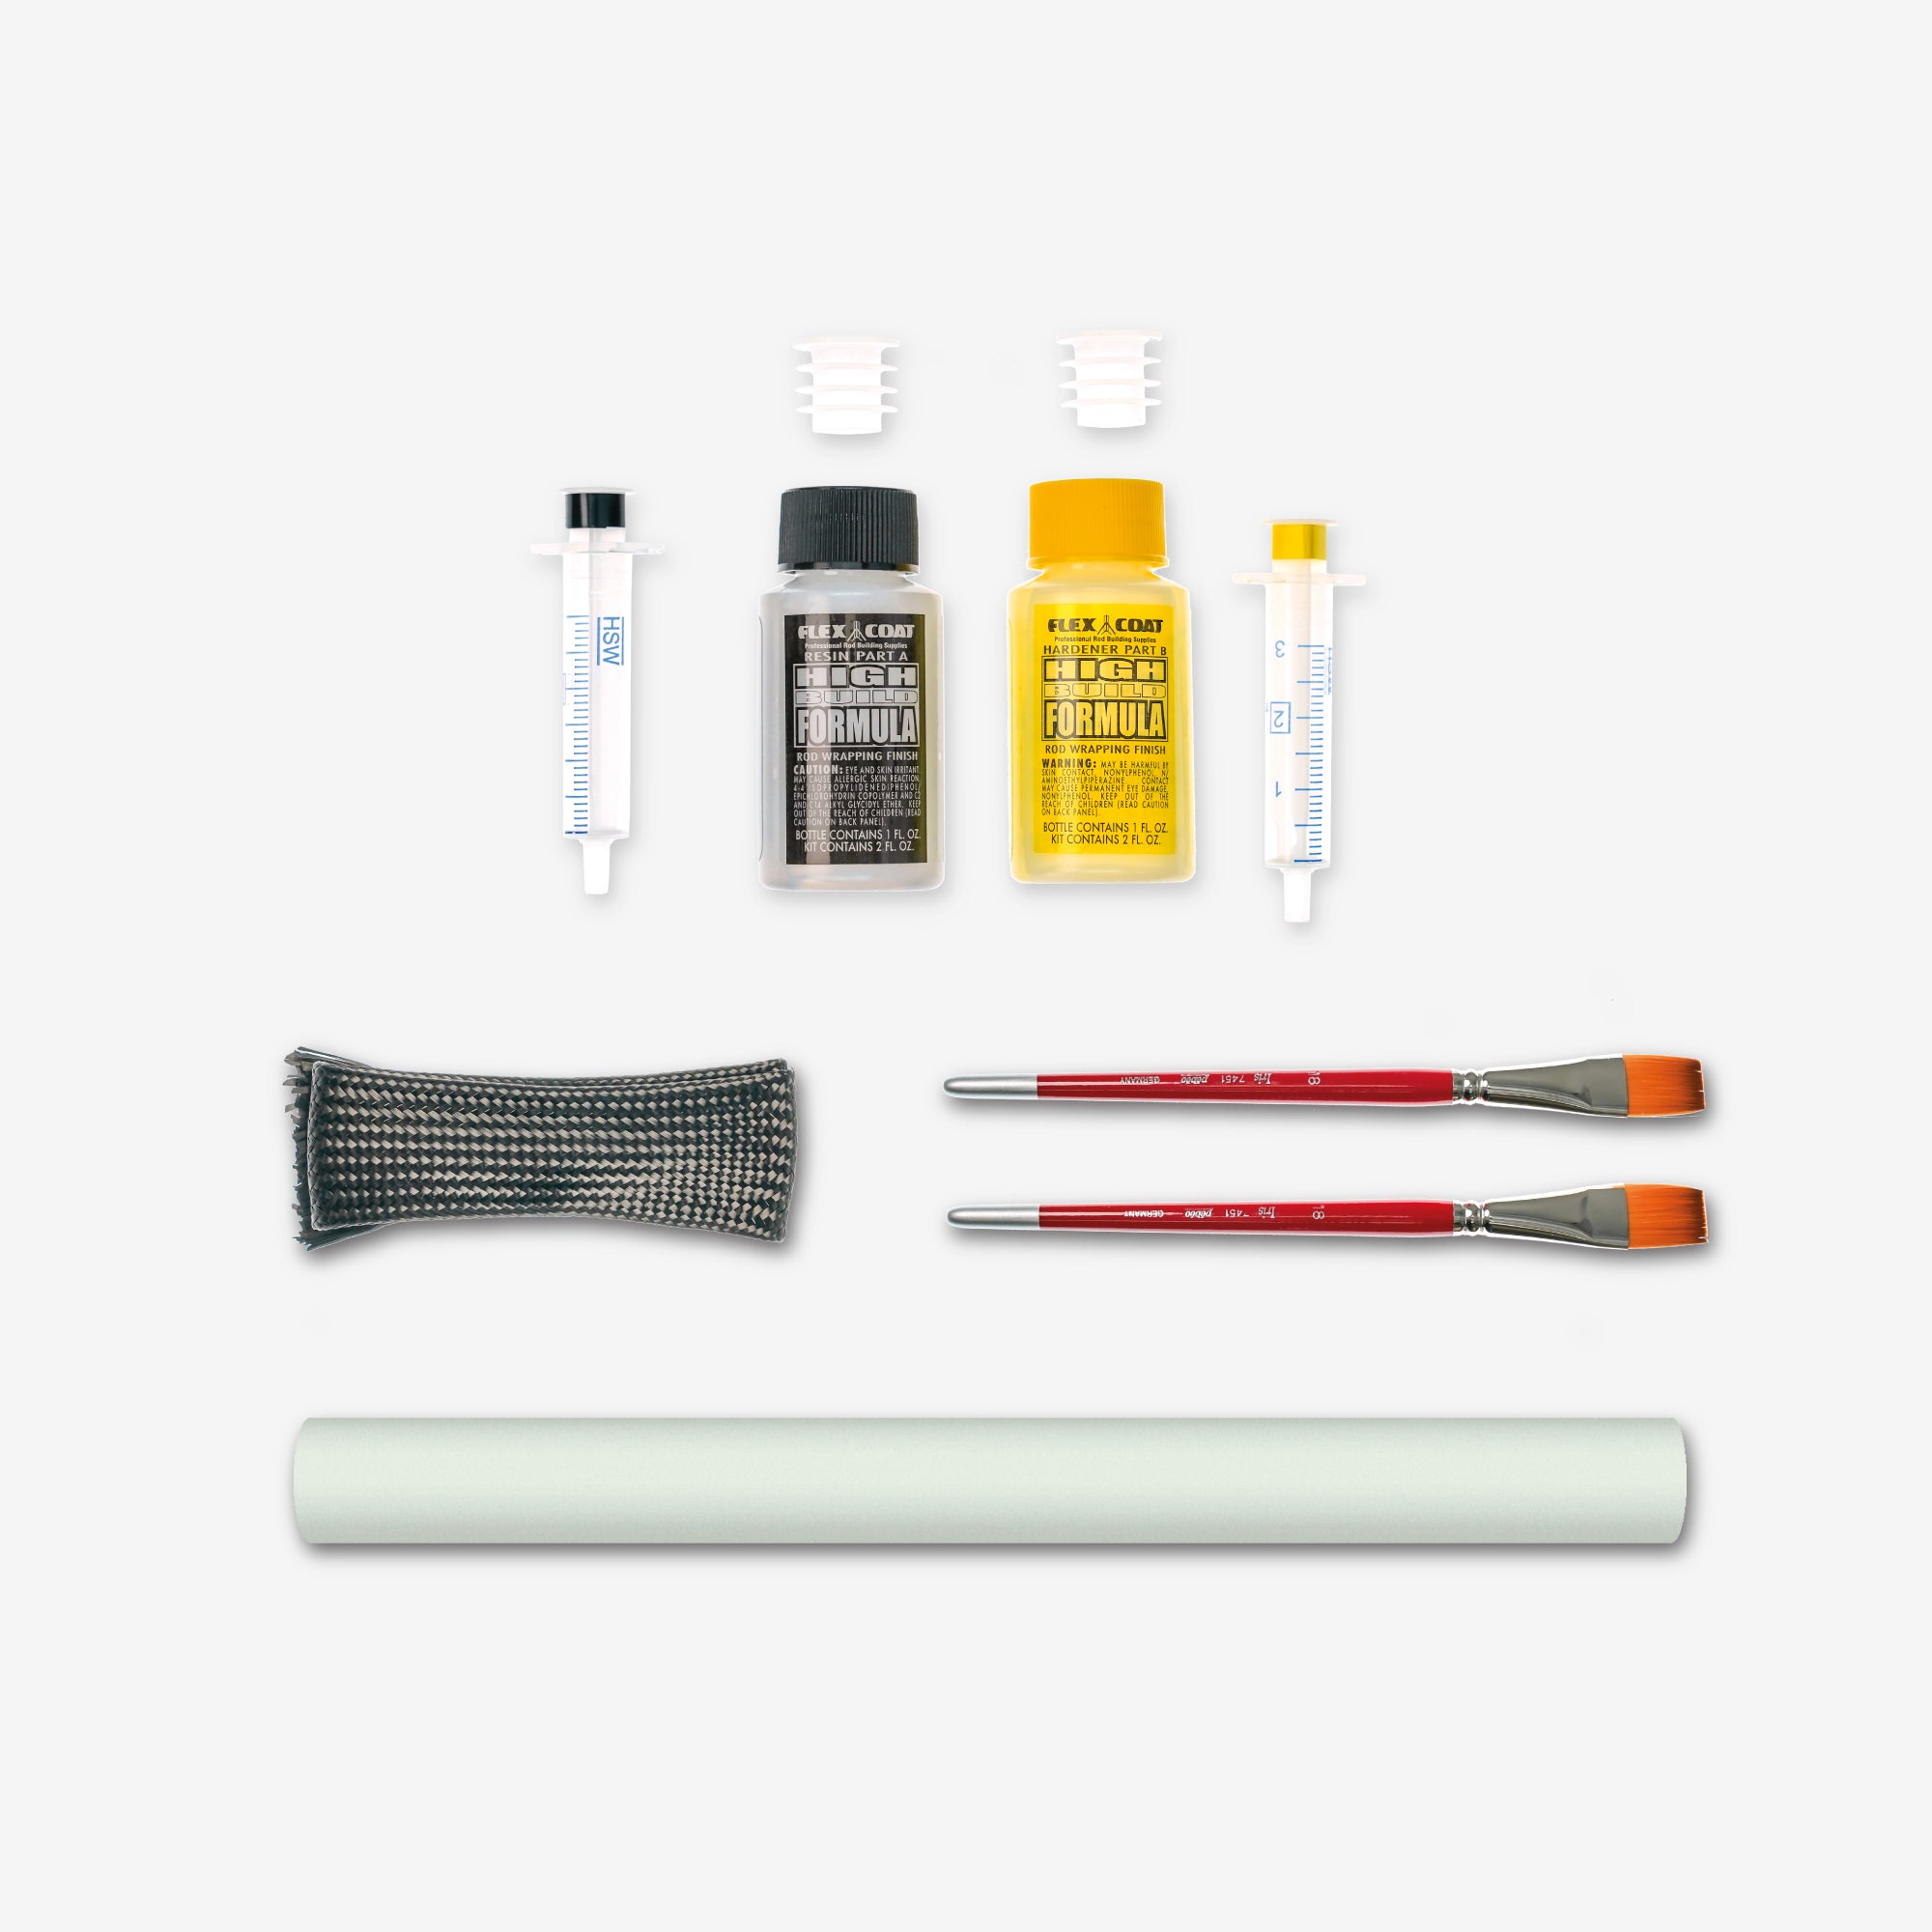
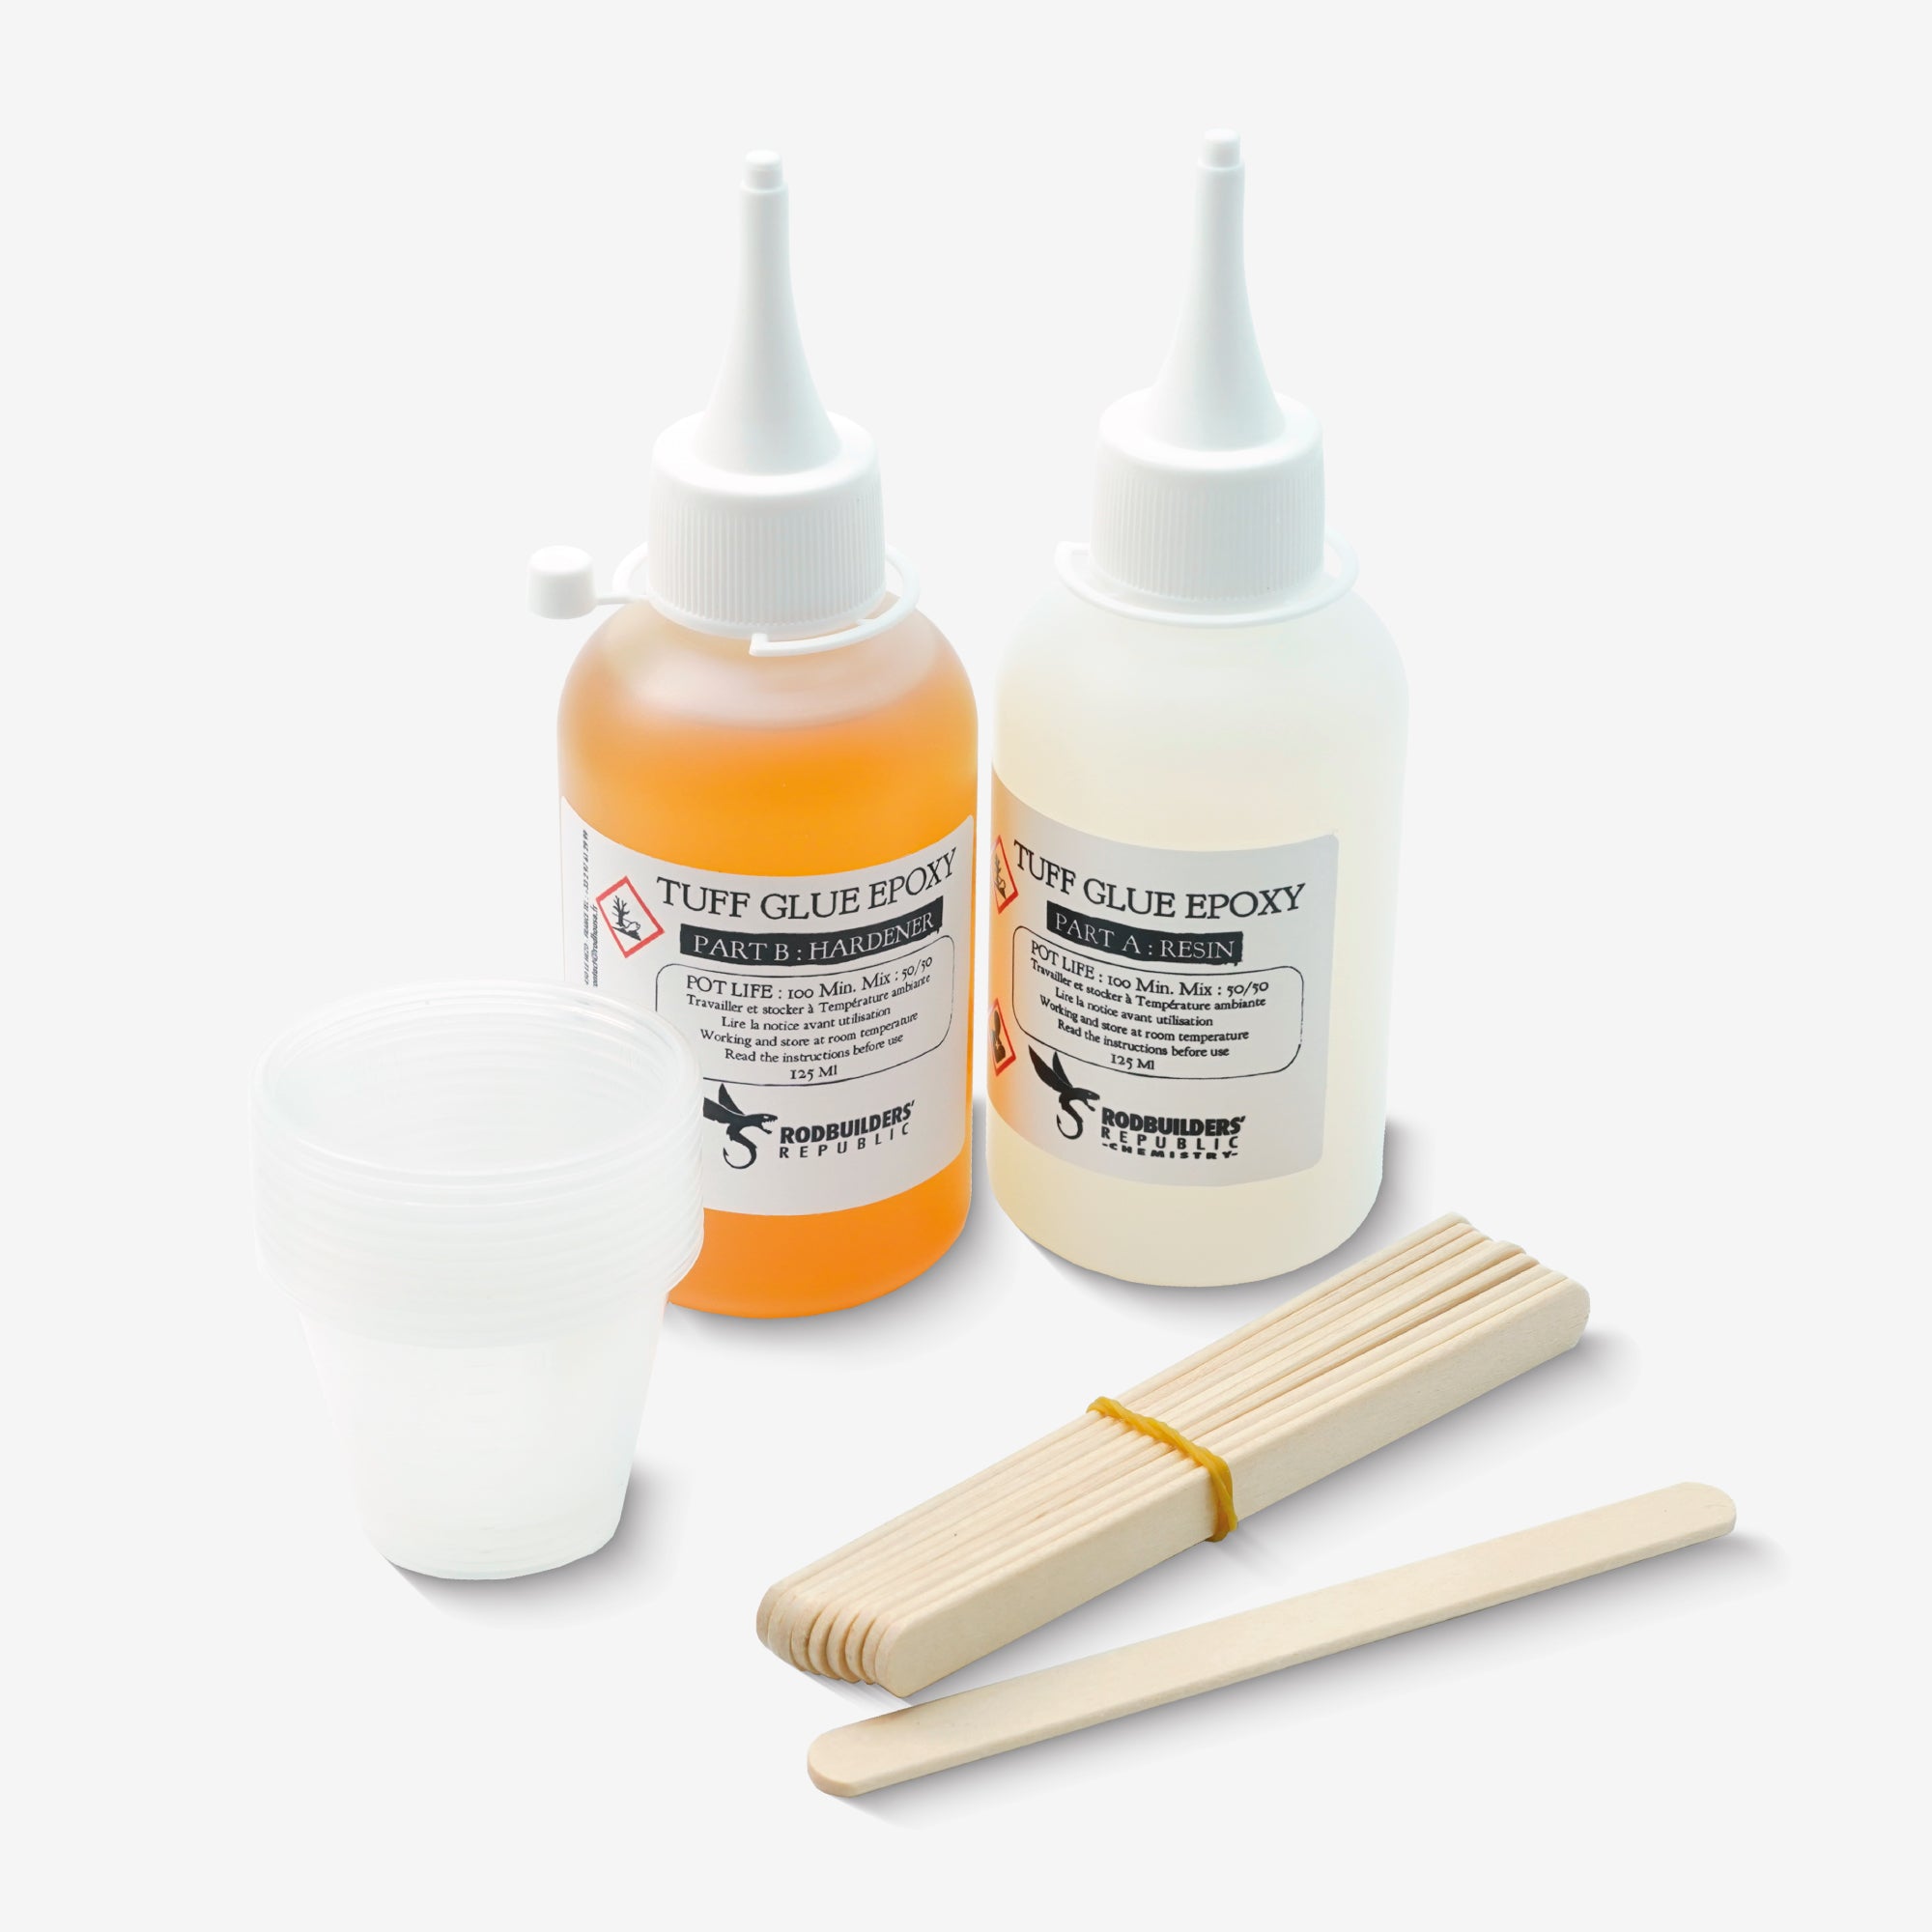
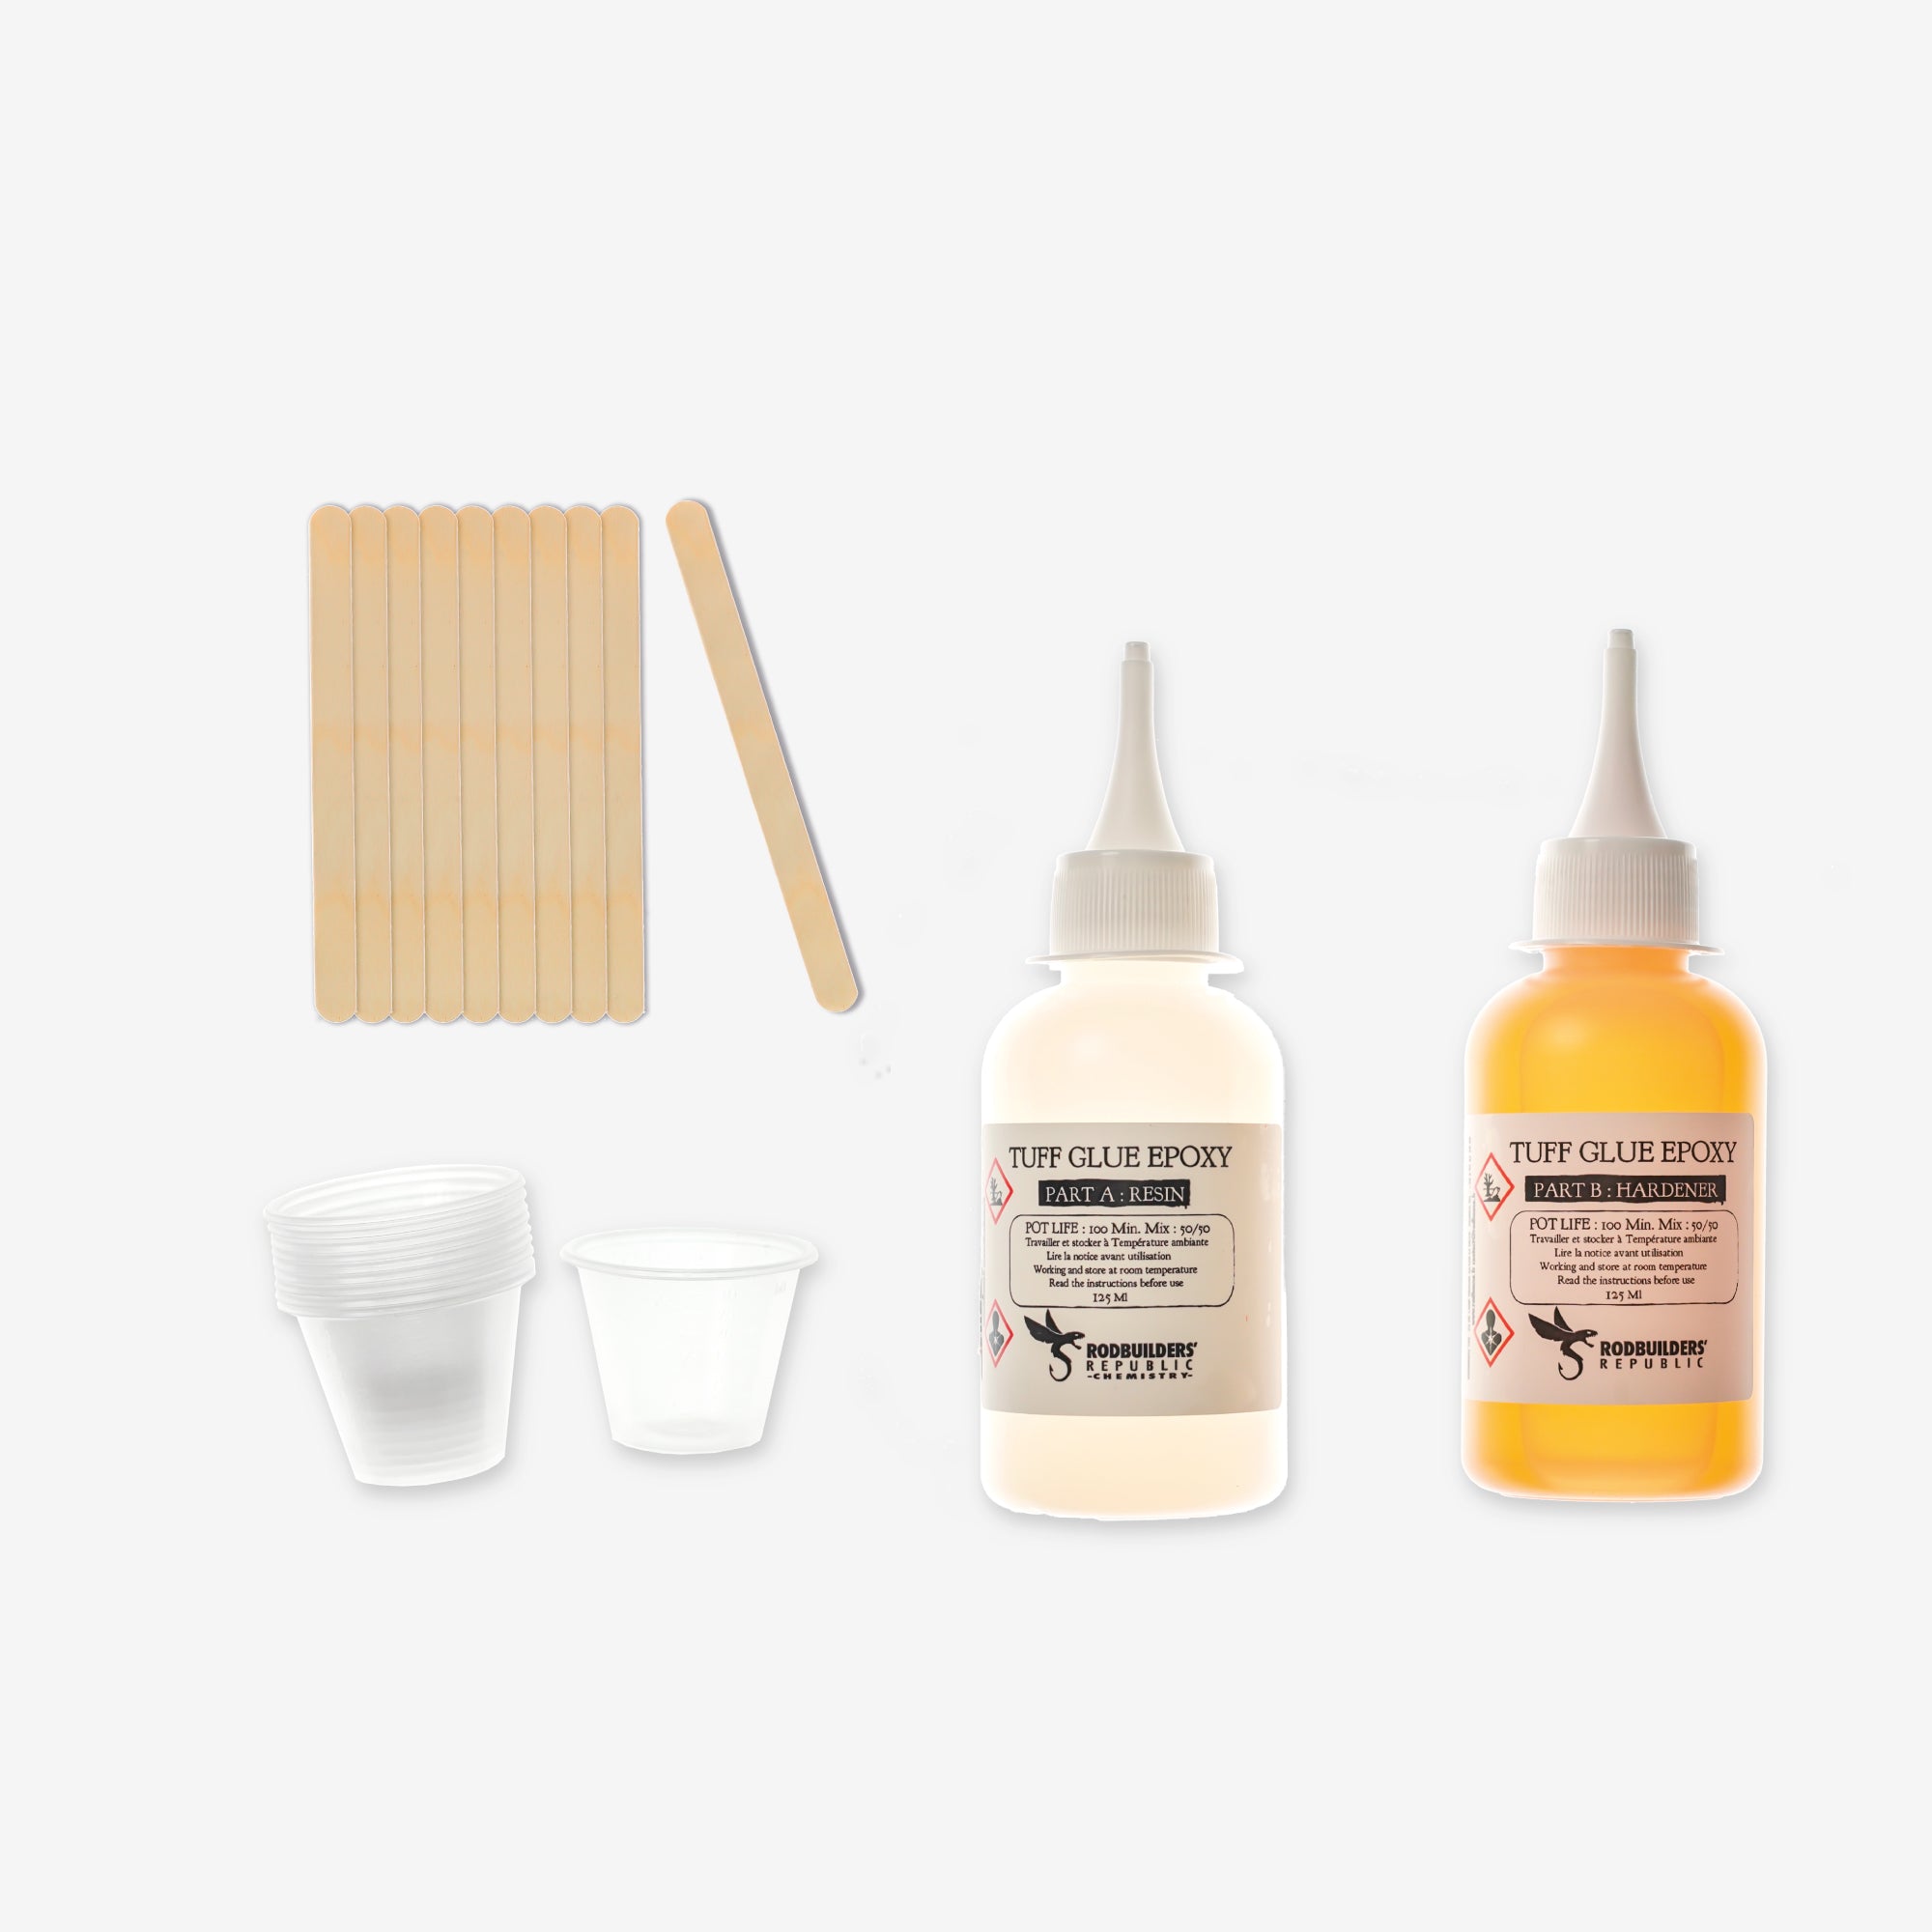
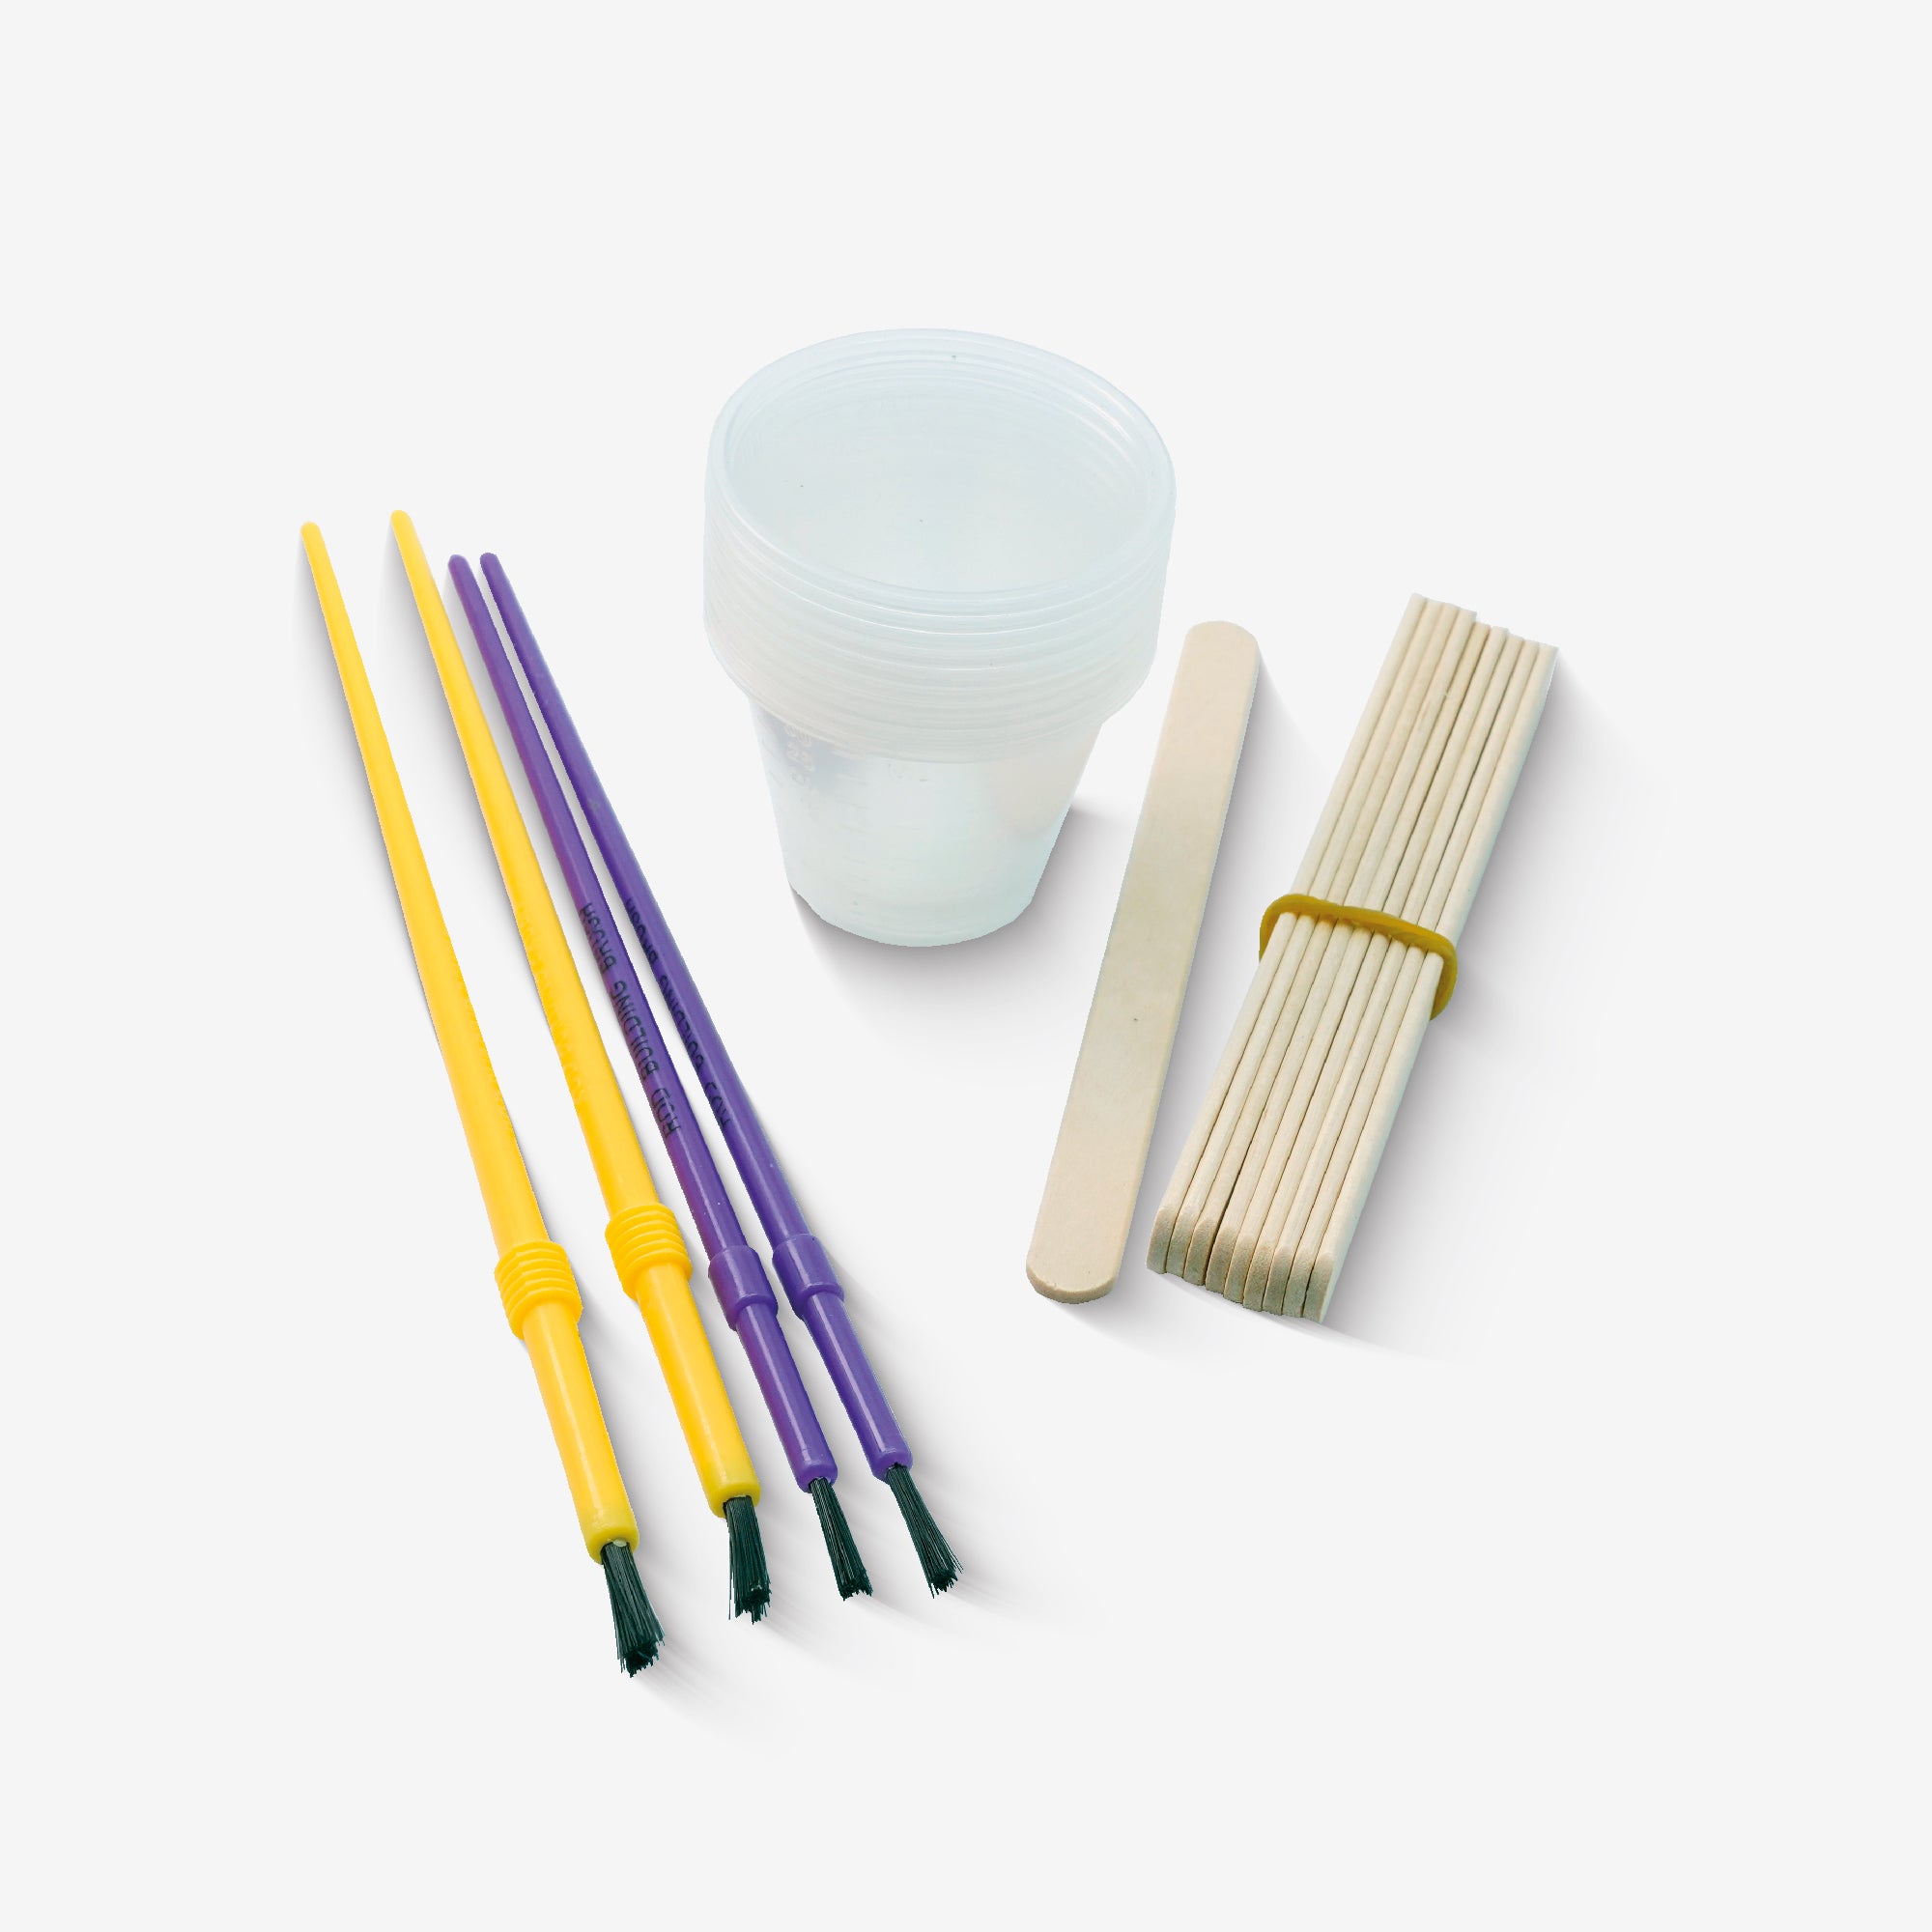
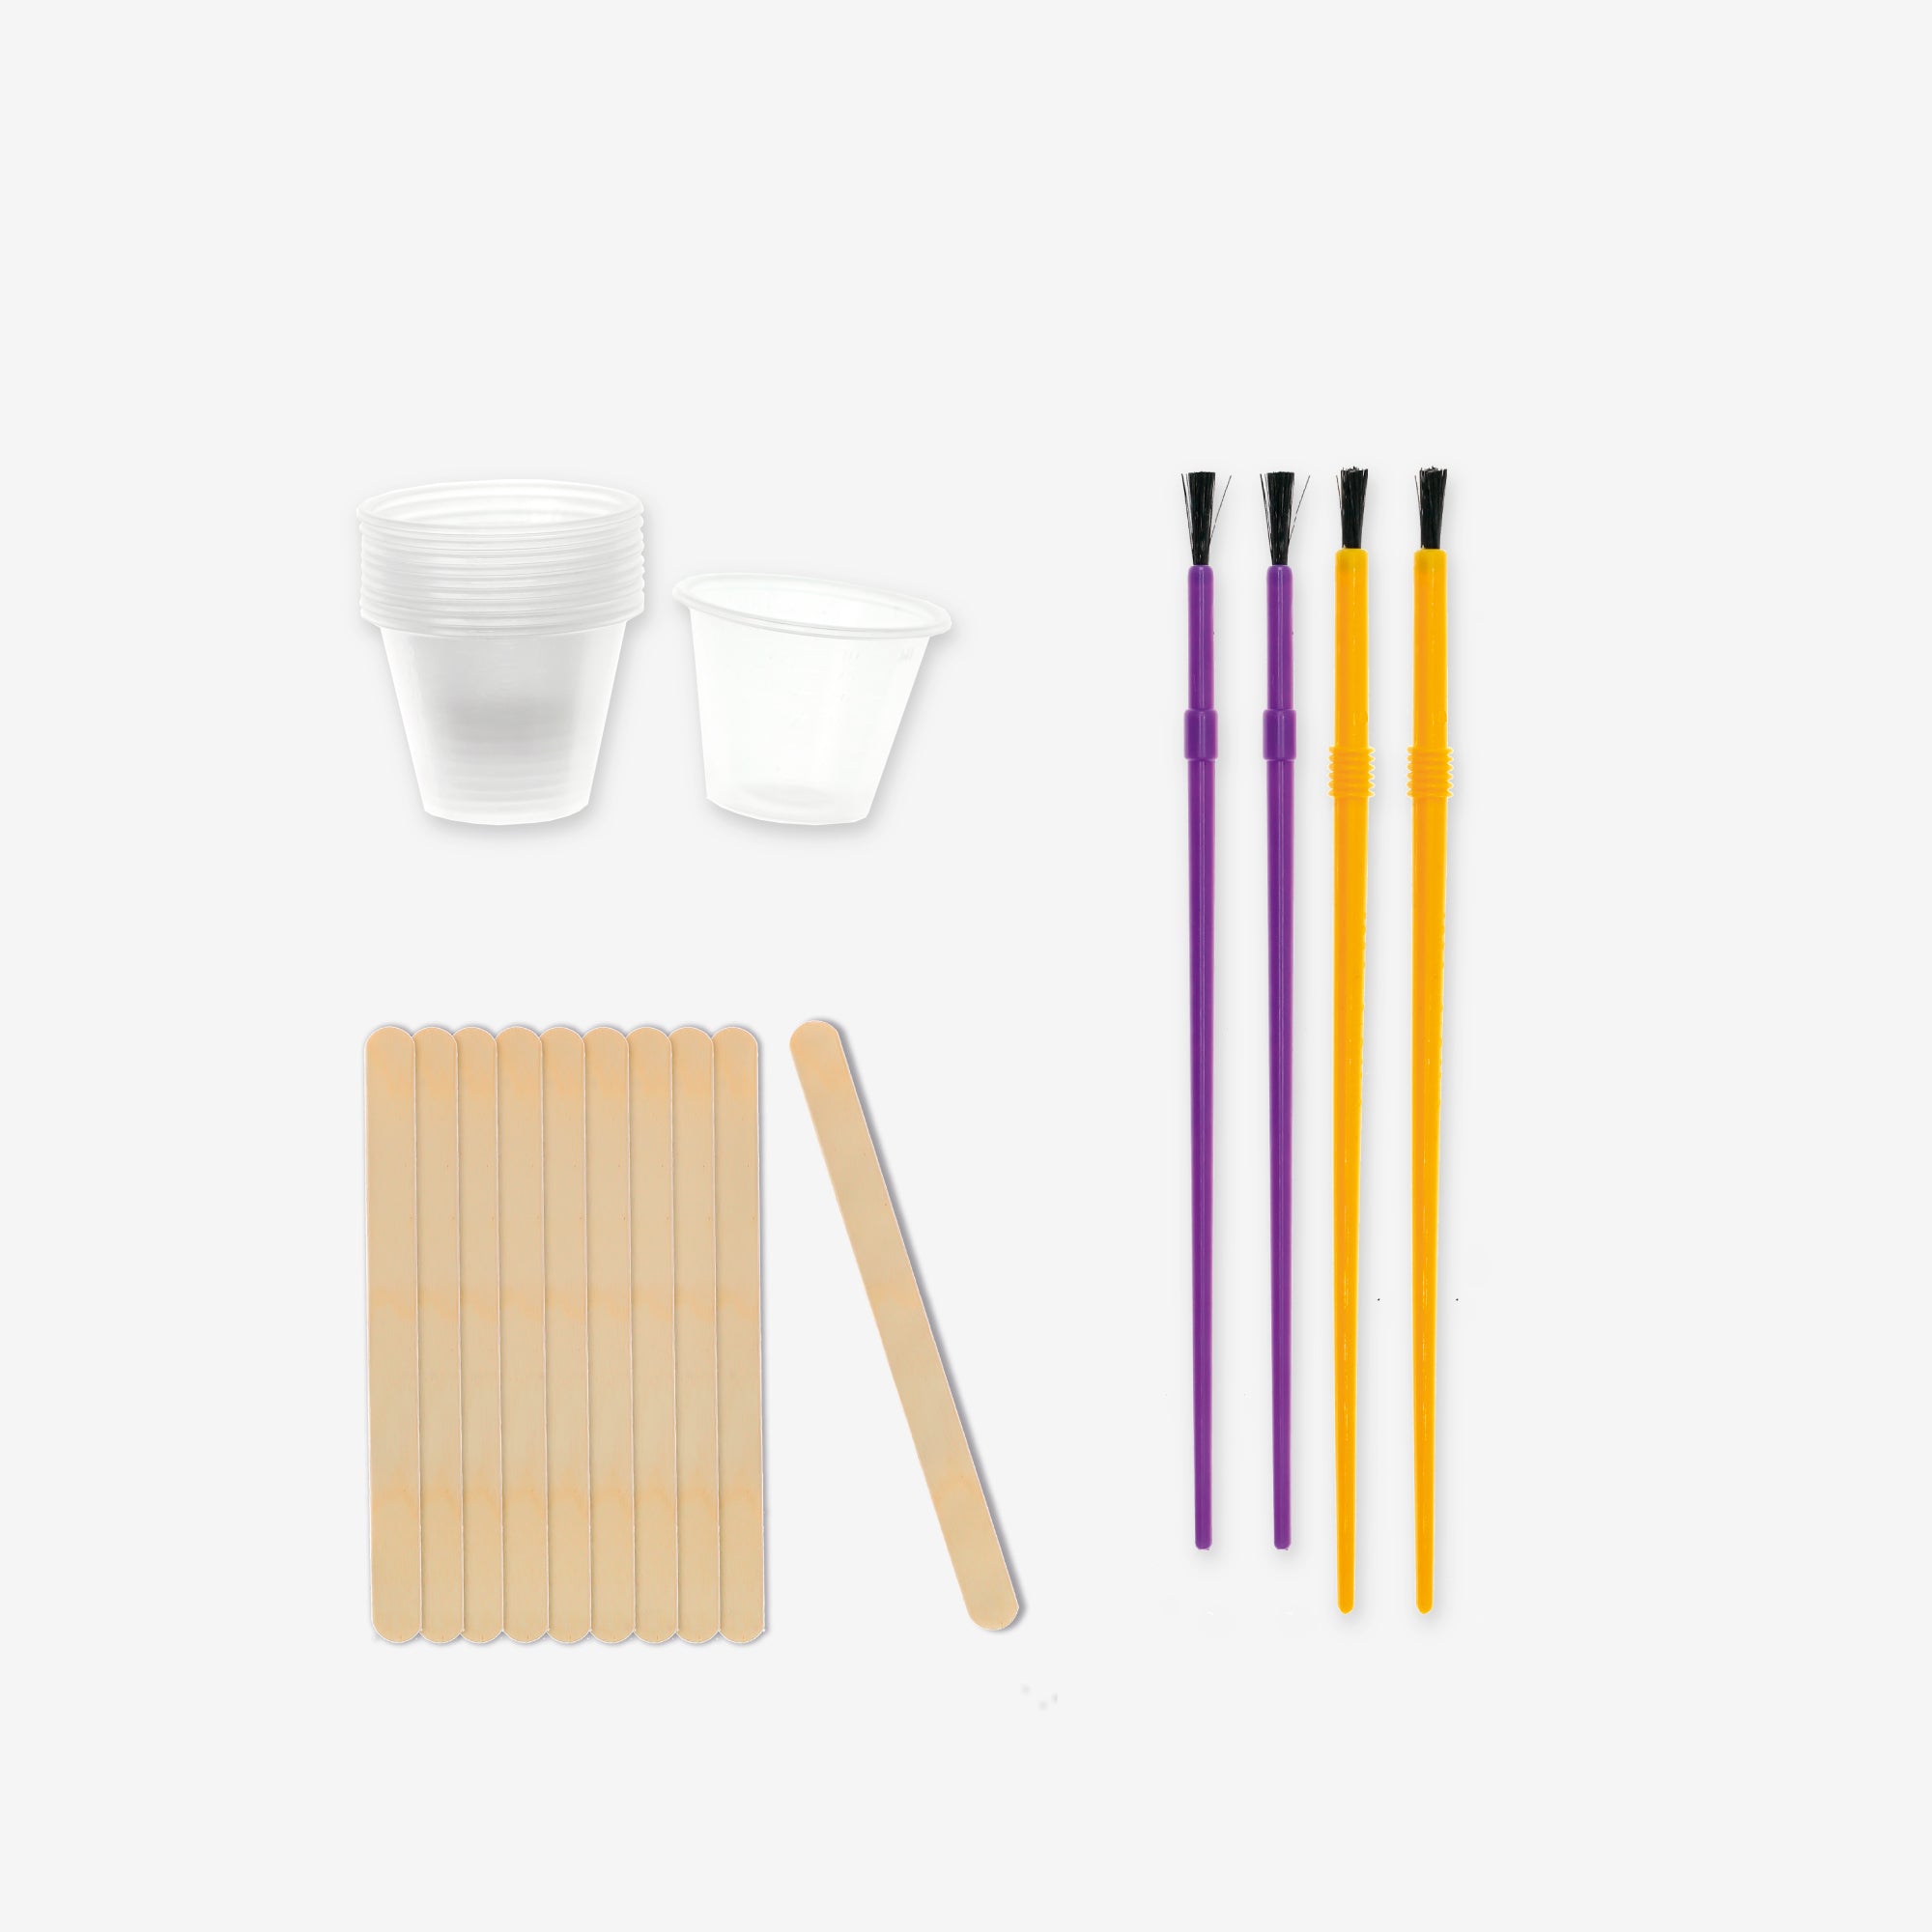
Dans cette vidéo YouTube intitulée "Vernir les ligatures", nous abordons les fournitures et outils nécessaires pour vernir les ligatures des cannes à pêche. Nous utilisons un support de tour, des pinceaux, de l'isopropanol, une lampe à alcool et un vernis époxy, en l'occurrence le Flex Coat. Nous soulignons l'importance du nettoyage et du réalignement des ligatures avant le vernissage, ainsi que le maintien d'une température et d'une humidité constantes et le mélange soigneux du vernis. L'application consiste à brosser le vernis, en débutant au centre de la ligature et en progressant vers les bords, puis en répétant sur l'autre côté. Nous évoquons également l'importance de maintenir une main fixe lors de l'utilisation d'une machine à vernir et d'utiliser une lampe à alcool pour éliminer les bulles d'air.
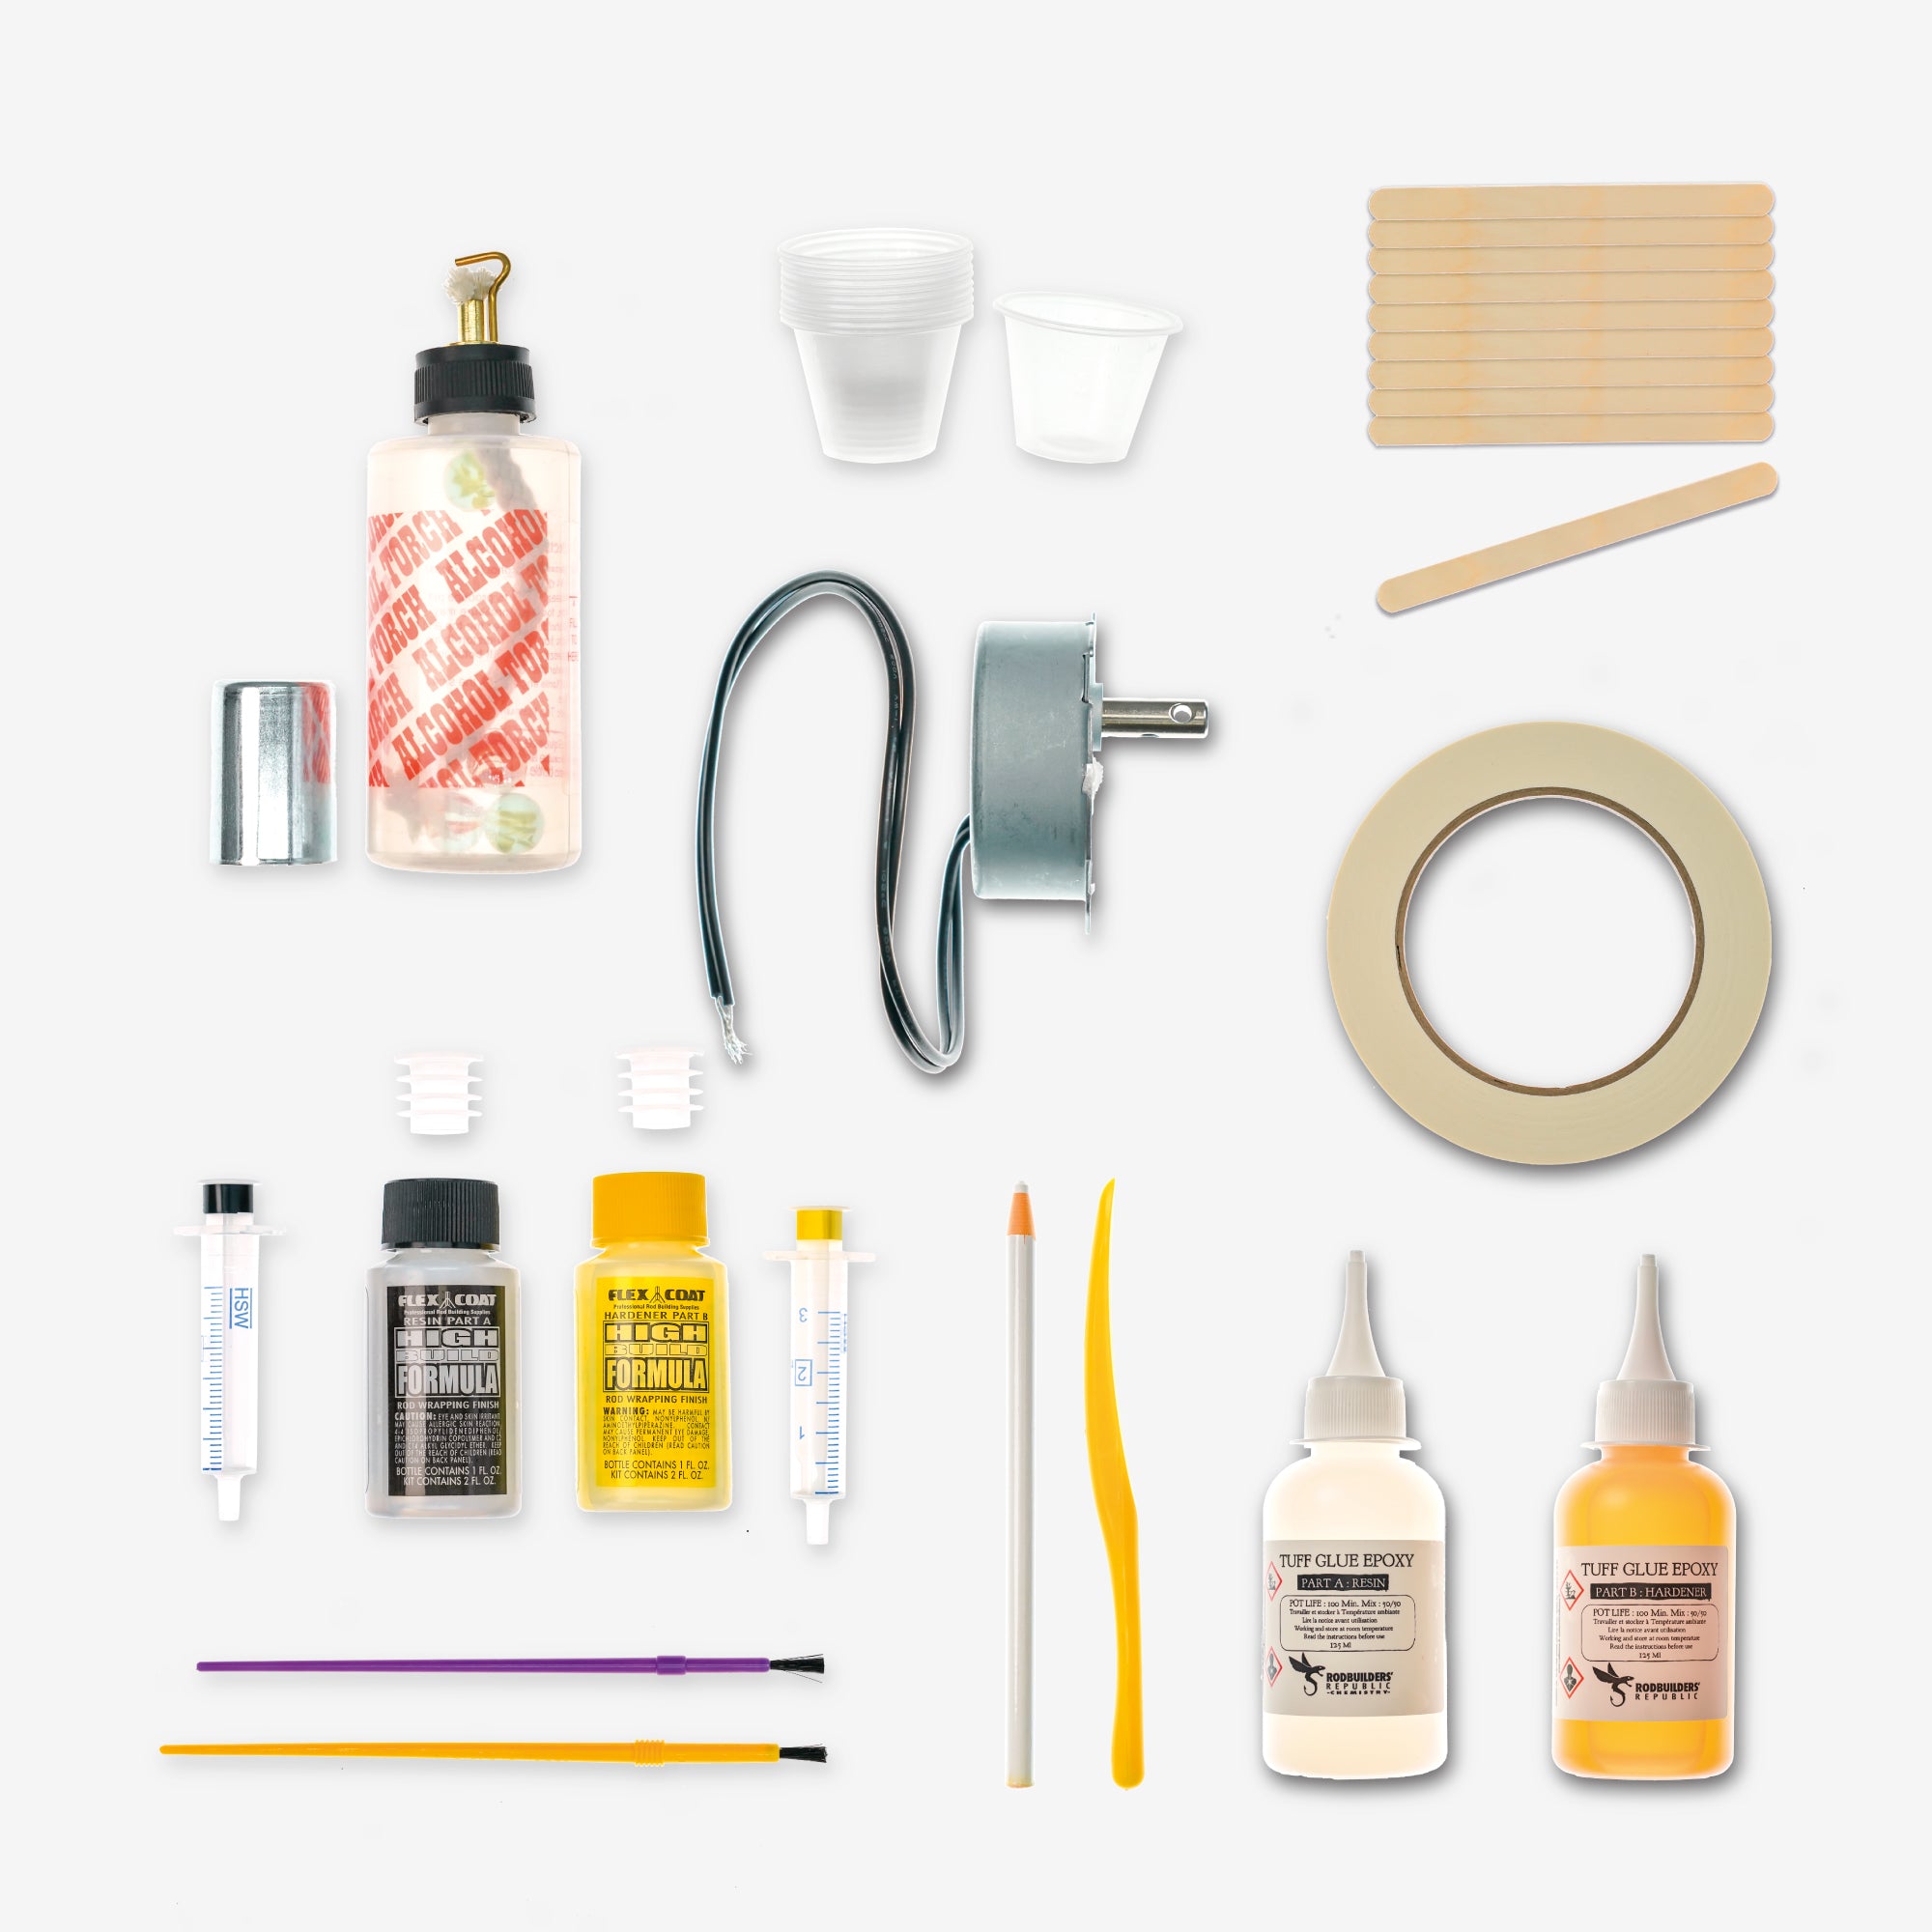
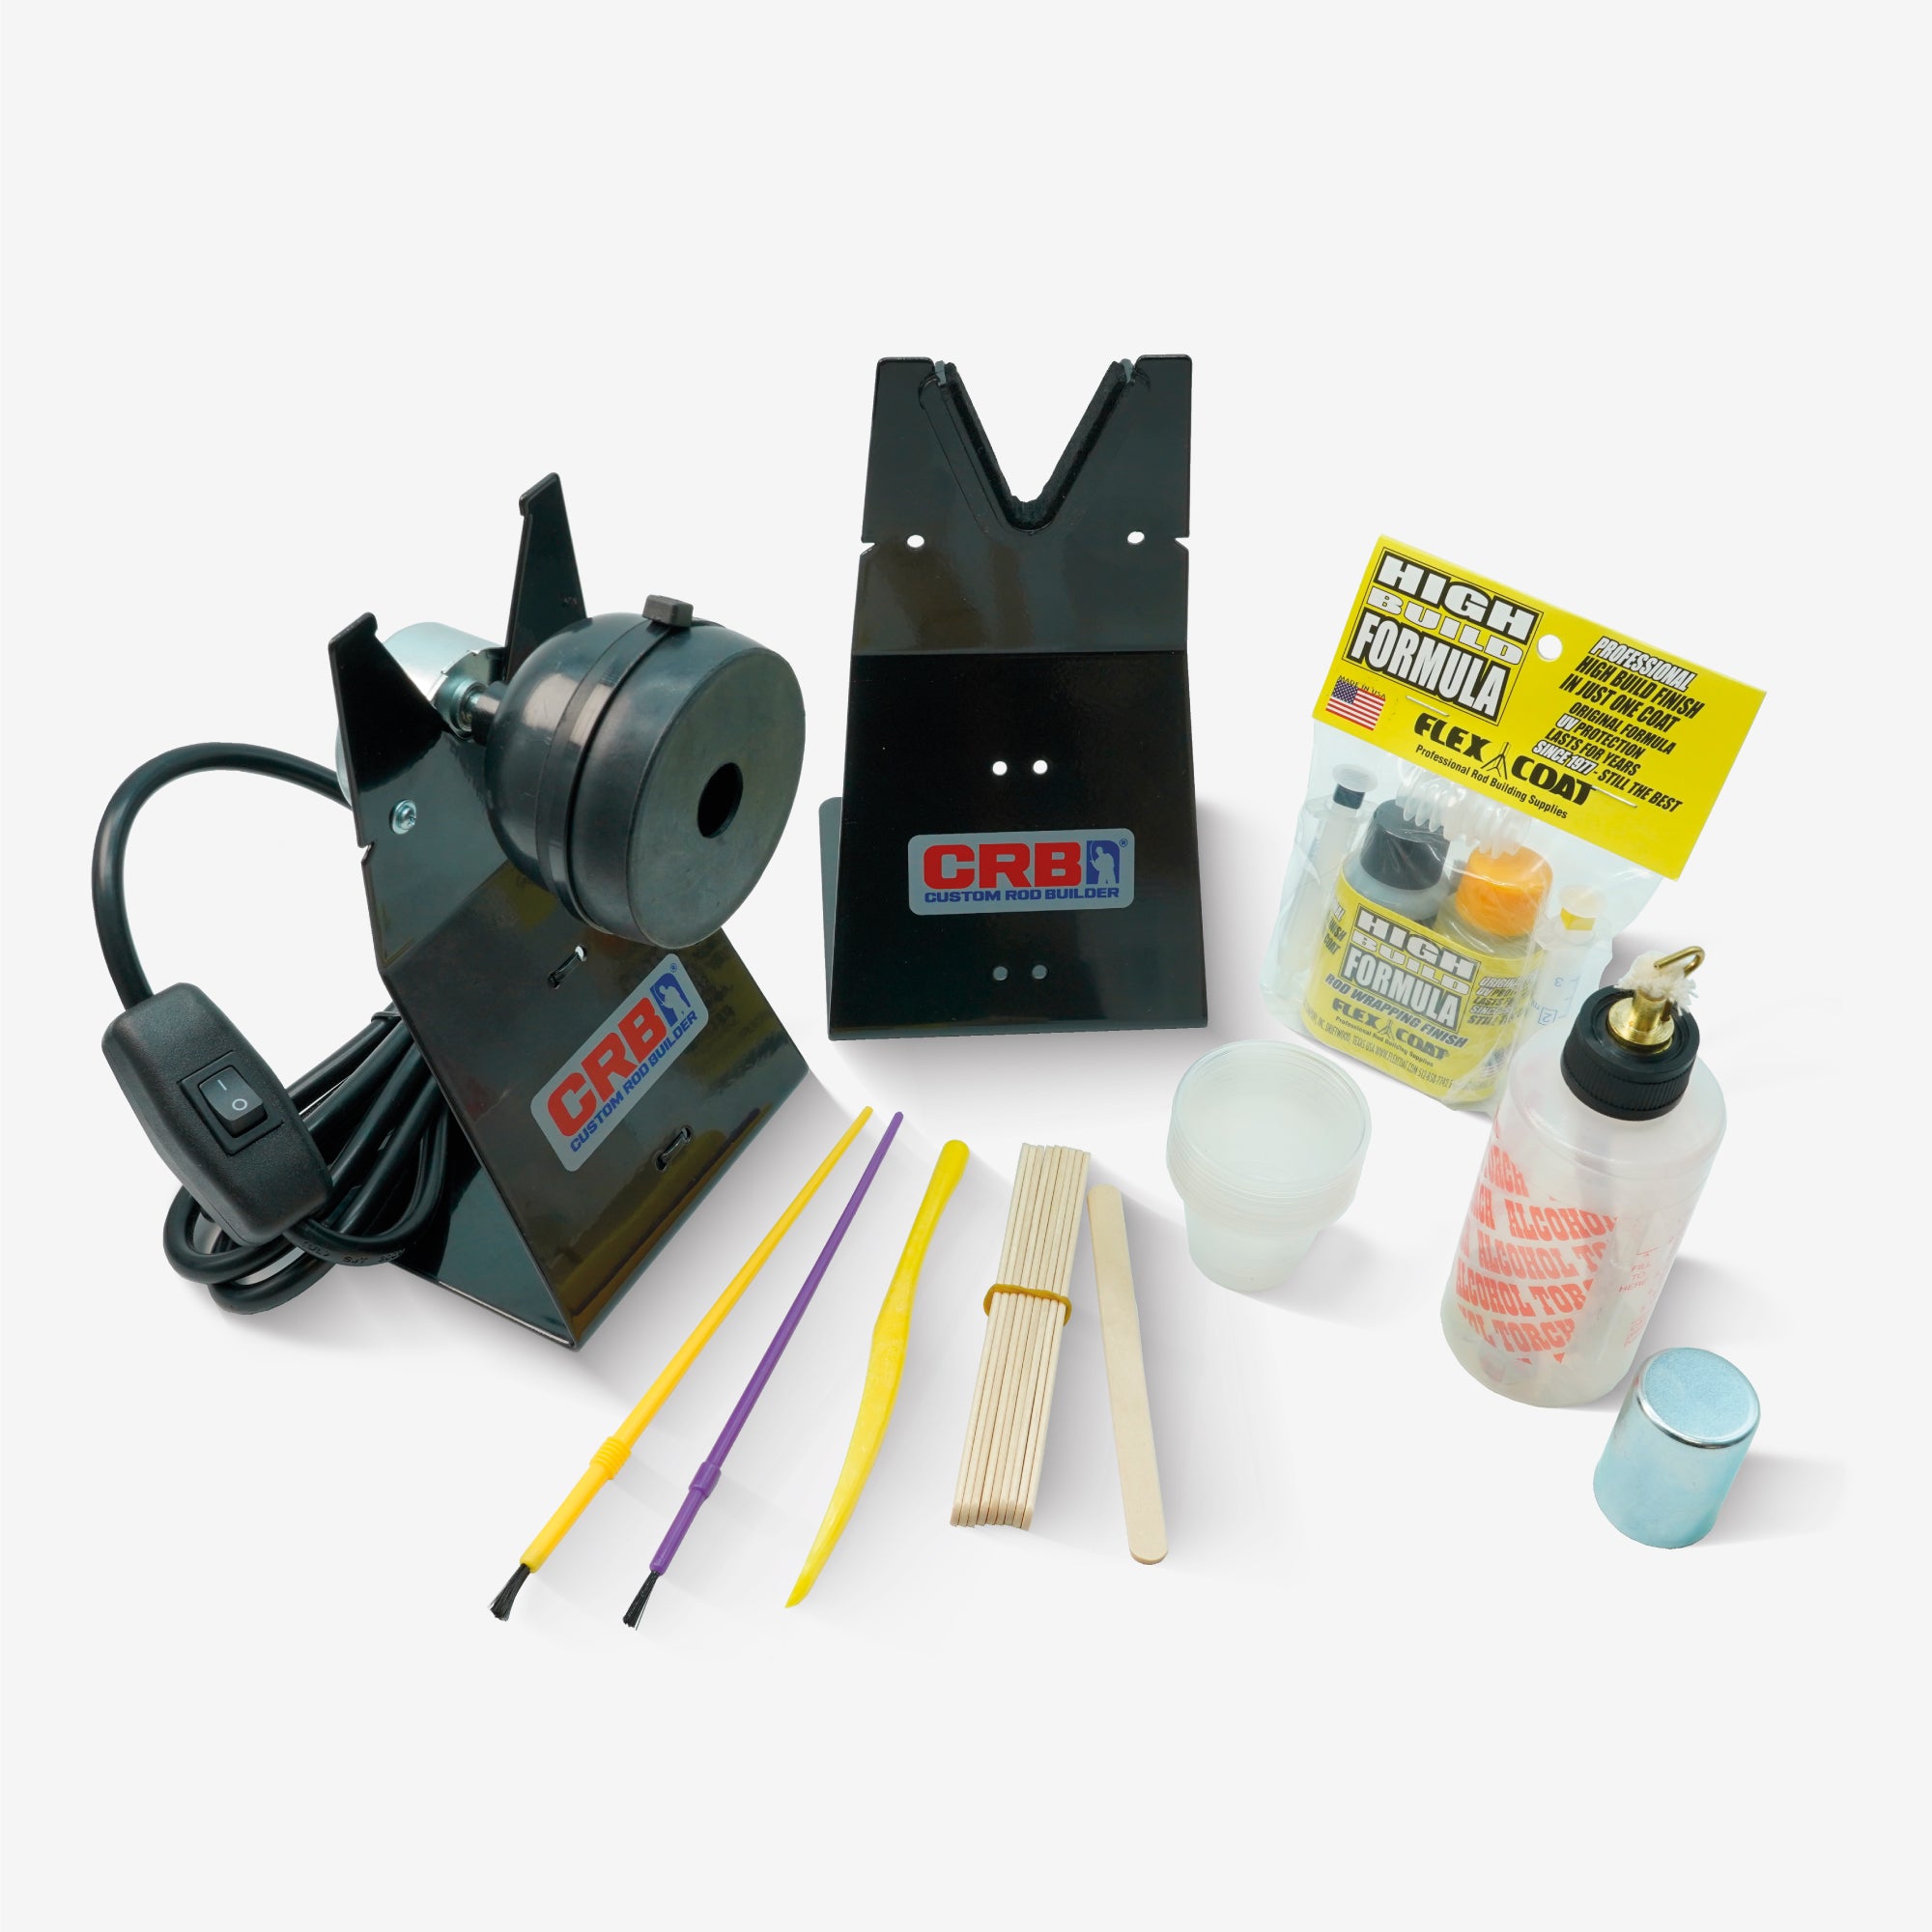
Outils utilisés