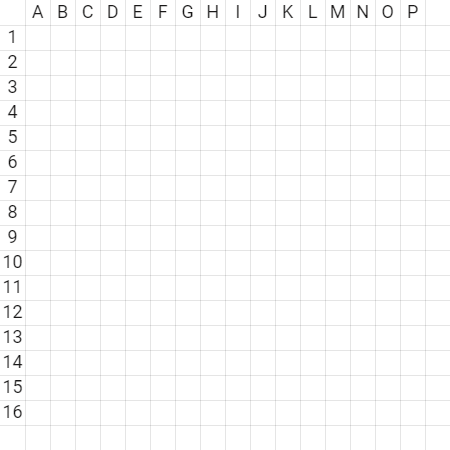


Si je vous demande de me citer une bague de finition pour les portes-moulinet en taille 16 ou 17, qui soit à la fois technique et simple d'utilisation? Une bague qui à la fois ne pèse que très peu, ne coûte quasiment rien, et qui soit ajustable à volonté sur le blank? Une bague qui peut être sobre ou au contraire bling bling en fonction des coloris, et qui peut être aussi utilisée pour un butt?
Vous séchez? Allez, un petit indice, c'est chez FUJI que l'on trouve cette petite merveille qui gagne à être de plus en plus connue...
Toujours pas ?
Alors, la réponse : la WCS !
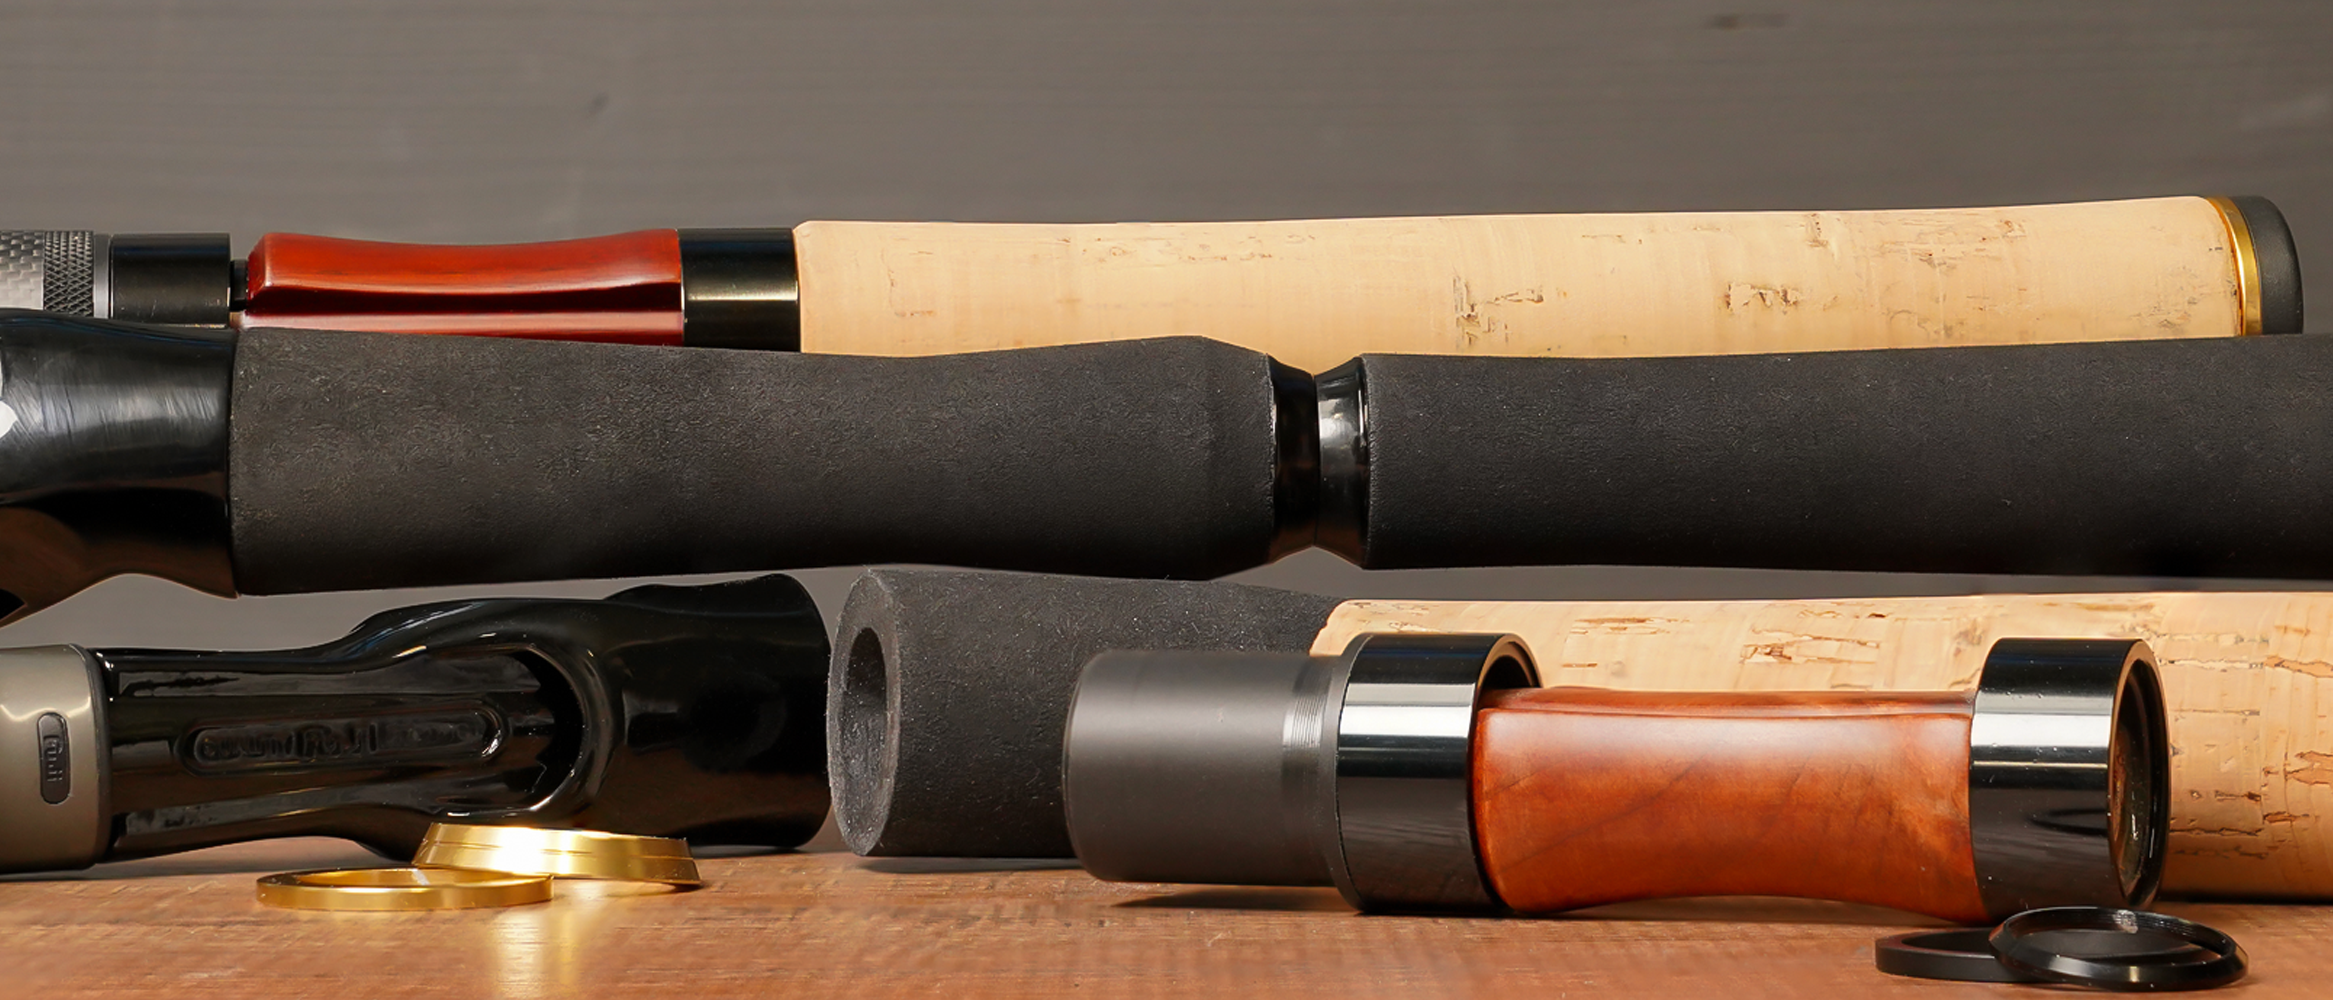
La bonne bague pour son porte-moulinet
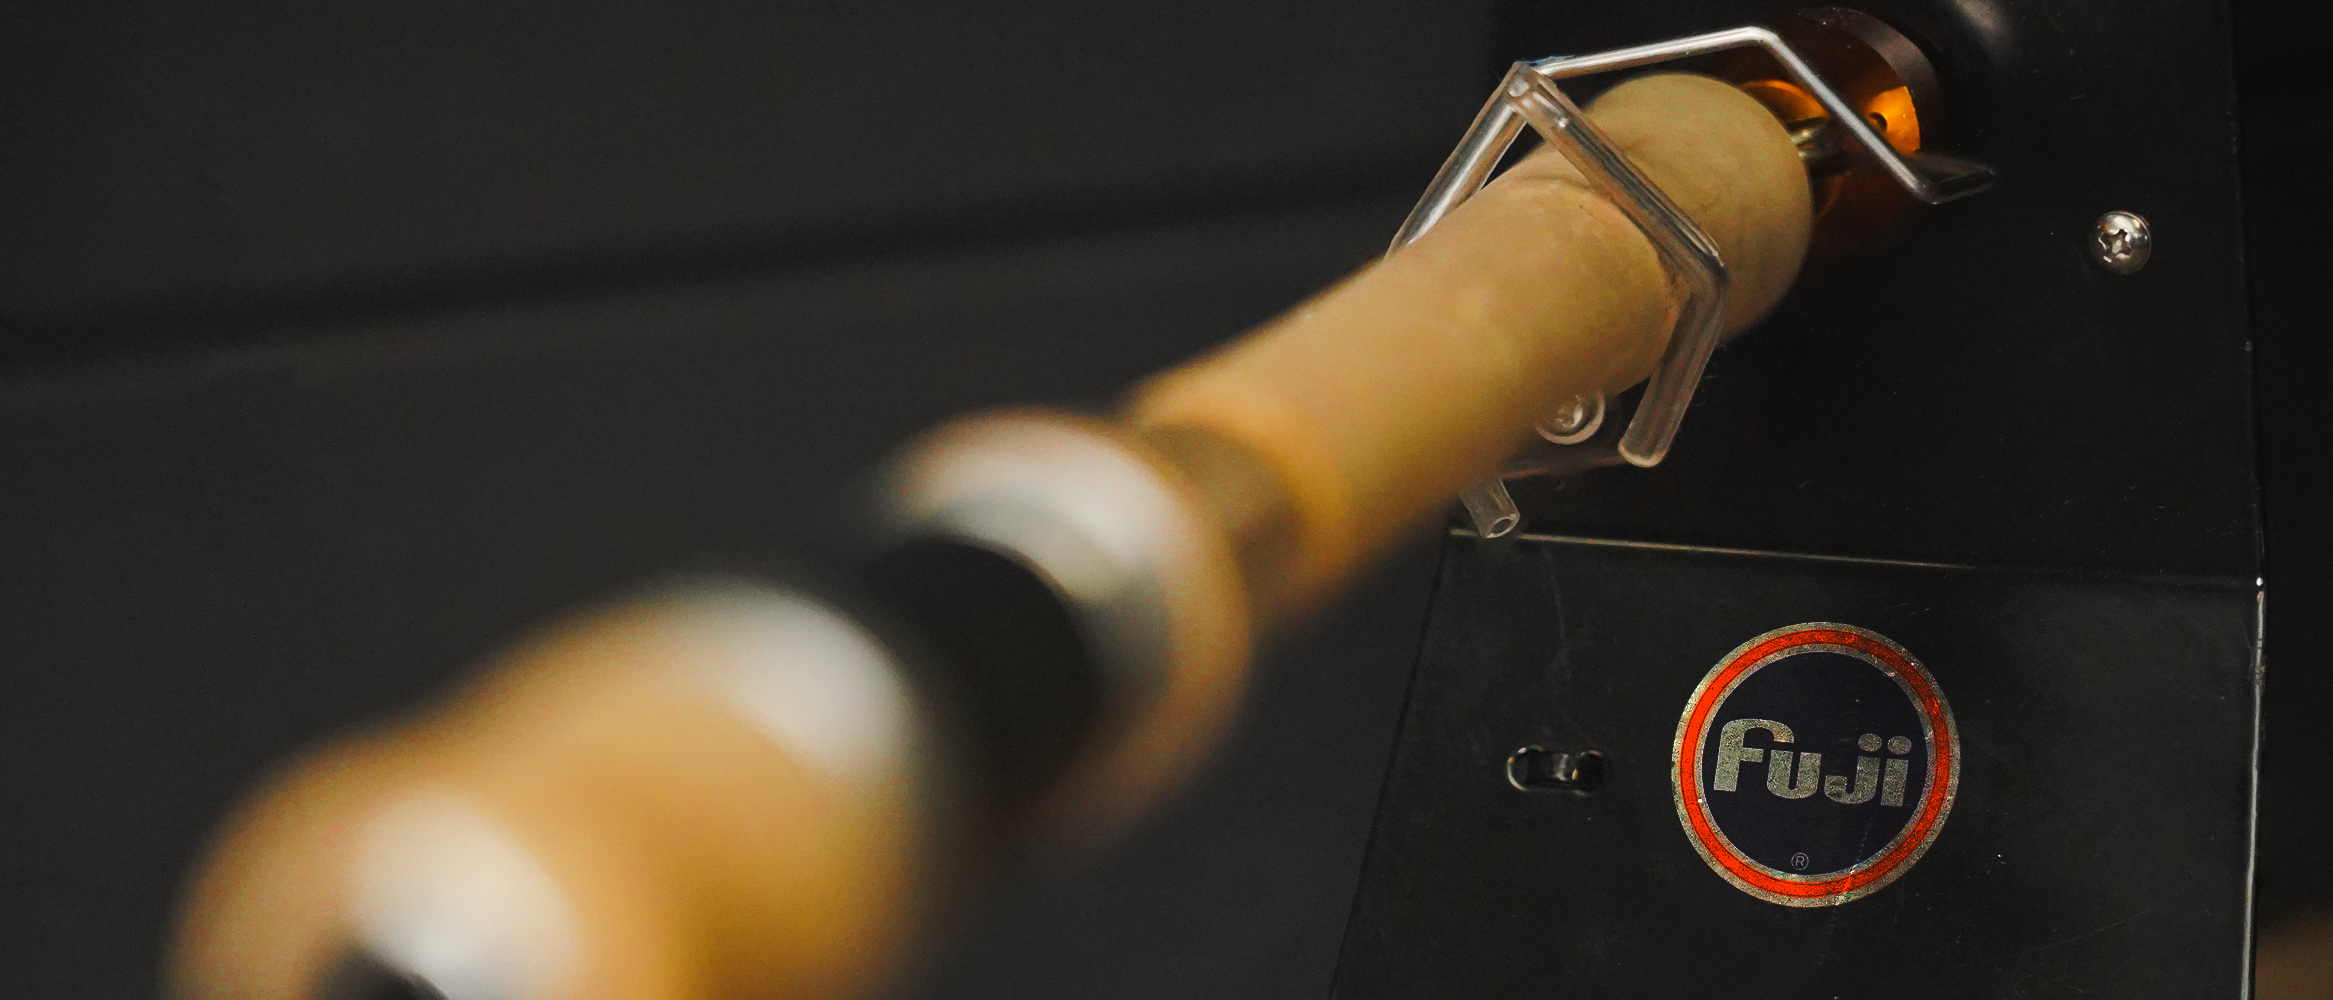
La difficulté majeure pour le débutant, et même parfois pour le rodbuilder confirmé, est de trouver bague à son doigt, ou plutôt à sa canne. Il est parfois délicat de trouver LA bague compatible avec LE porte moulinet et LE diamètre du blank, rajoutez à cela des mesures en unités impériales pour certaines, ou encore une nomenclature spécifique à une marque pour d’autres, et imaginez la difficulté du problème. FUJI, avec sa WCS prévue à la base pour son skeleton, vient résoudre plusieurs paramètres de l'équation.
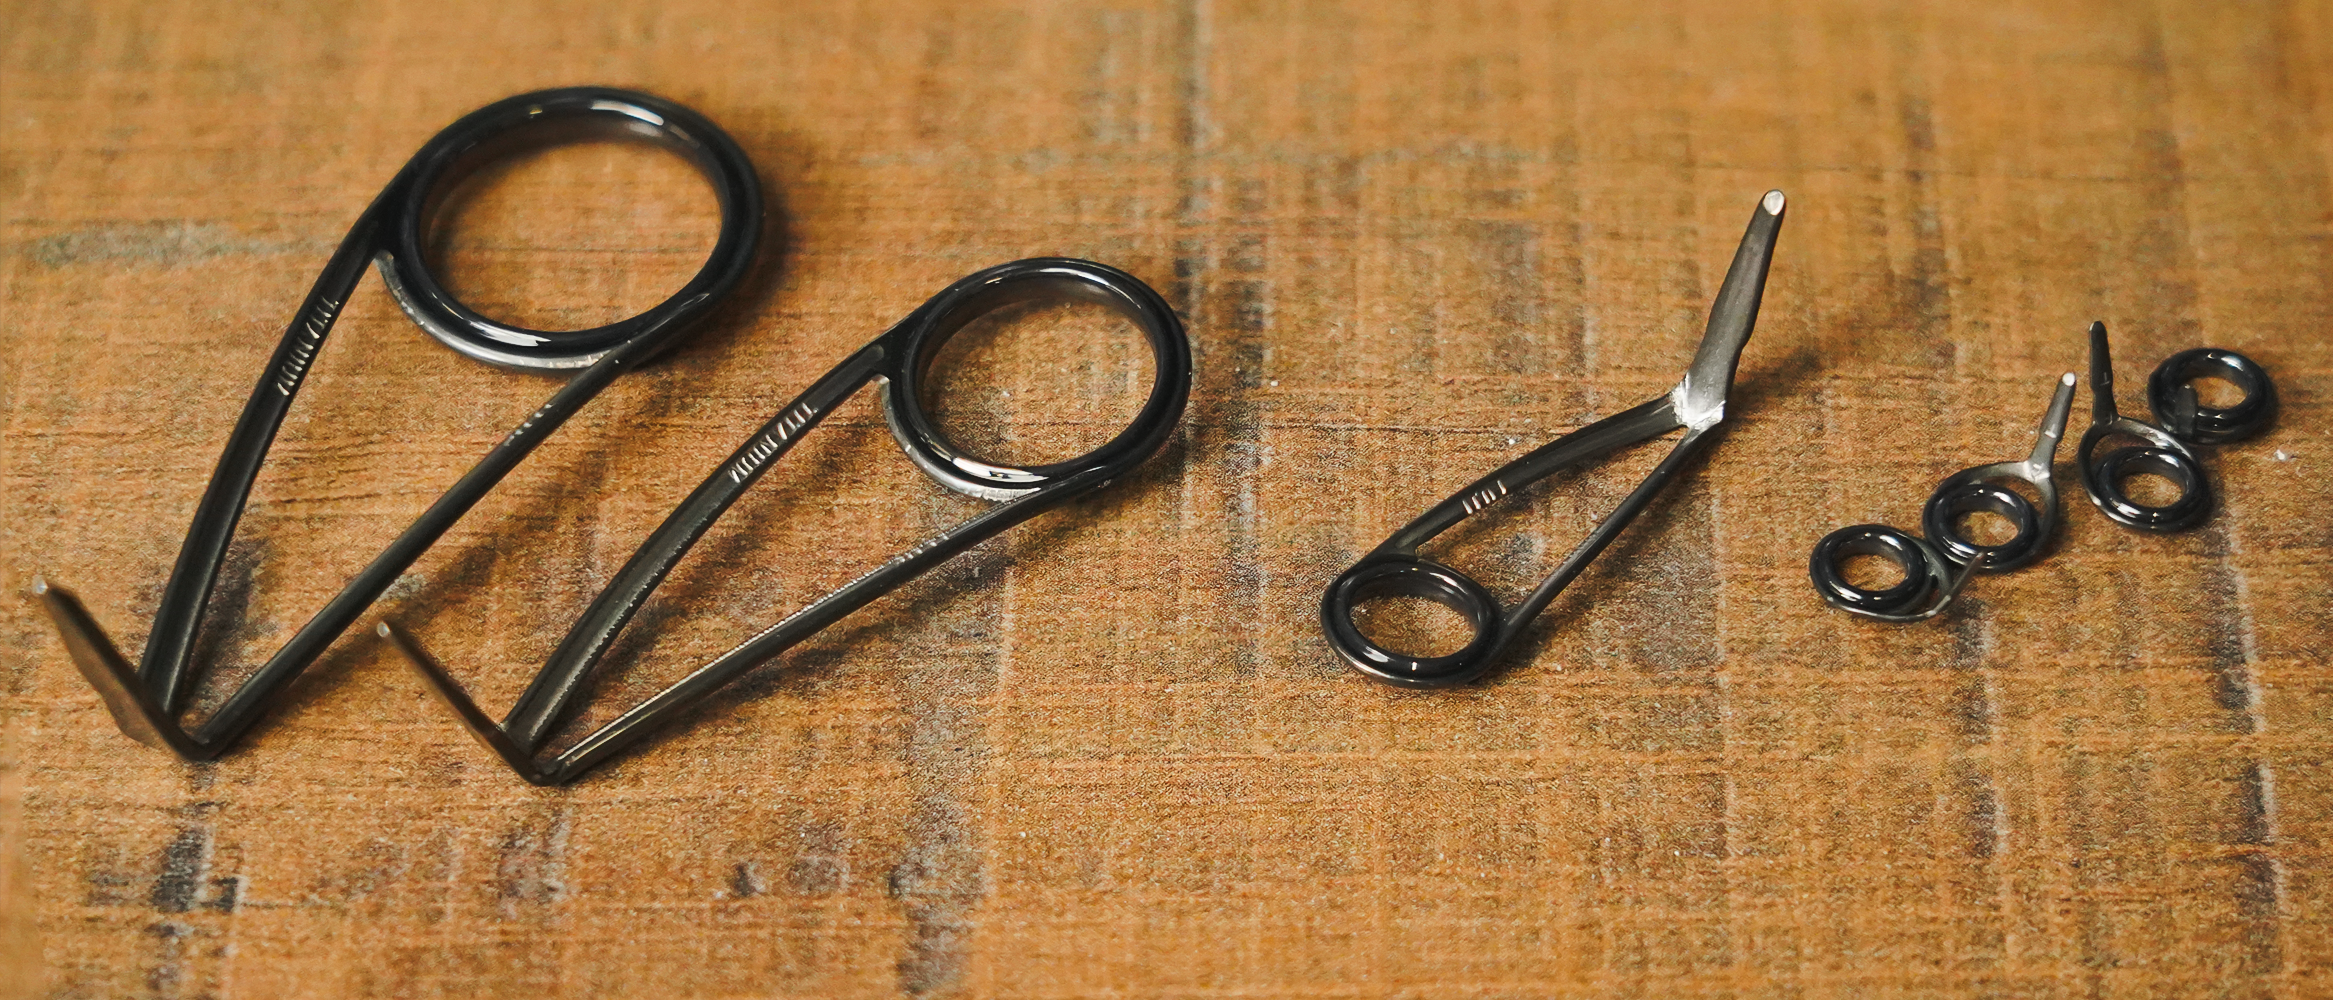
La taille du porte-moulinet tout d'abord : la WCS existe en deux tailles, à savoir en taille 16 et en taille 17 pour spinning ou casting. C'est peu mais ça couvre quand même la majorité des cas de figure : on ne possède pas tous des bras d'acier et des cannes de titans pour aller dompter des tunas bien énervés.
La nomenclature FUJI est simple :
- la WCS16 est compatible avec les portes moulinets en taille 16
- la WCS17 pour ceux en taille 17...
Simplissime, non ?
La cerise sur le gateau étant que ces bagues sont également compatibles avec des portes moulinets autres que ceux de la marque! Je ne sais pas vous mais moi je craque littéralement devant l'association ALPS MVT et WCS16...

Avec cette bague, FUJI vient de résoudre d'un coup deux paramètres de notre équation : le porte moulinet (si c'est en taille 16 ou 17 c'est compatible) et la taille de la bague associée! Petite astuce au passage : il peut arriver que le tenon de la bague force un peu pour rentrer dans le porte moulinet, un léger coup de papier de verre à l'intérieur du porte moulinet viendra régler le problème.

La bonne bague pour son blank
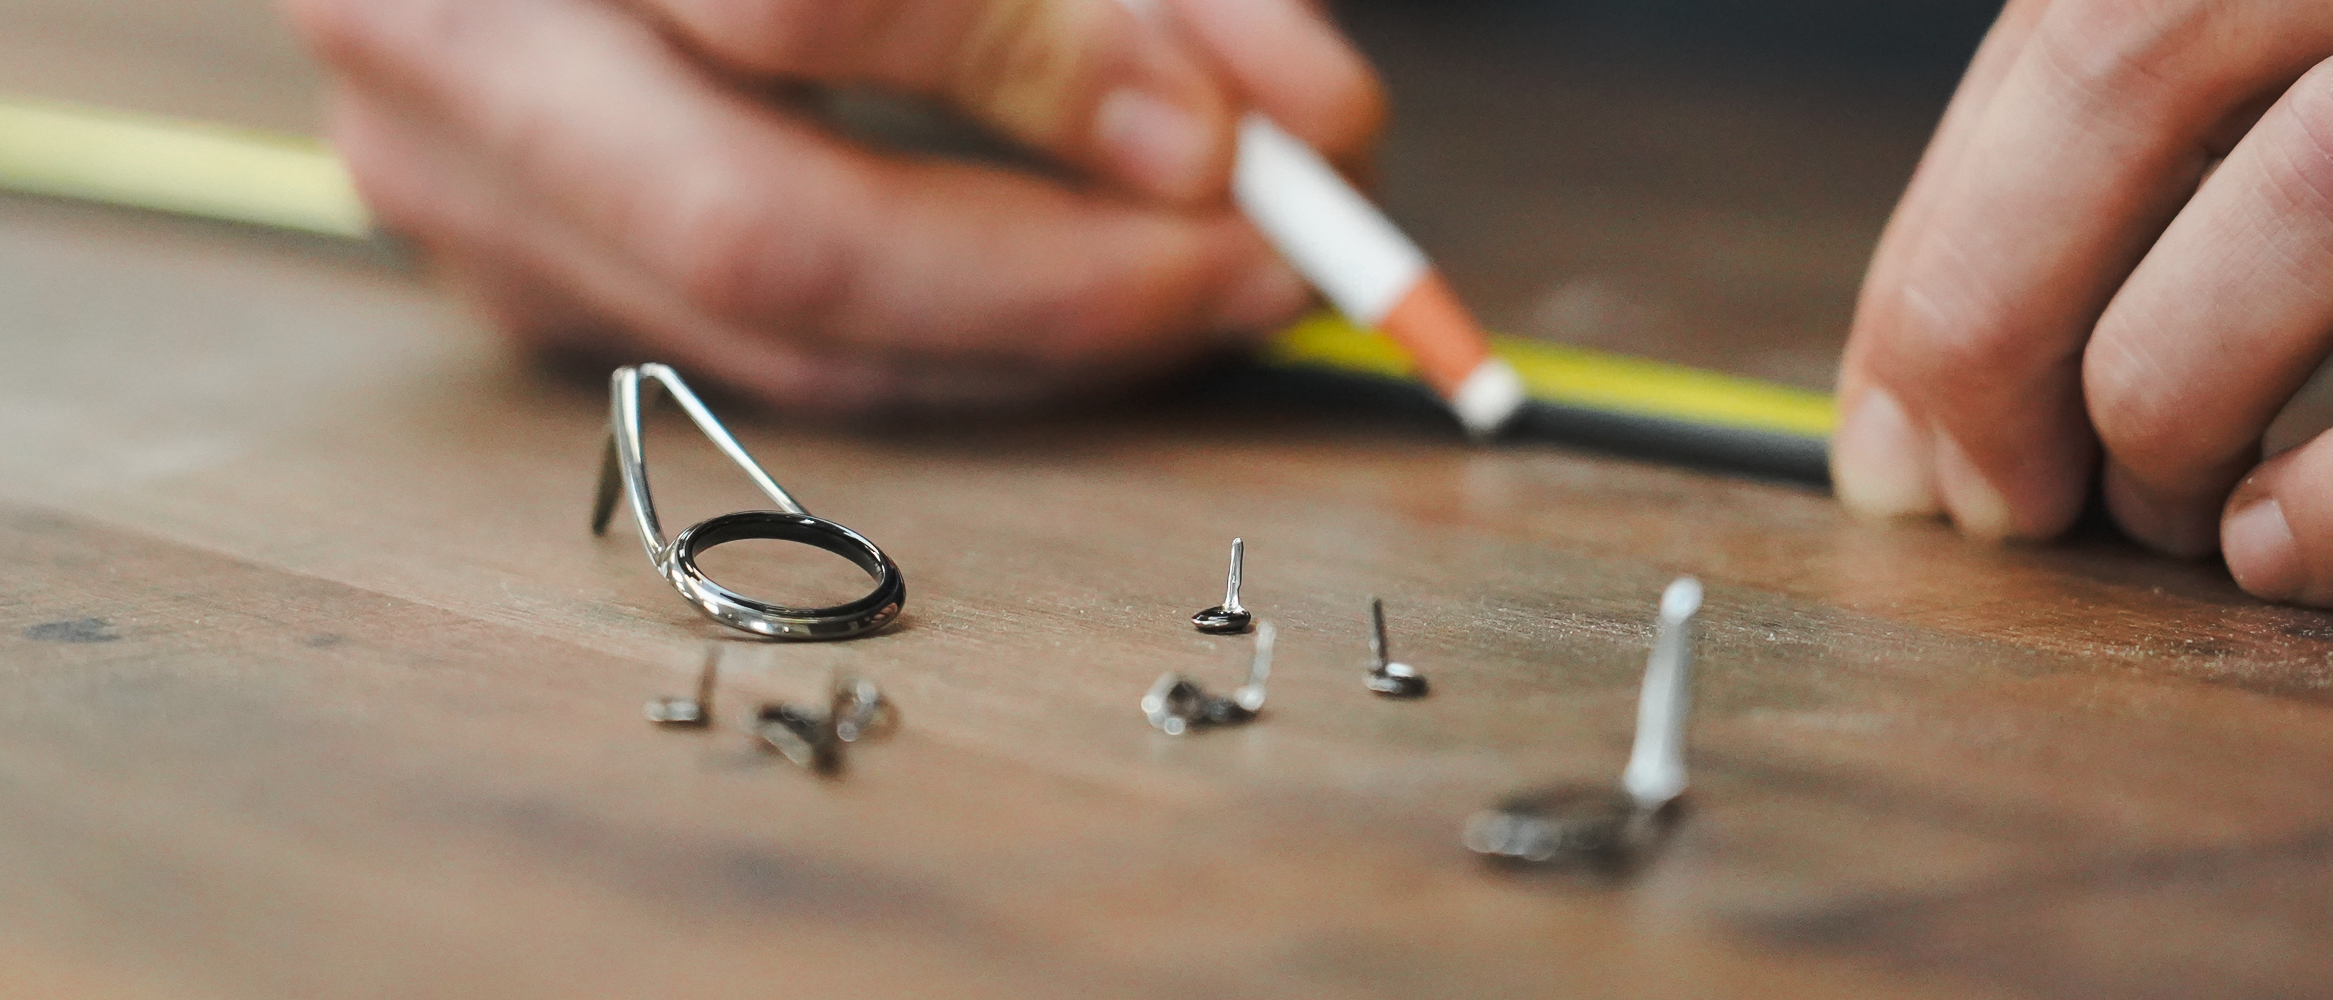
Passons maintenant au diamètre intérieur de la bague ; là aussi la nomenclature FUJI est très simple. Concrètement, pour une bague en taille 16 avec un diamètre intérieur de 10, la référence de la bague sera WCS 16-10, pour une taille 17 en diamètre intérieur 12 ce sera WCS 17-12, j'arrête là, vous avez compris! Pour estimer le diamètre intérieur de votre bague vous allez repérer sur le blank l'emplacement de votre porte-moulinet à la distance qui vous convient. Si vous avez déjà le blank et le porte-moulinet sous la main, c'est très simple de mesurer la section du blank à cet endroit au pied à coulisse ; si le blank est dans la commande à venir avec les bagues, on se réfèrera alors à la fiche produit du blank, Rodhouse nous donnant les côtes des blanks.


Disons que vous souhaitez placer votre porte moulinet à 30cm du talon et que le blank fait 10,75mm à cet endroit. Forcément la mesure ne tombe pas pile poil avec les diamètres intérieur des WCS qui vont de 0,5 mm en 0,5mm.
Si vous recherchez la simplicité, avec un ajustement pas parfait, mais qui sera comblé par une petite ligature, une taille 11 sera idéale. Si au contraire, comme moi, vous essayez toujours d'être le plus précis possible, alors vous allez vous orientez vers une taille 10,5 qui sera simplement ajustée au diamètre parfait d'un simple coup de reamer. Essayez de faire la même chose avec une bague aluminium...

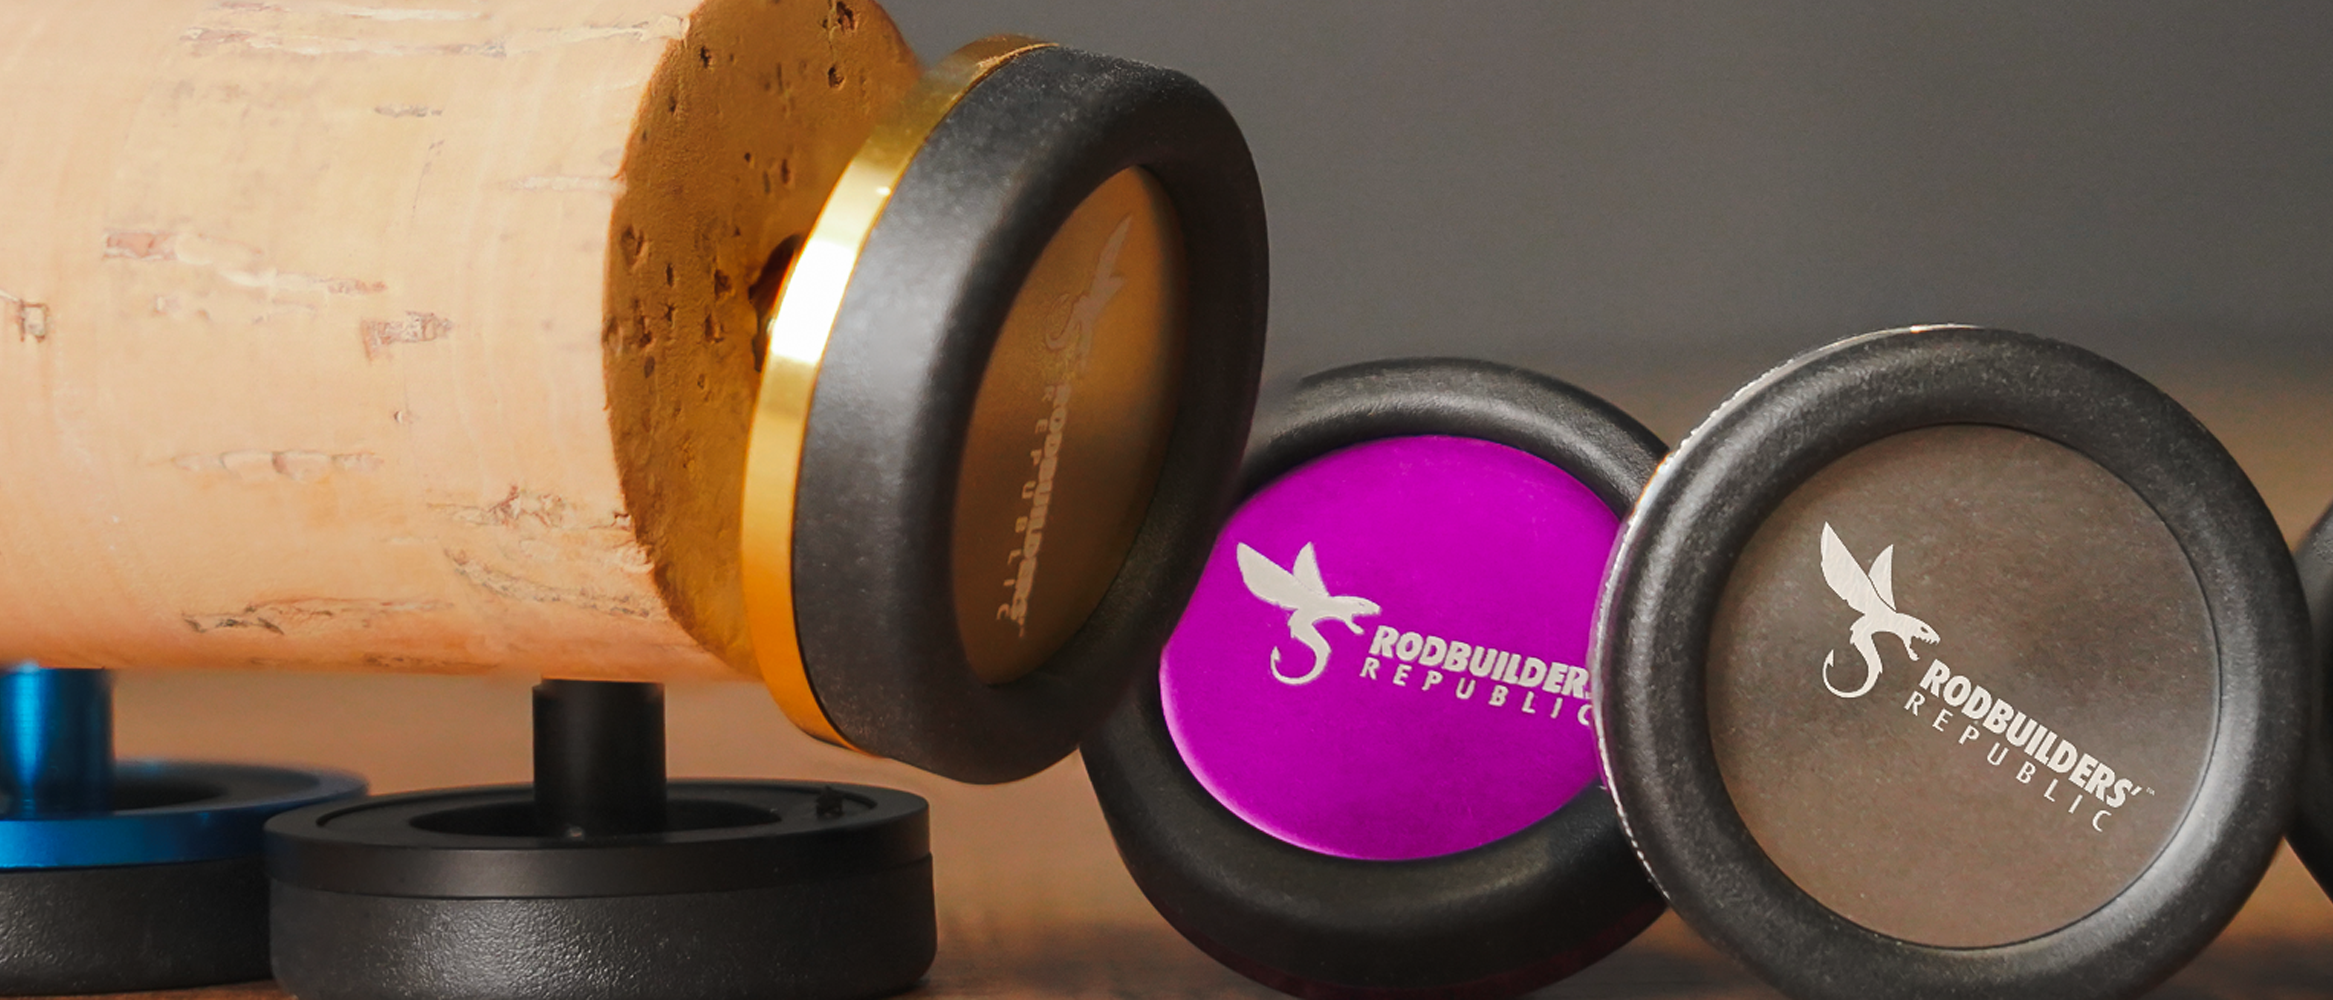
Finitions
Les aficionados de la recherche du moindre gramme superflu trouveront également là une alliée de poids! Une WCS taille 16-10 pèse seulement 0,30gr... Le plus drôle dans l'affaire c'est que normalement plus on allège le poids des pièces, plus ça coûte cher, la c'est l'inverse : le prix de la bague est réellement dérisoire par rapport aux avantages qu'elle apporte!
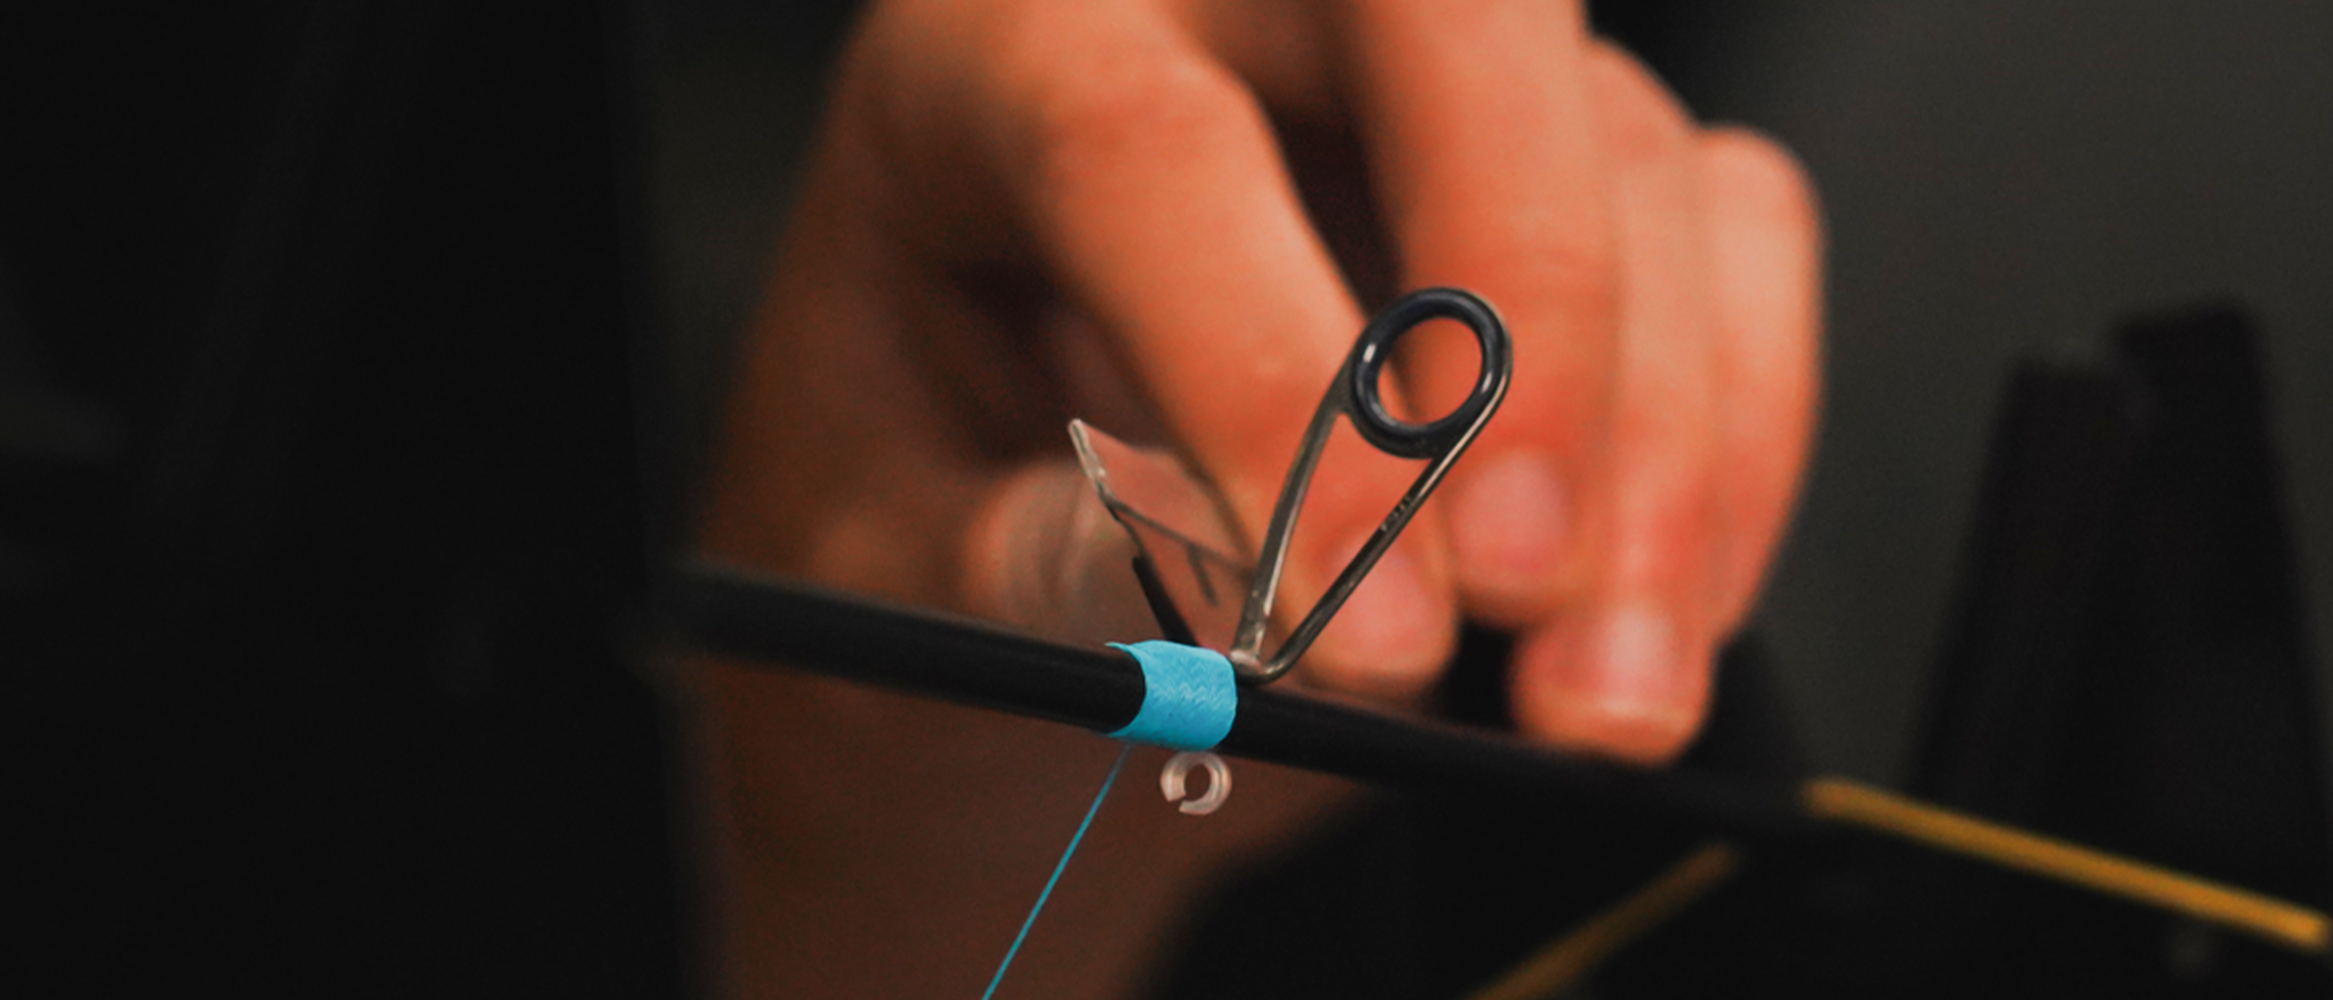
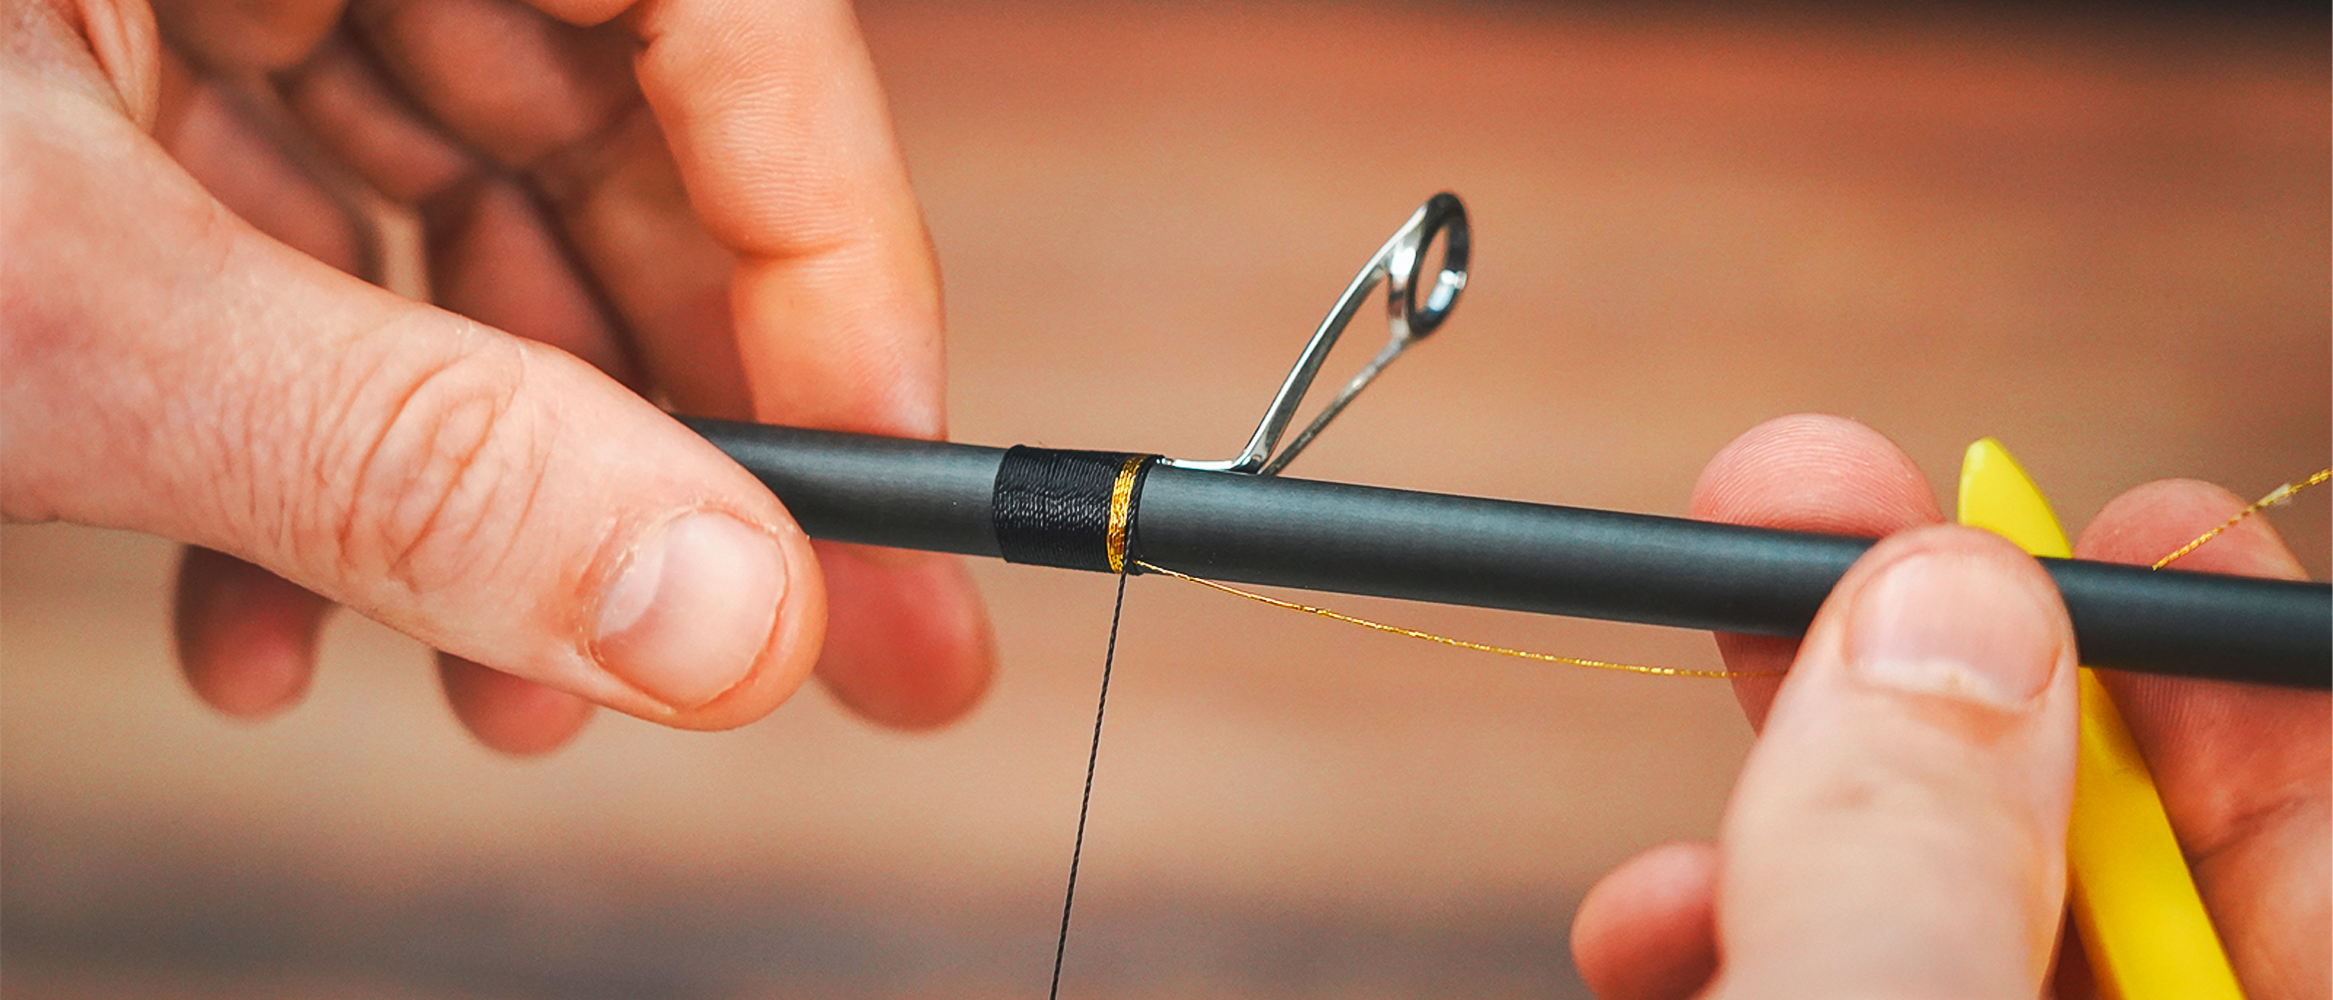
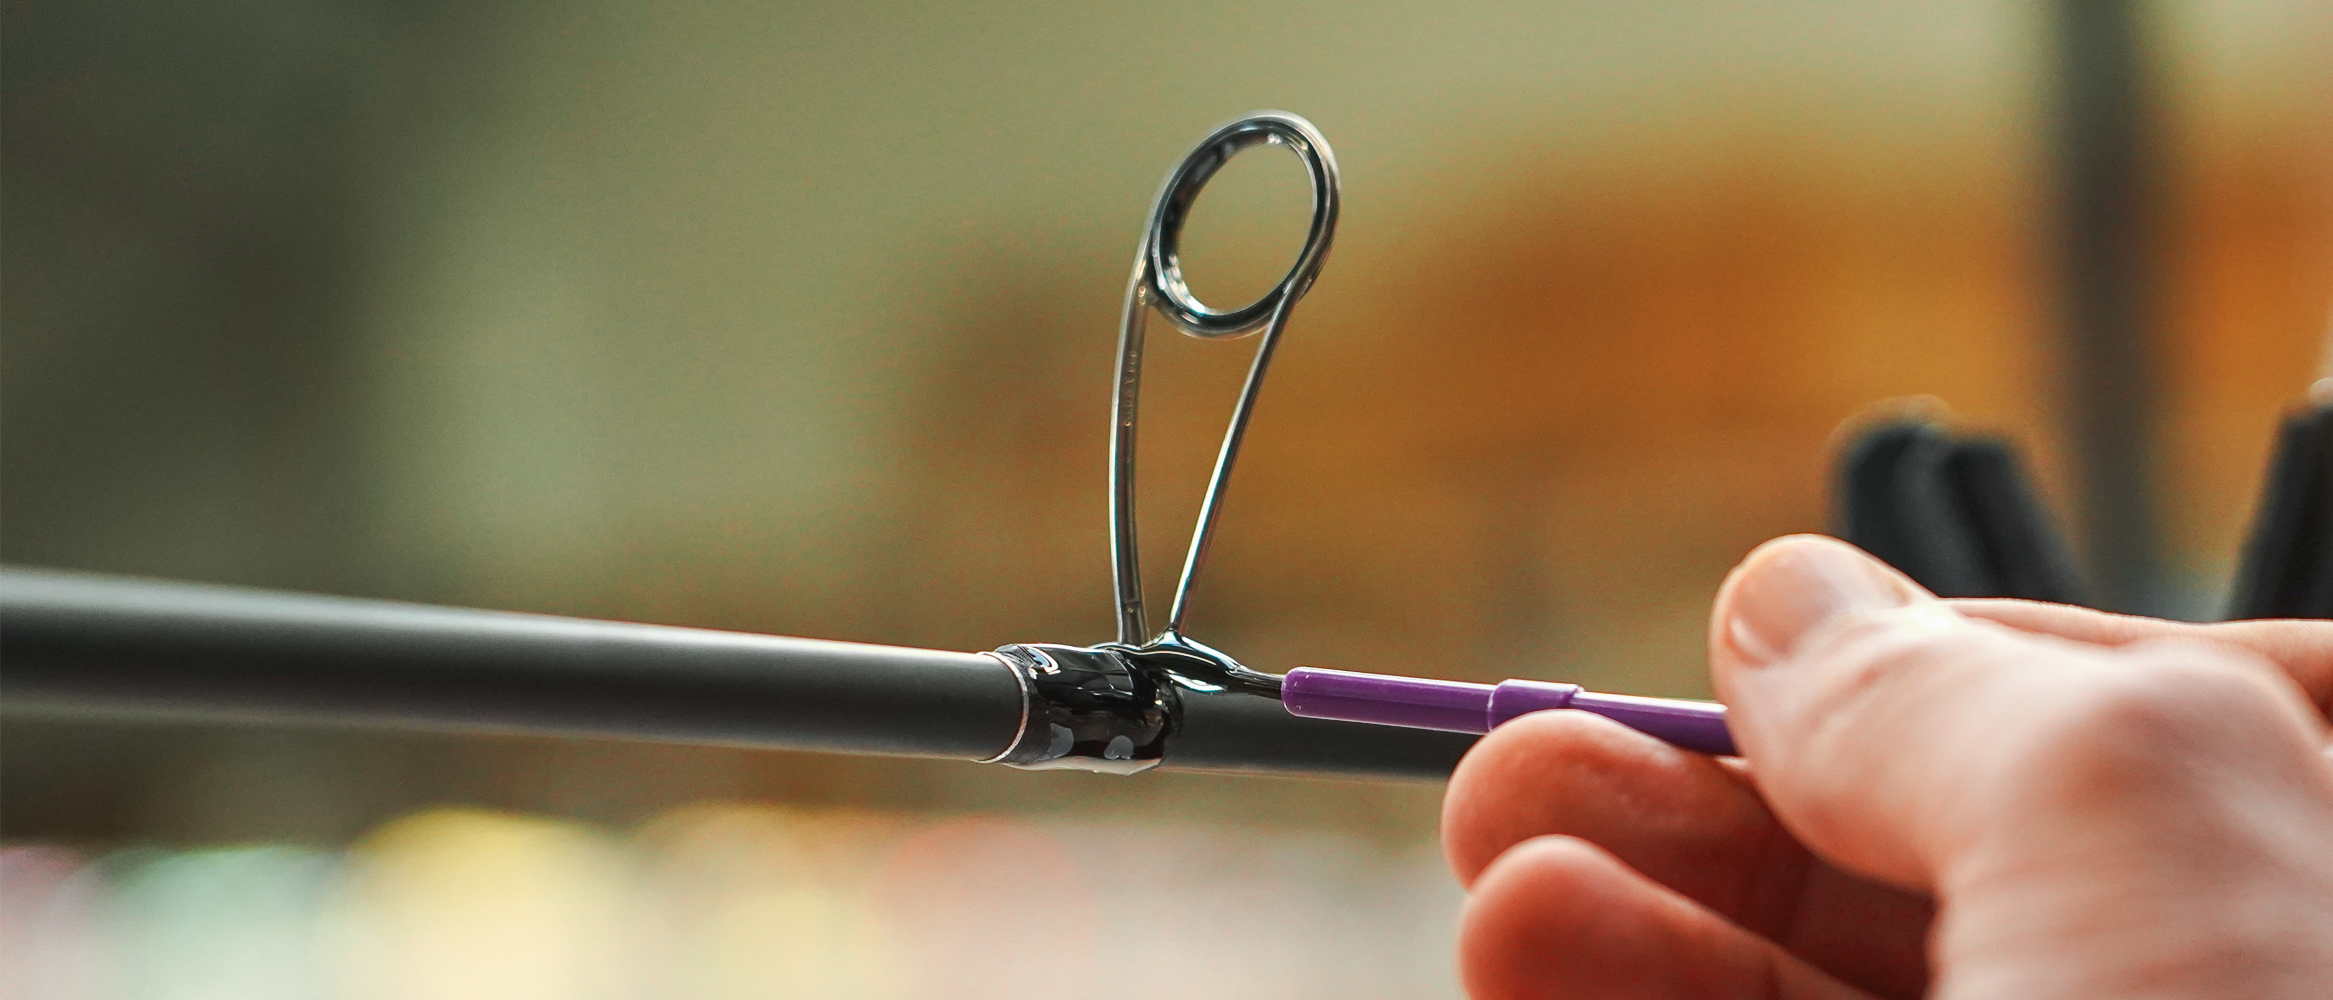
L'autre avantage de cette bague est également de posséder un tenon qui va faciliter sa tenue et son centrage parfait dans le filetage du porte-moulinet lors du collage. Au passage, elle résiste parfaitement à l'alcool ménager ou à bruler utilisé pour nettoyer les résidus de colle. Le tenon permet également d'utiliser cette bague pour venir enjoliver un grip de porte moulinet ou carrément un butt, la seule limite sera votre imagination.

Niveau coloris, elle existe en noir brillant très sobre se mariant parfaitement avec tous les styles. Mais les adeptes des finitions plus poussées trouveront leur bonheur dans la mesure où elle se décline aussi en silver et gold.

A mon sens c'est quasiment la bague parfaite (rhaaa!! S'il pouvait exister juste quelques couleurs supplémentaires...) et je l'utilise énormément, aussi bien pour fermer des filetages de porte-moulinet casting ou spinning, que pour enjoliver/terminer un butt ou une poignée carbone. Laissez vous tenter sur votre prochaine canne, vous ne le regretterez pas!


Laisser un commentaire
Tous les commentaires sont modérés avant d'être publiés.
Ce site est protégé par reCAPTCHA, et la Politique de confidentialité et les Conditions d'utilisation de Google s'appliquent.